Sunday, July 22, 2012
Sunday 1 min reading: Don't Kill Your Dreams
1 min reading: Killing our dreams
PAULO COELHO on JULY 31, 2010
The first symptom of the process of our killing our dreams is the lack of time. The busiest people I have known in my life always have time enough to do everything. Those who do nothing are always tired and pay no attention to the little amount of work they are required to do. They complain constantly that the day is too short. The truth is, they are afraid to fight the Good Fight.
The second symptom of the death of our dreams lies in our certainties. Because we don’t want to see life as a grand adventure, we begin to think of ourselves as wise and fair and correct in asking so little of life. We look beyond the walls of our day-to-day existence, and we hear the sound of lances breaking, we smell the dust and the sweat, and we see the great defeats and the fire in the eyes of the warriors. But we never see the delight, the immense delight in the hearts of those who are engaged in the battle. For them, neither victory nor defeat is important; what’s important is only that they are fighting the Good Fight.
And, finally, the third symptom of the passing of our dreams is peace. Life becomes a Sunday afternoon; we ask for nothing grand, and we cease to demand anything more than we are willing to give. In that state, we think of ourselves as being mature; we put aside the fantasies of our youth, and we seek personal and professional achievement. We are surprised when people our age say that they still want this or that out of life. But really, deep in our hearts, we know that what has happened is that we have renounced the battle for our dreams – we have refused to fight the Good Fight.
When we renounce our dreams and find peace, we go through a short period of tranquility. But the dead dreams begin to rot within us and to infect our entire being.
We become cruel to those around us, and then we begin to direct this cruelty against ourselves. That’s when illnesses and psychoses arise. What we sought to avoid in combat – disappointment and defeat – come upon us because of our cowardice.
And one day, the dead, spoiled dreams make it difficult to breathe, and we actually seek death. It’s death that frees us from our certainties, from our work, and from that terrible peace of our Sunday afternoons.
Thursday, July 19, 2012
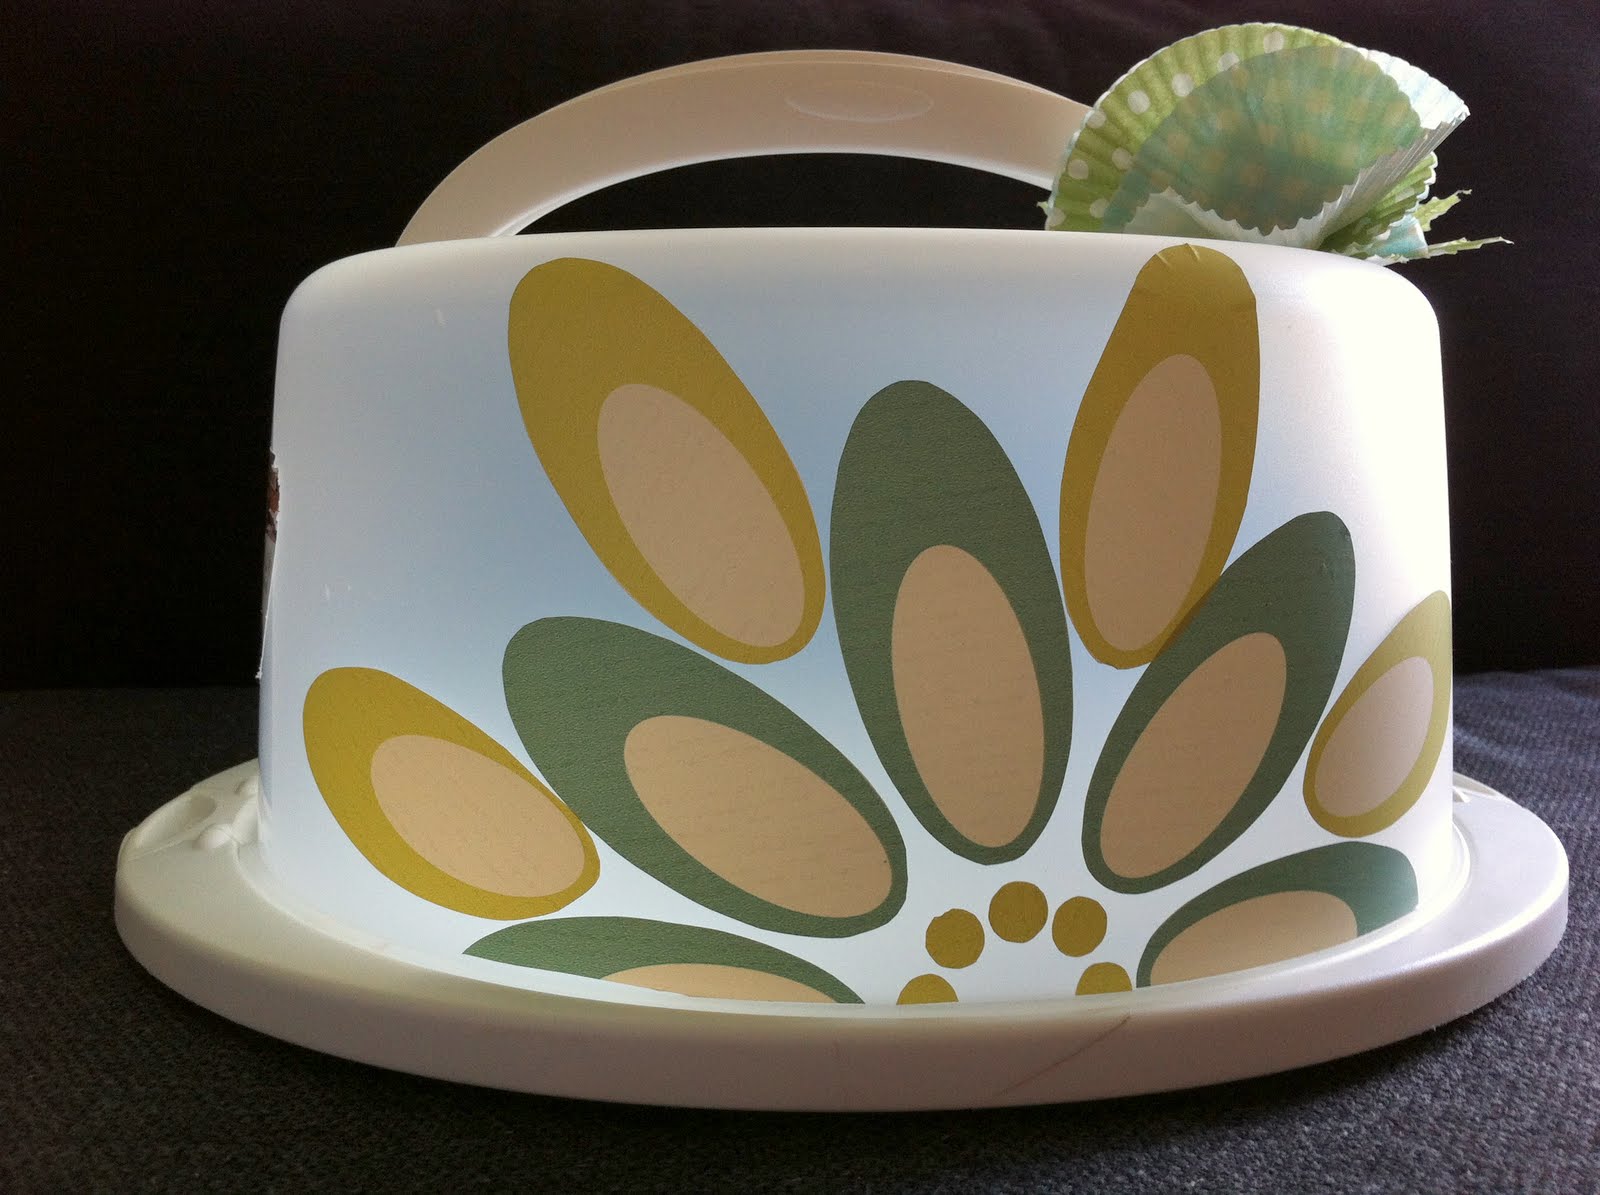
Dress Up a Tin
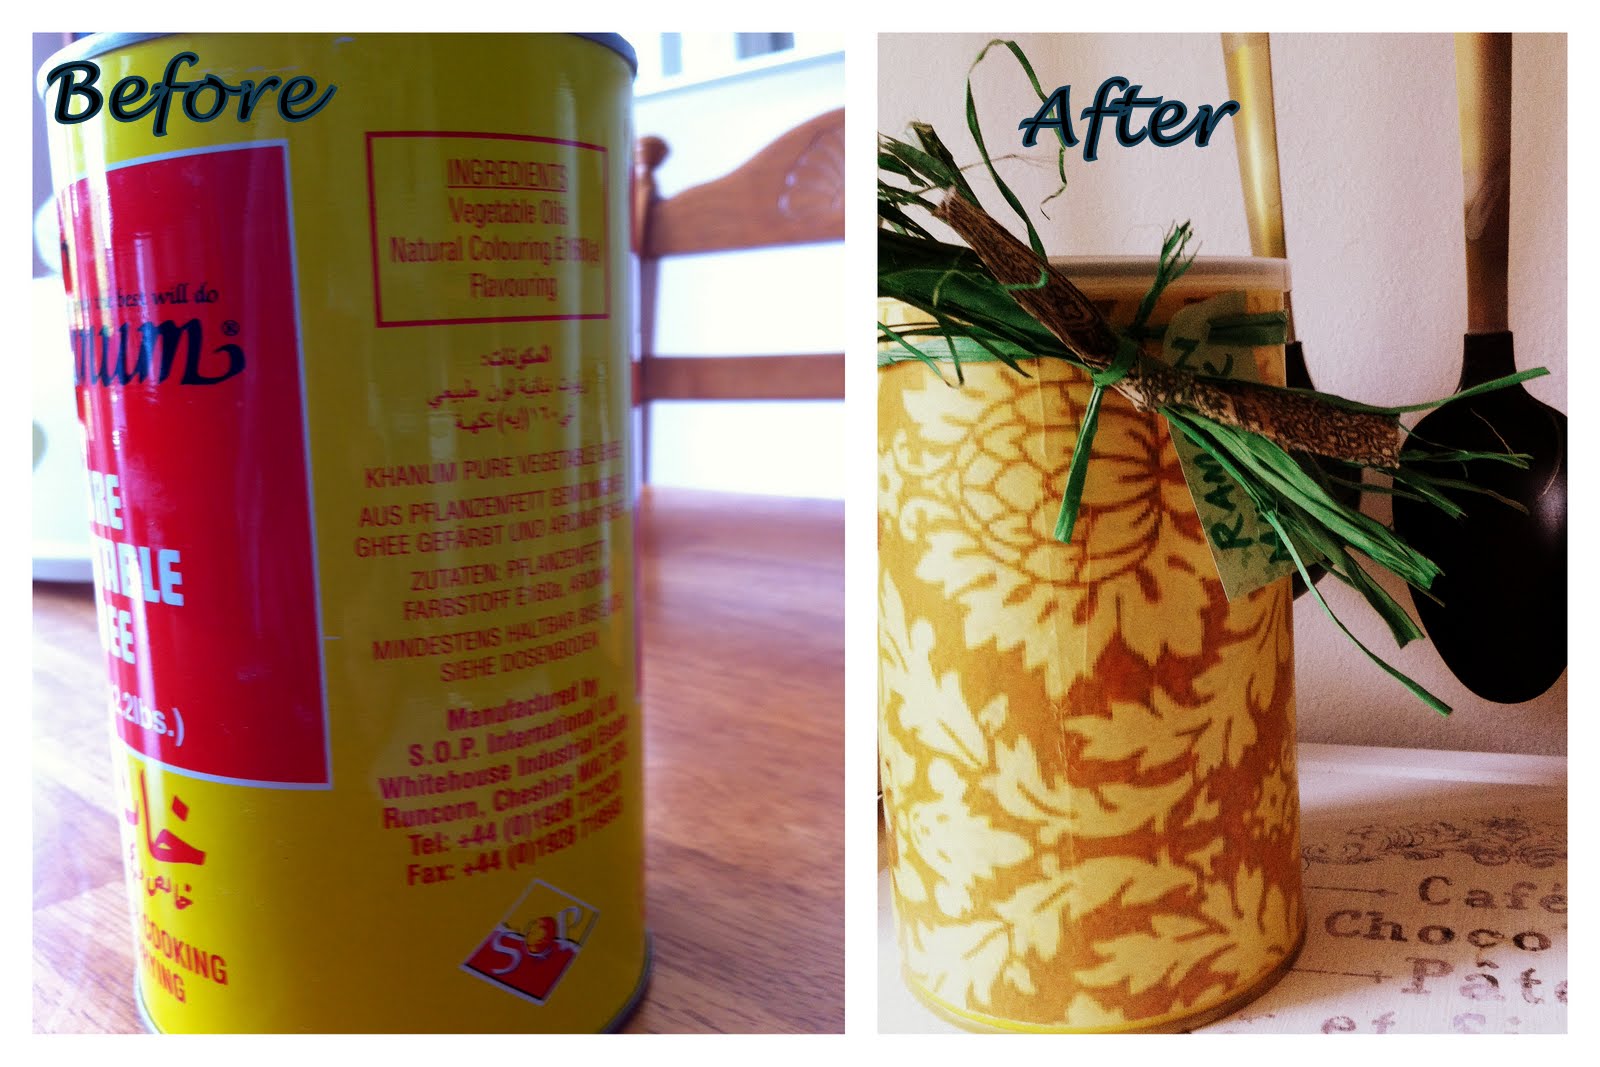
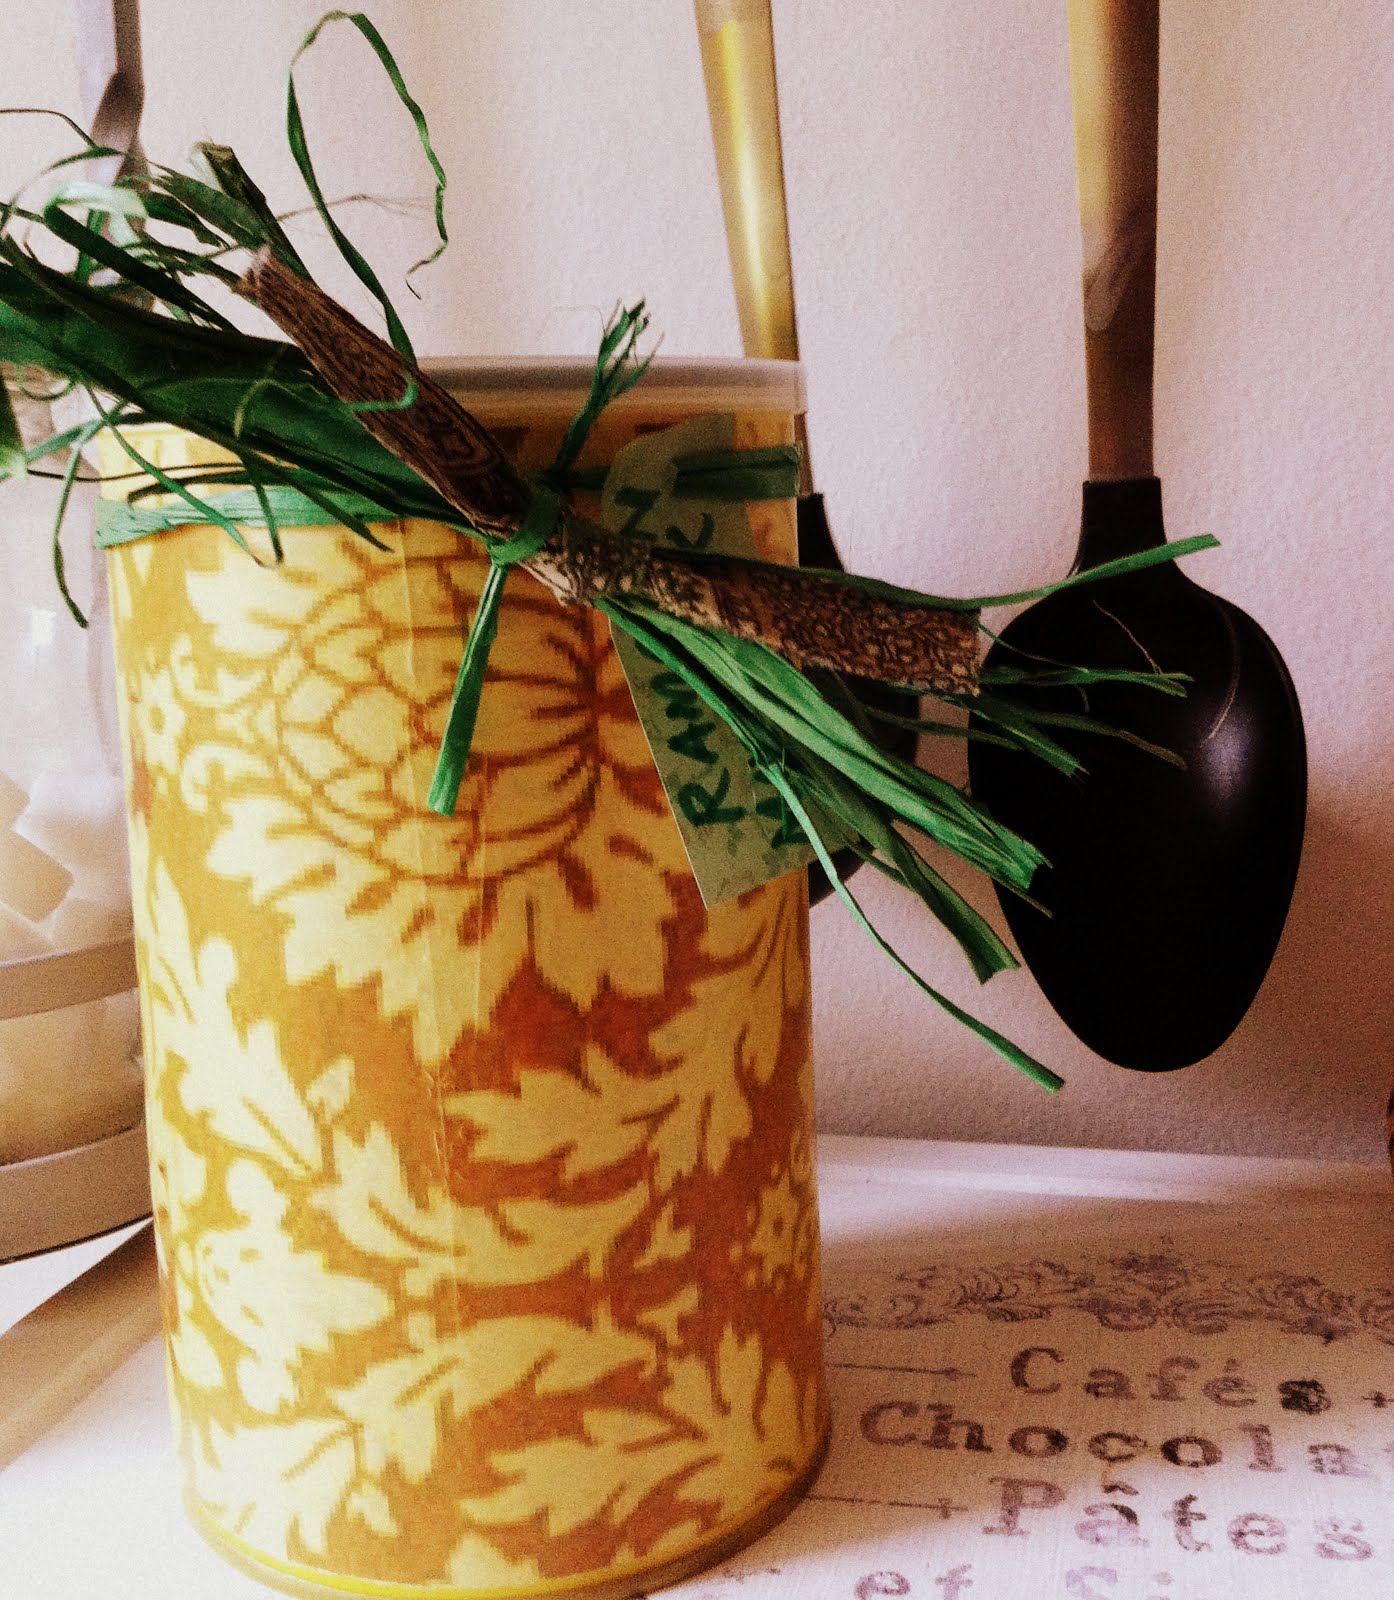
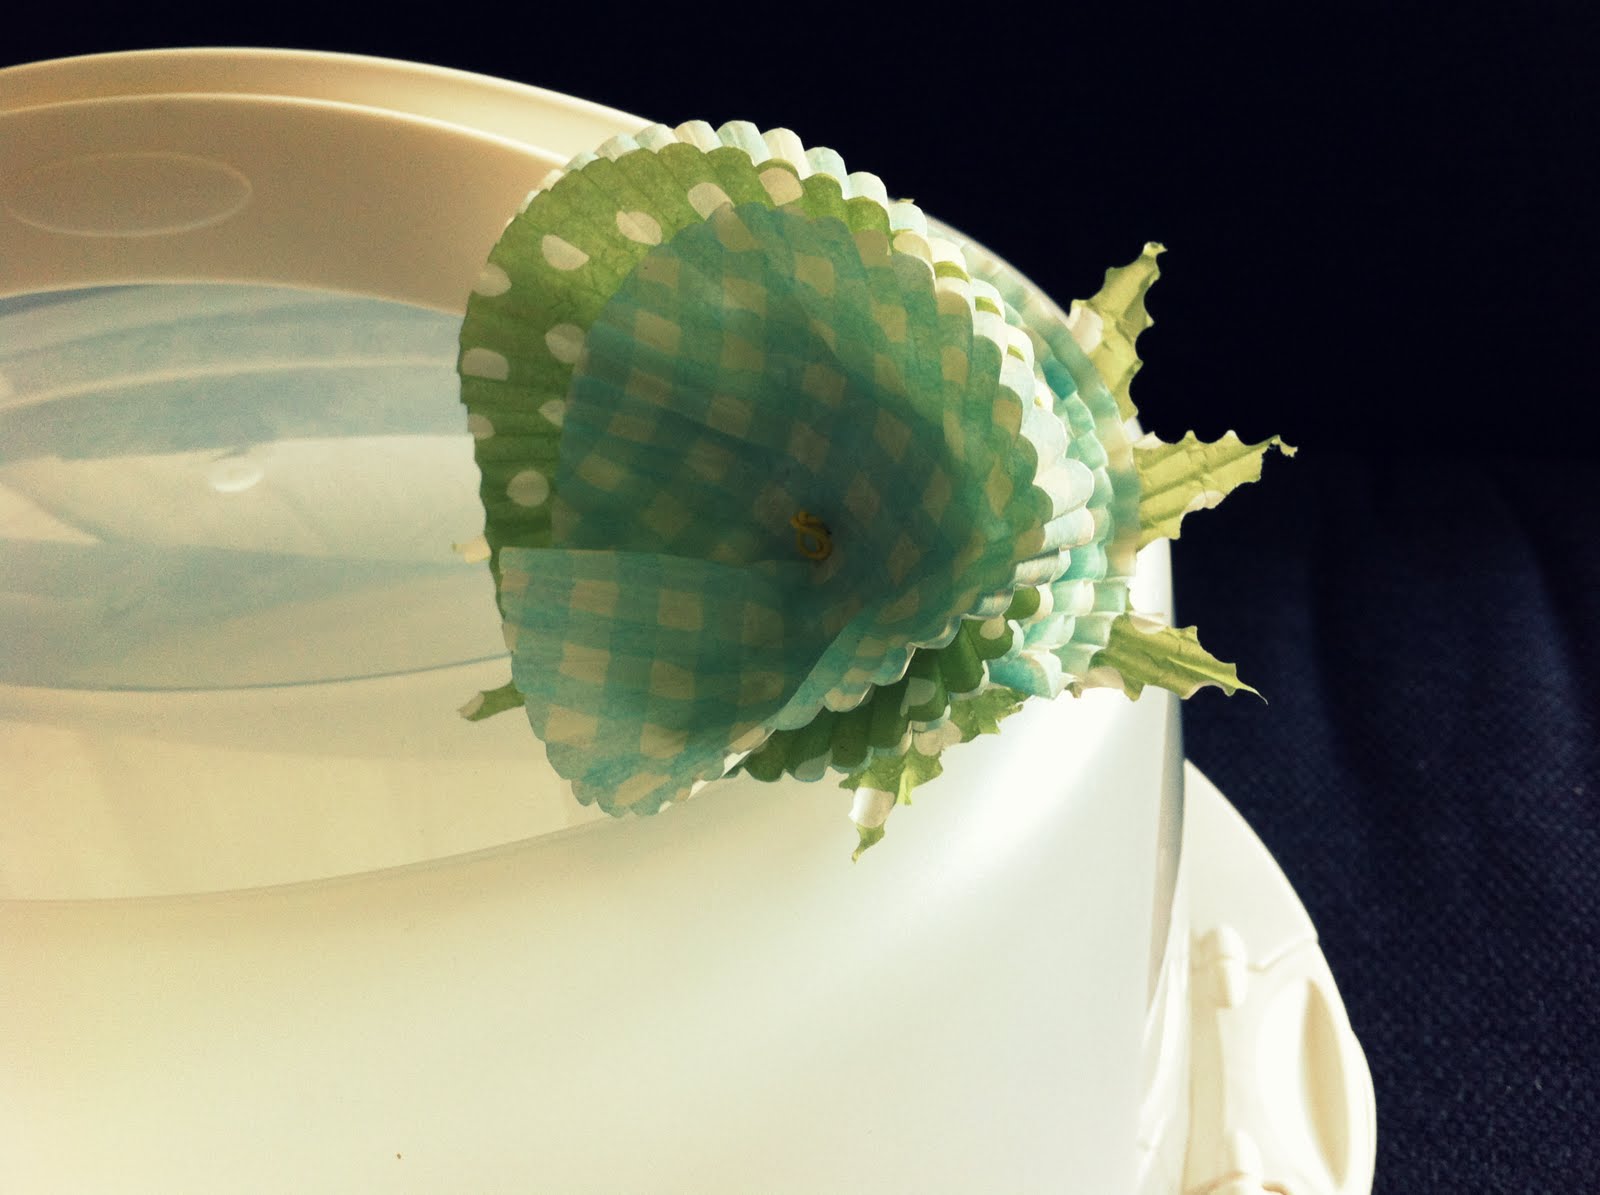
How to Spruce Up a Cake Carrier
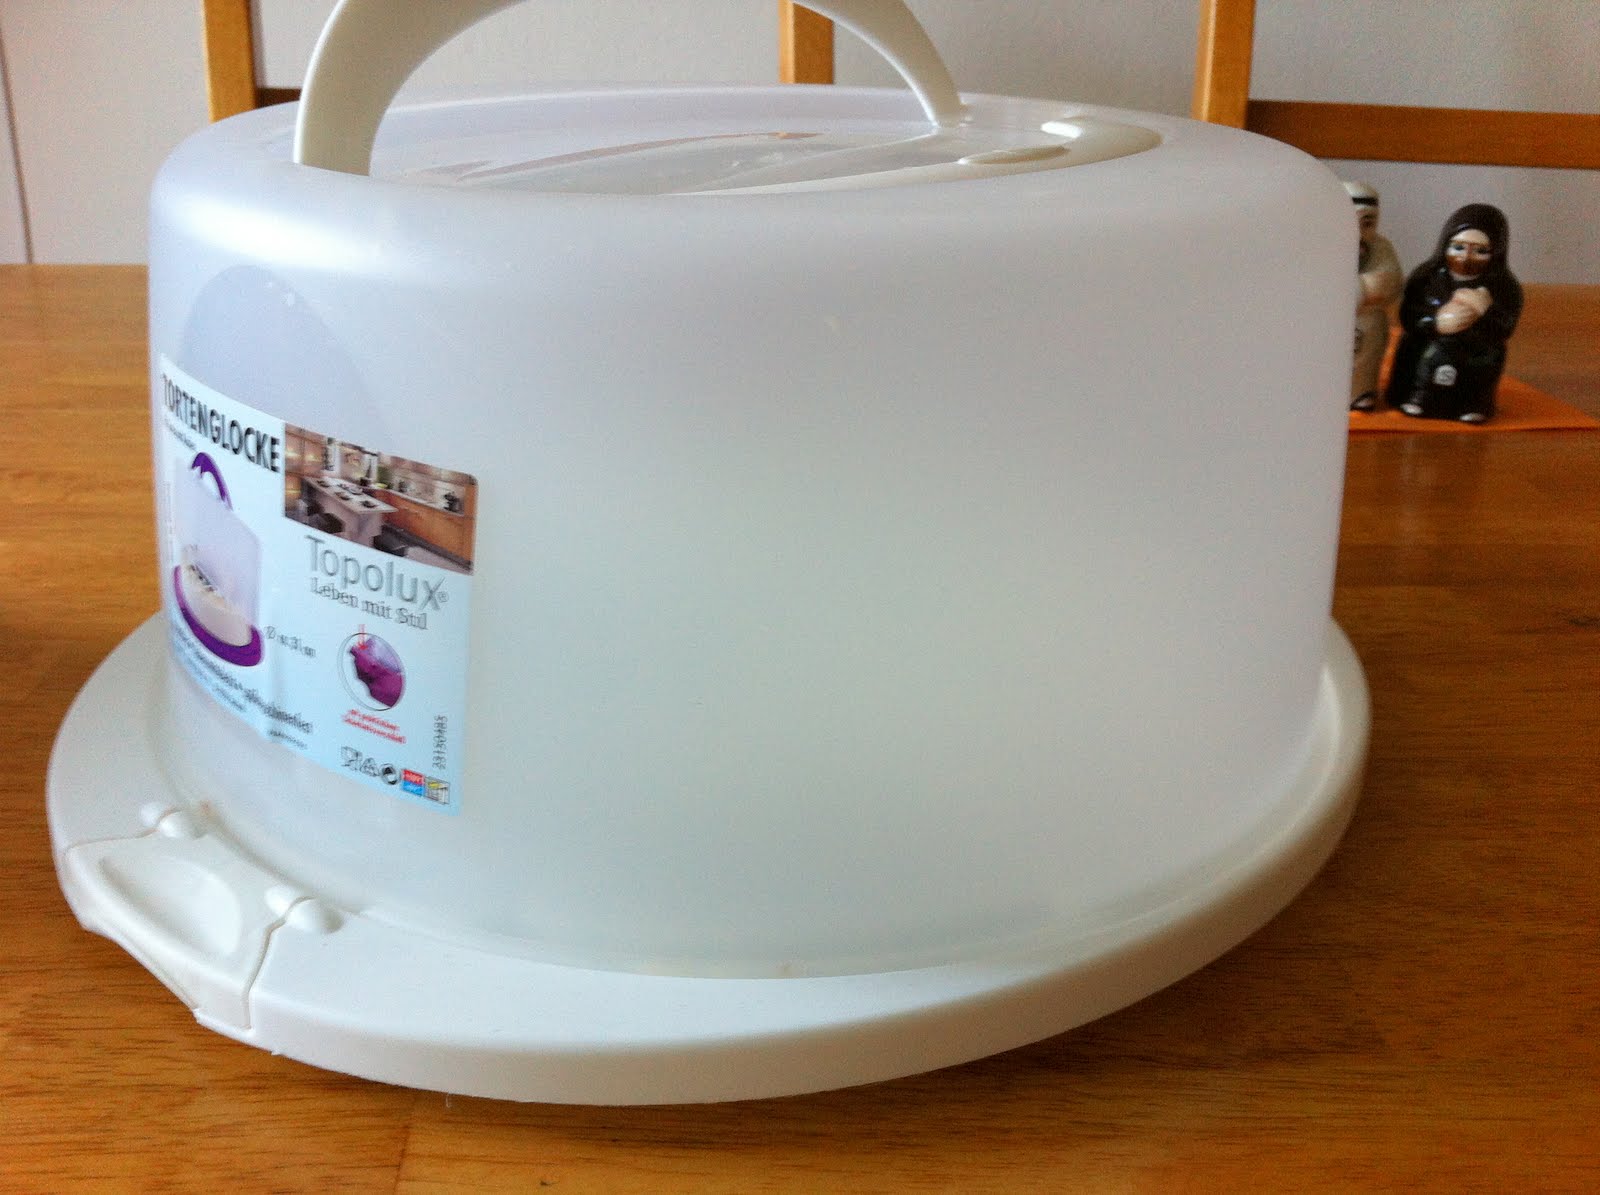
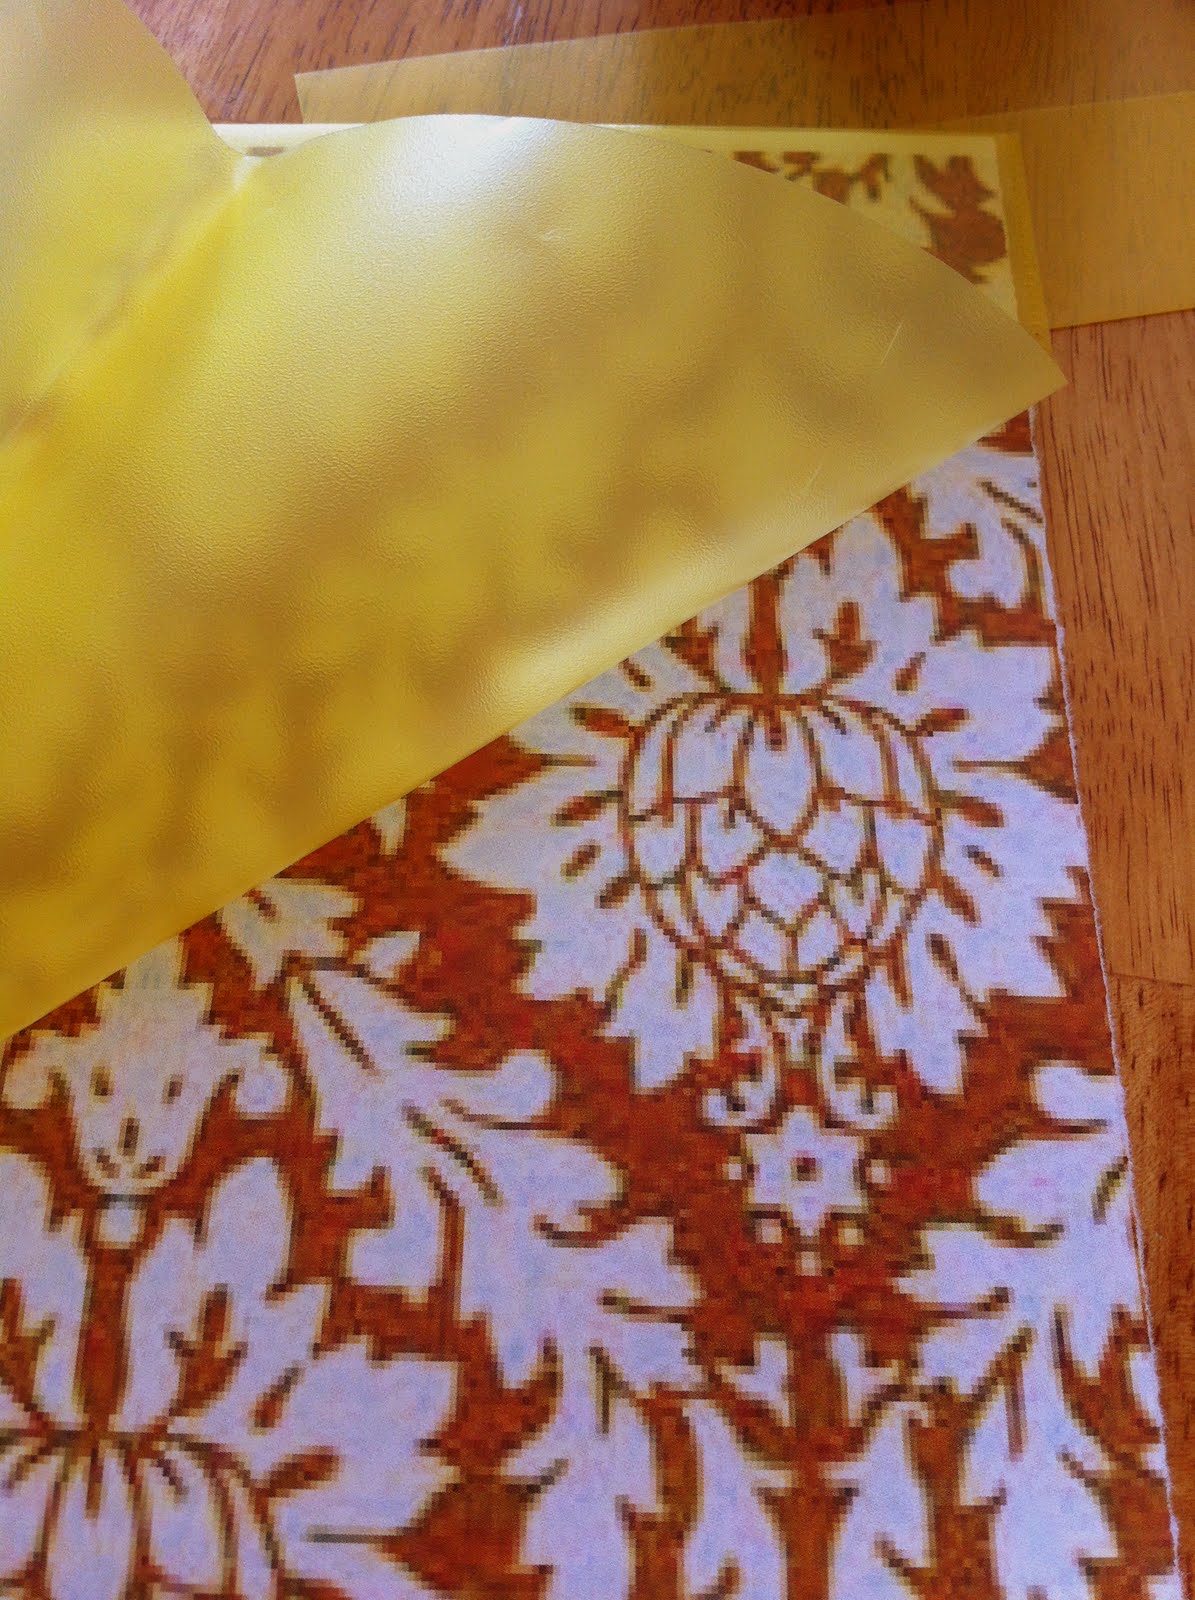
I wanted to do papier mache on my plain old plastic cake carrier to give it a vintage feel but on second thoughts I dropped the idea. My past experiences with the technique have been huge disappointments! But..I had the itch to do something with it..here's what I did:
I would be careful off course and hand wash it..but I don't really expect it getting dirty on the outside in the first place. Its removable, for when I get bored with it!


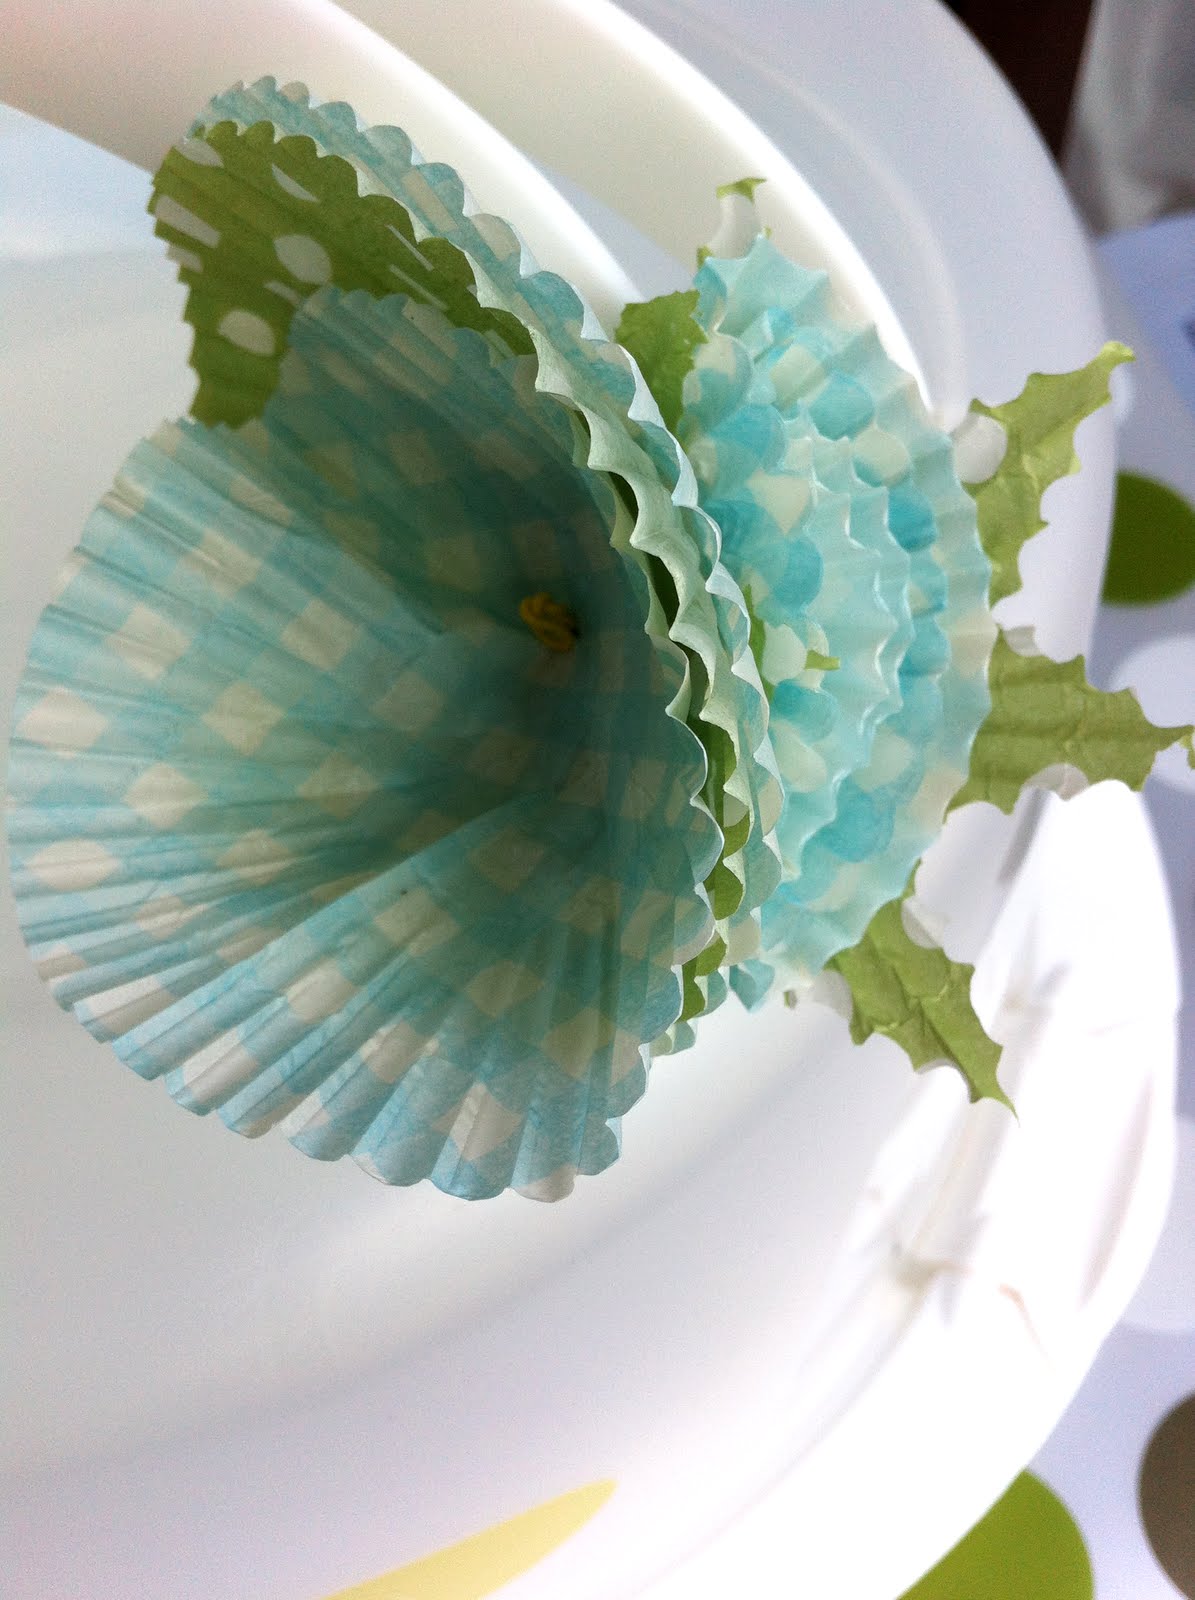
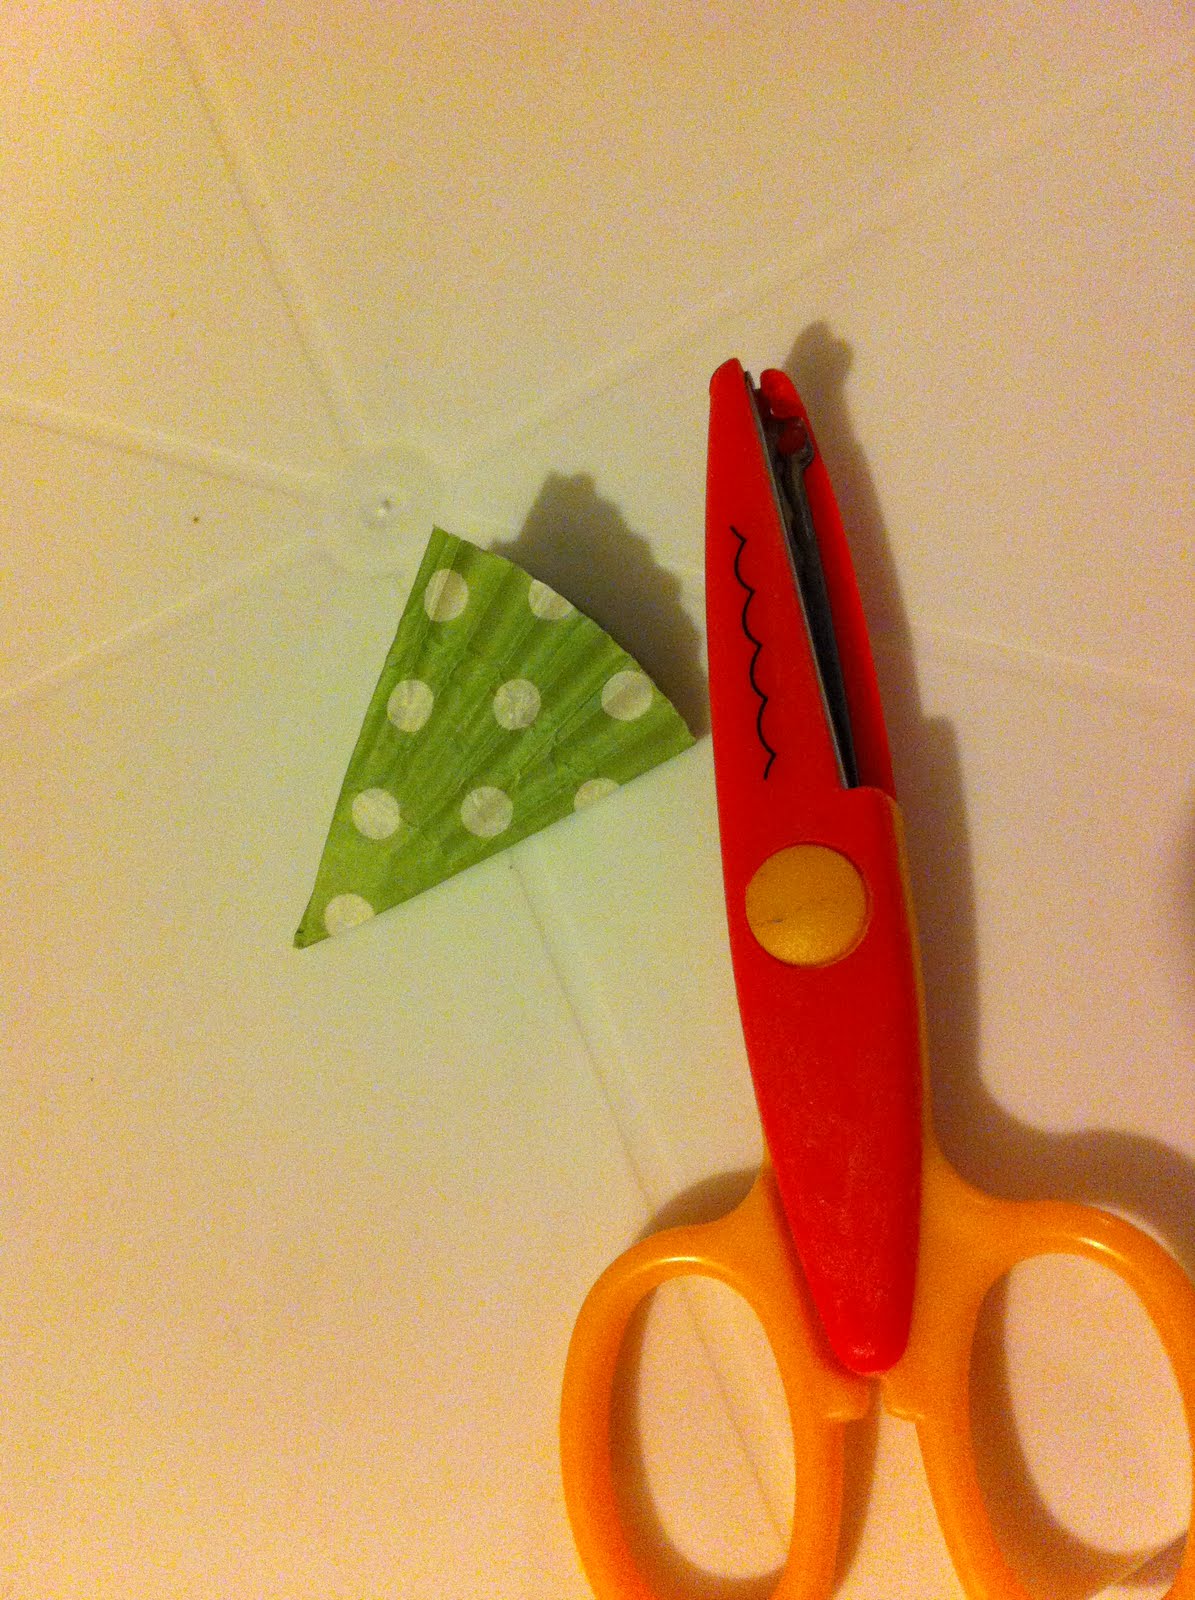
Fold the cupcake liner like shown in the picture and cut two diagonal lines with a scalloped scissor.

Sunday, July 15, 2012
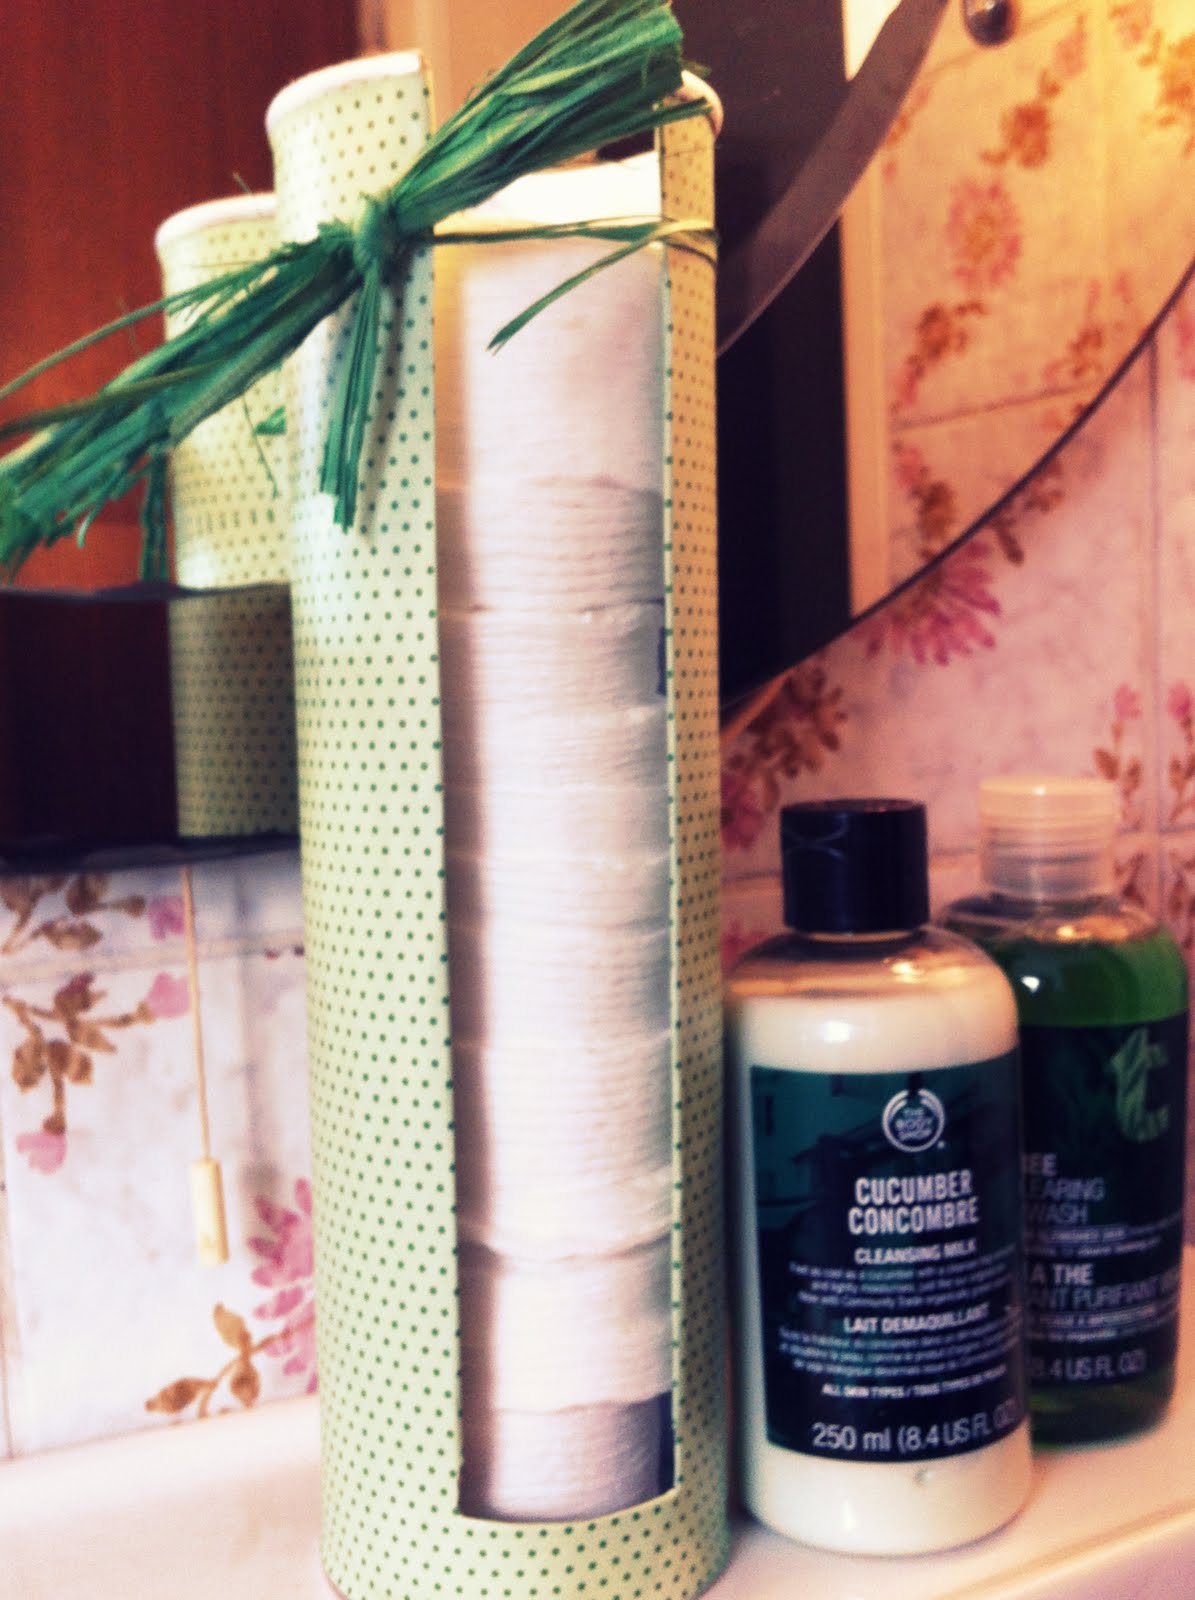
Cotton Pad Dispenser
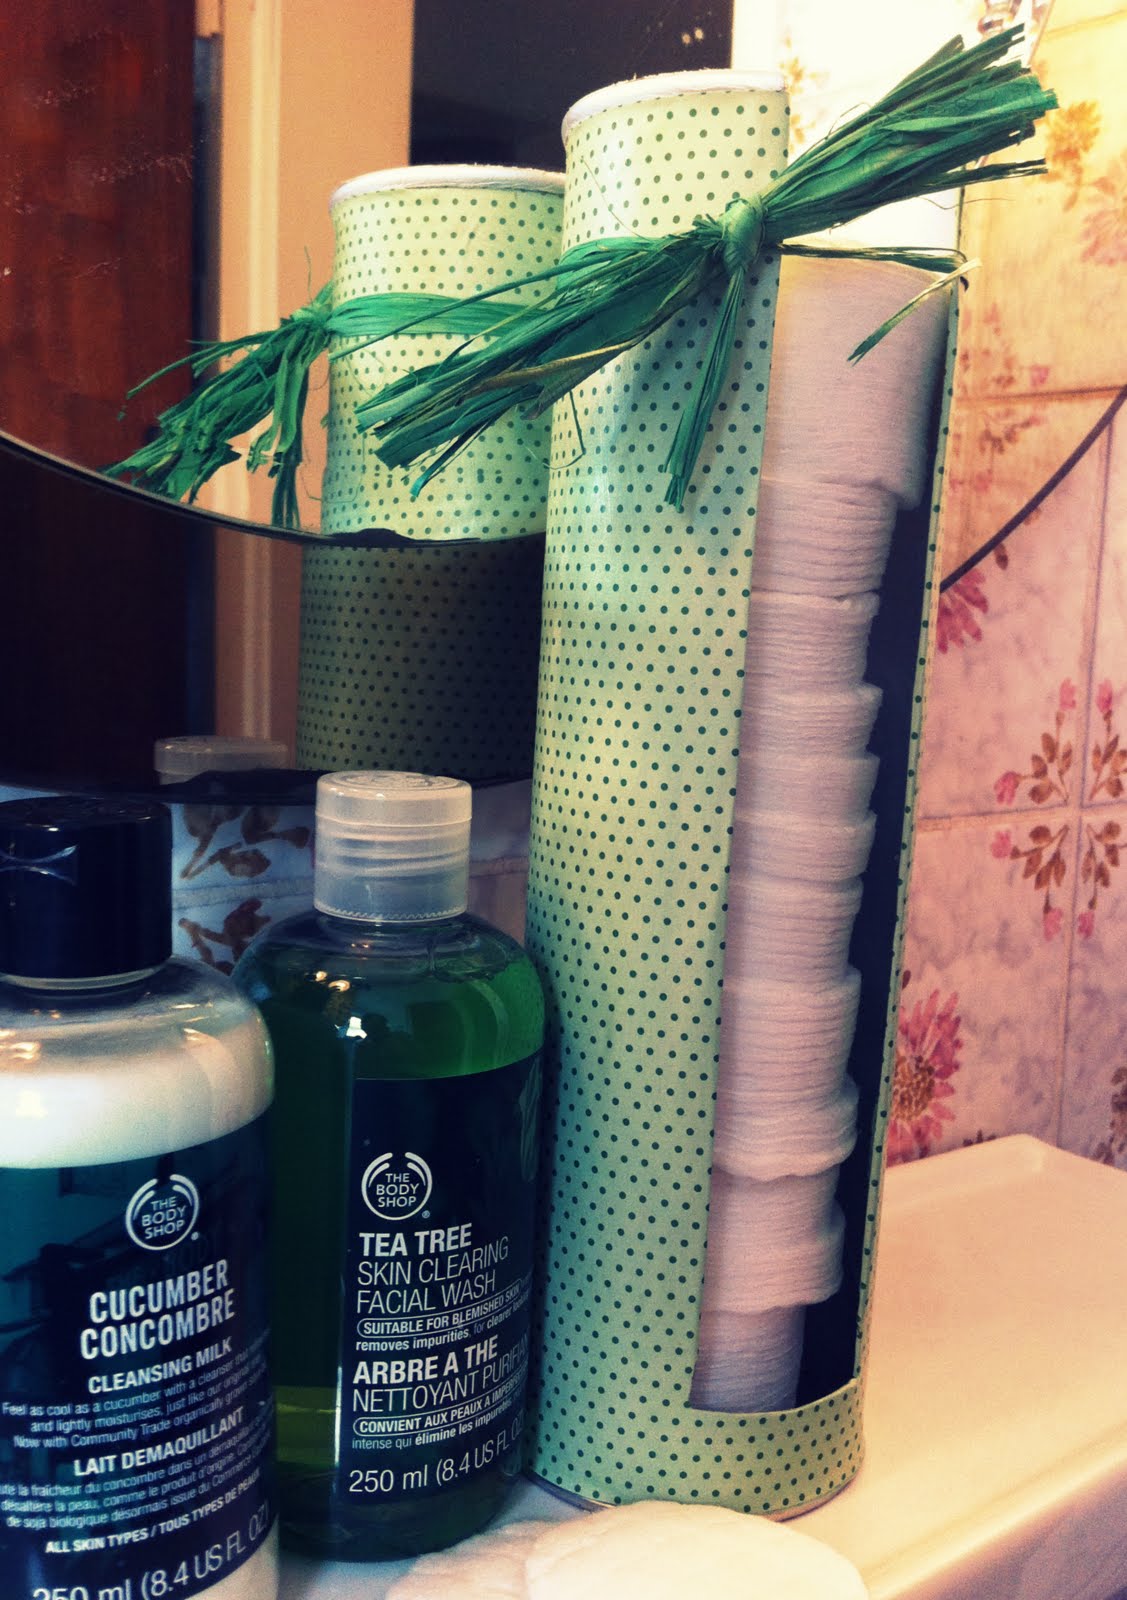
I was at the Body Shop last week with a friend and was pleasantly surprised (reminded) by the sales lady that I could use my membership card to get my birthday gift worth 10 Euros! So I got myself a Tea Tree Oil Face wash, a cherry body butter and a cherry moisturizer too! Earlier in the sale I had bought a cucumber cleansing milk and some cotton pads.
I love nicely decorated vanities with tall glass holders for cotton balls and ear buds..but at the moment I can't have those fancy jars in a small bathroom. So I made something else:
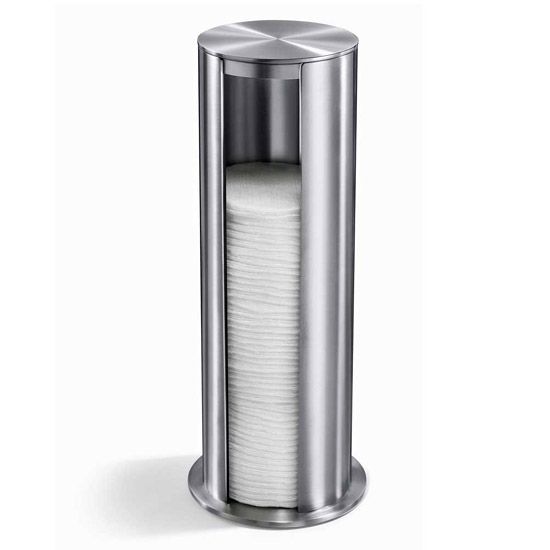
 My inspiration was this dispenser I found online:
 The closest thing that my frugal mind could relate too was a box of pringles!
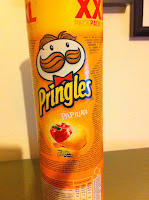 ...and some pretty paper. I cut the mid section using an exacto.
 A little straw twine and now I have a practical thing to hold the cotton pads.
Partying at
igottacreat

I love nicely decorated vanities with tall glass holders for cotton balls and ear buds..but at the moment I can't have those fancy jars in a small bathroom. So I made something else:

Partying at
igottacreat
Saturday, July 14, 2012
Egg Pudding

For the caramel:
- 1/2 cup brown sugar
- 1 Cup water
Put in a pan to heat. Stir the sugar until dissolved. Do not stir once it starts boiling. Let it simmer til you get a nice caramel sauce. Pour into your mould.
For the Pudding:
Pre-heat the oven at 180.
In a bowl add the following and beat:
- 800ml milk
- 100mil thick cream
- 25ml condensed milk
- 1/2 cup sugar
- 6 eggs
- Vanilla-extract
Prepare a water bath by pouring boiling water in a dish big enough to hold the pudding mould. Fill half way up.
Bake for 45 minutes.
Refrigerate, for best results overnight..or 3-5hours min.
Gently ease out from the mould and serve!
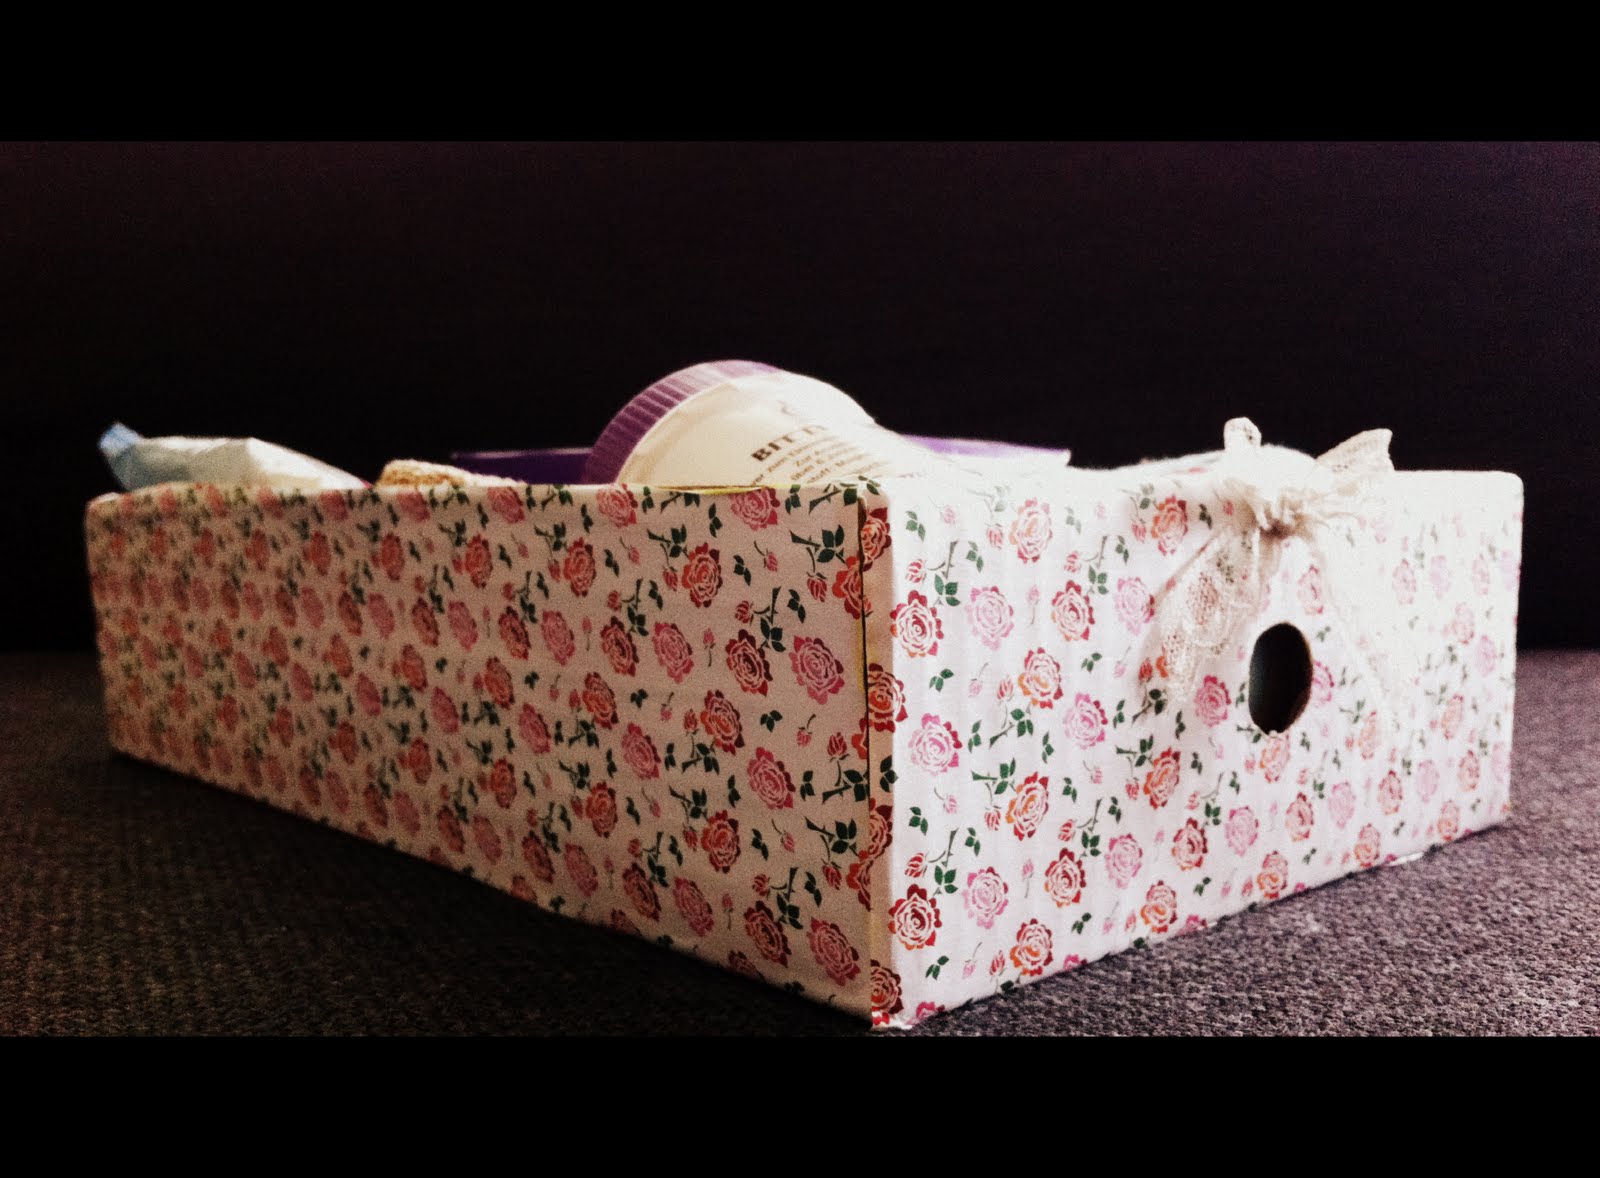
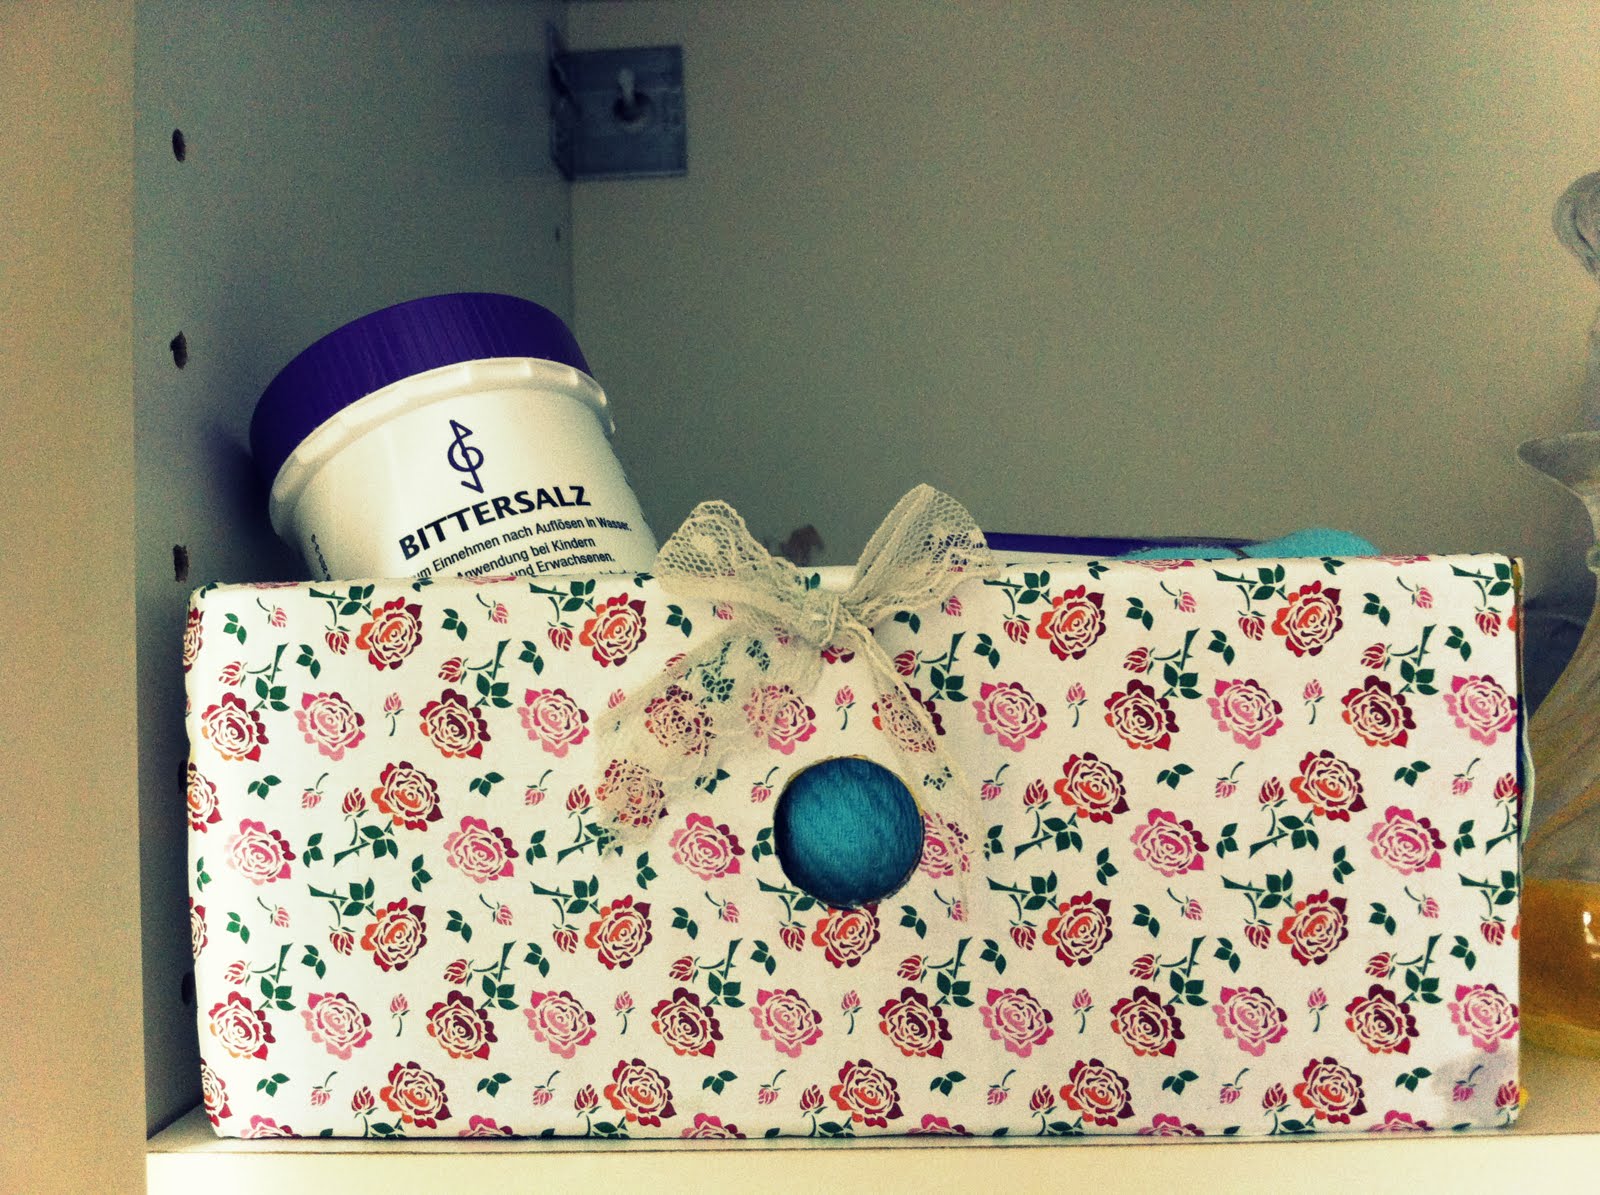
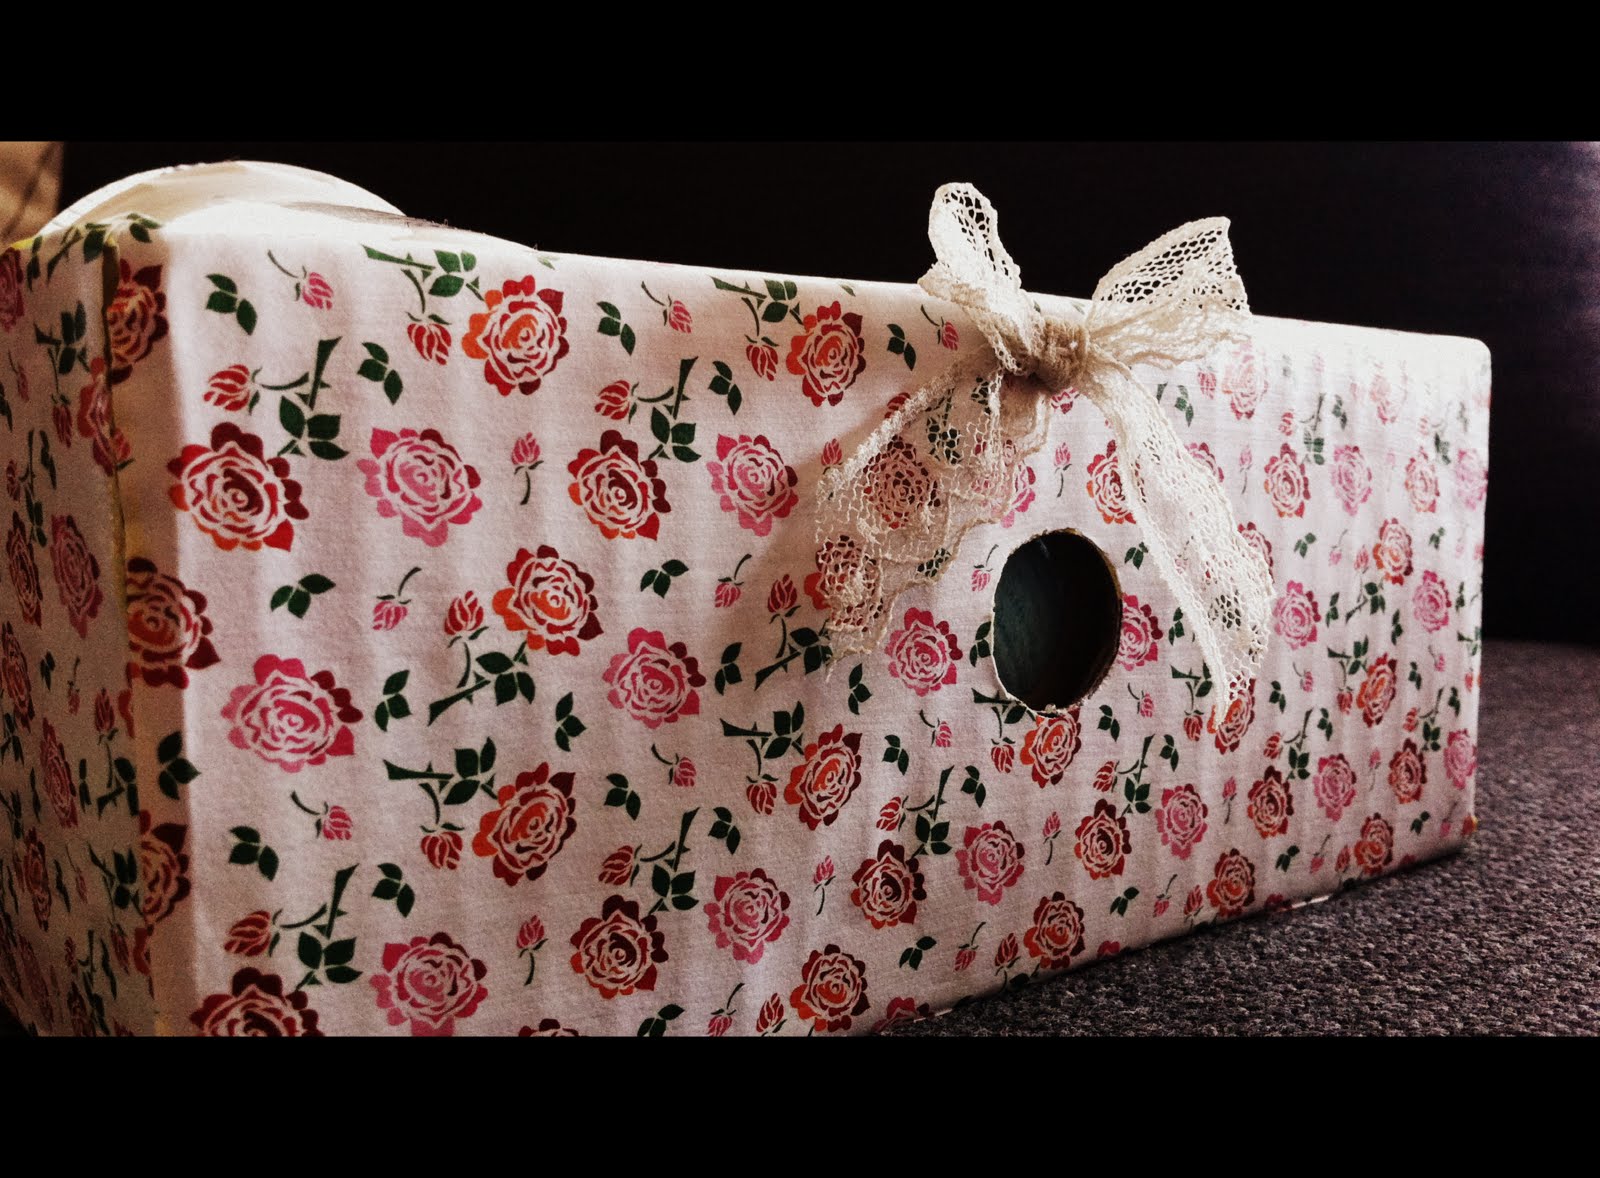
Prettyfied Toiletries Box

Wednesday, July 11, 2012
No-Sew Faux Roman Blind
This was on my list to do for a very long time..two years maybe. Our kitchen window has been standing bare ever since we moved in.. Eventually, it stopped bothering me and i forgot that the window needed some attention too. Just yesterday..I was in the mood to play around with some fabric I had. i took a look at all the ideas I had been pinning. I decided i'd try a roman style blind.
I already had tension rods and some fabric.
So first i ironed, measured and cut my fabric.
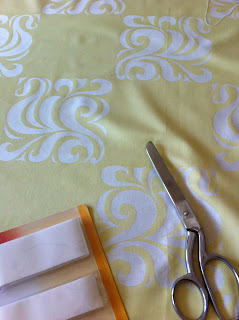
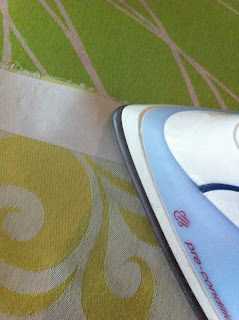 The best part..it is a no-sew project! I used iron-on strips to 'hem' the 3 sides of my measured piece of fabric. (two sides on the length and one on the bottom)
 For the top part i used fabric glue..i left enough space for the rod to pass through while folding this top seam.
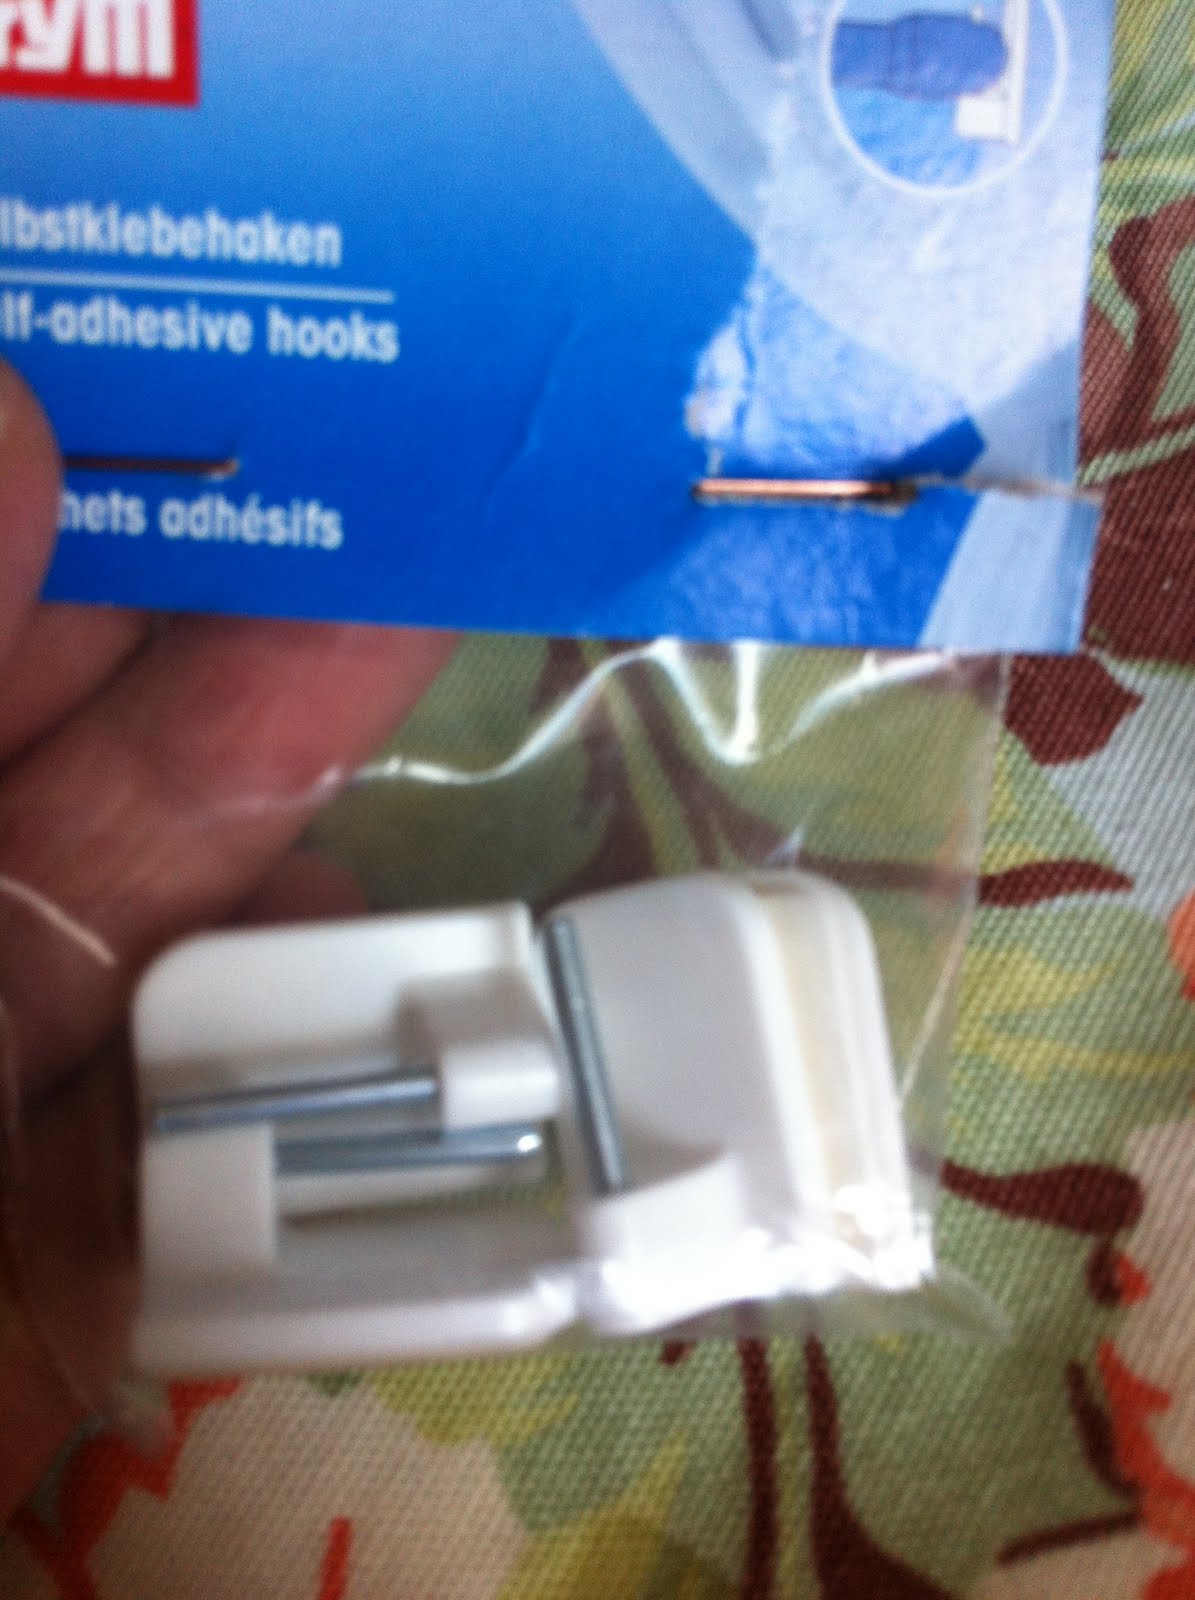
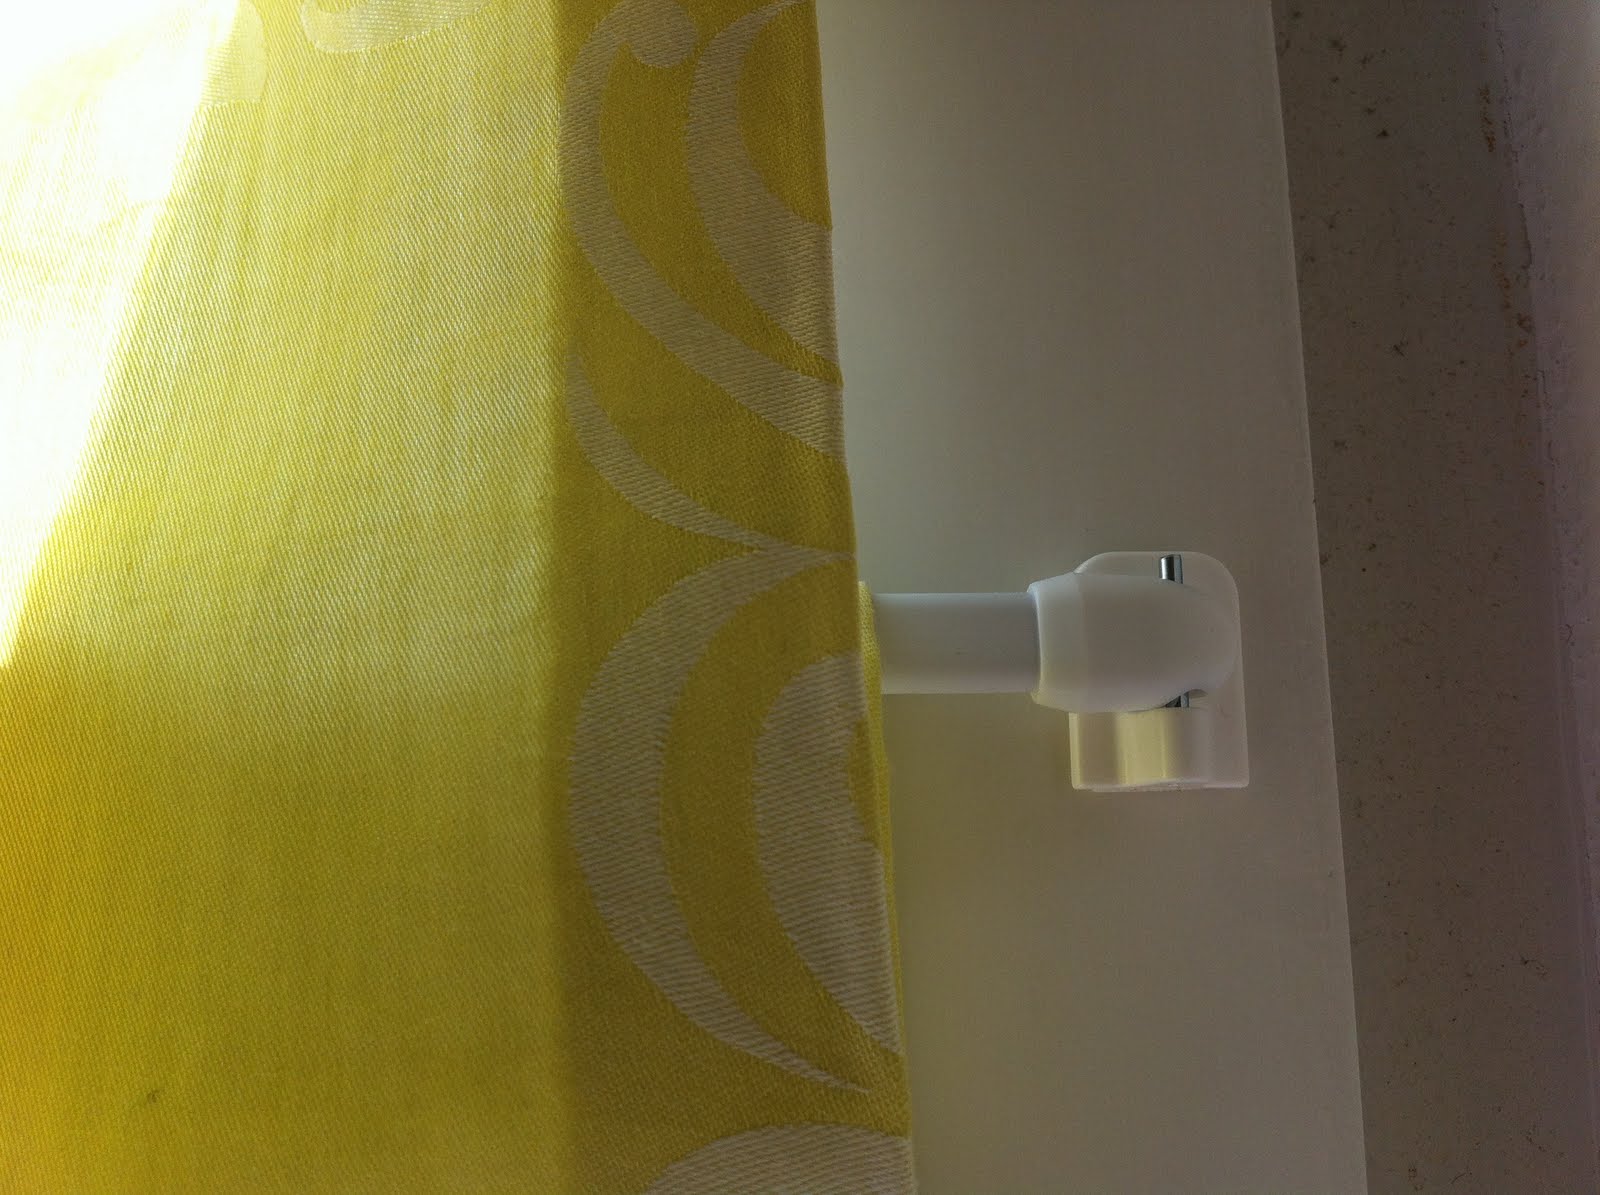
 The best thing after no-sew is no-drill ! i used adhesive clips to hold the rods.
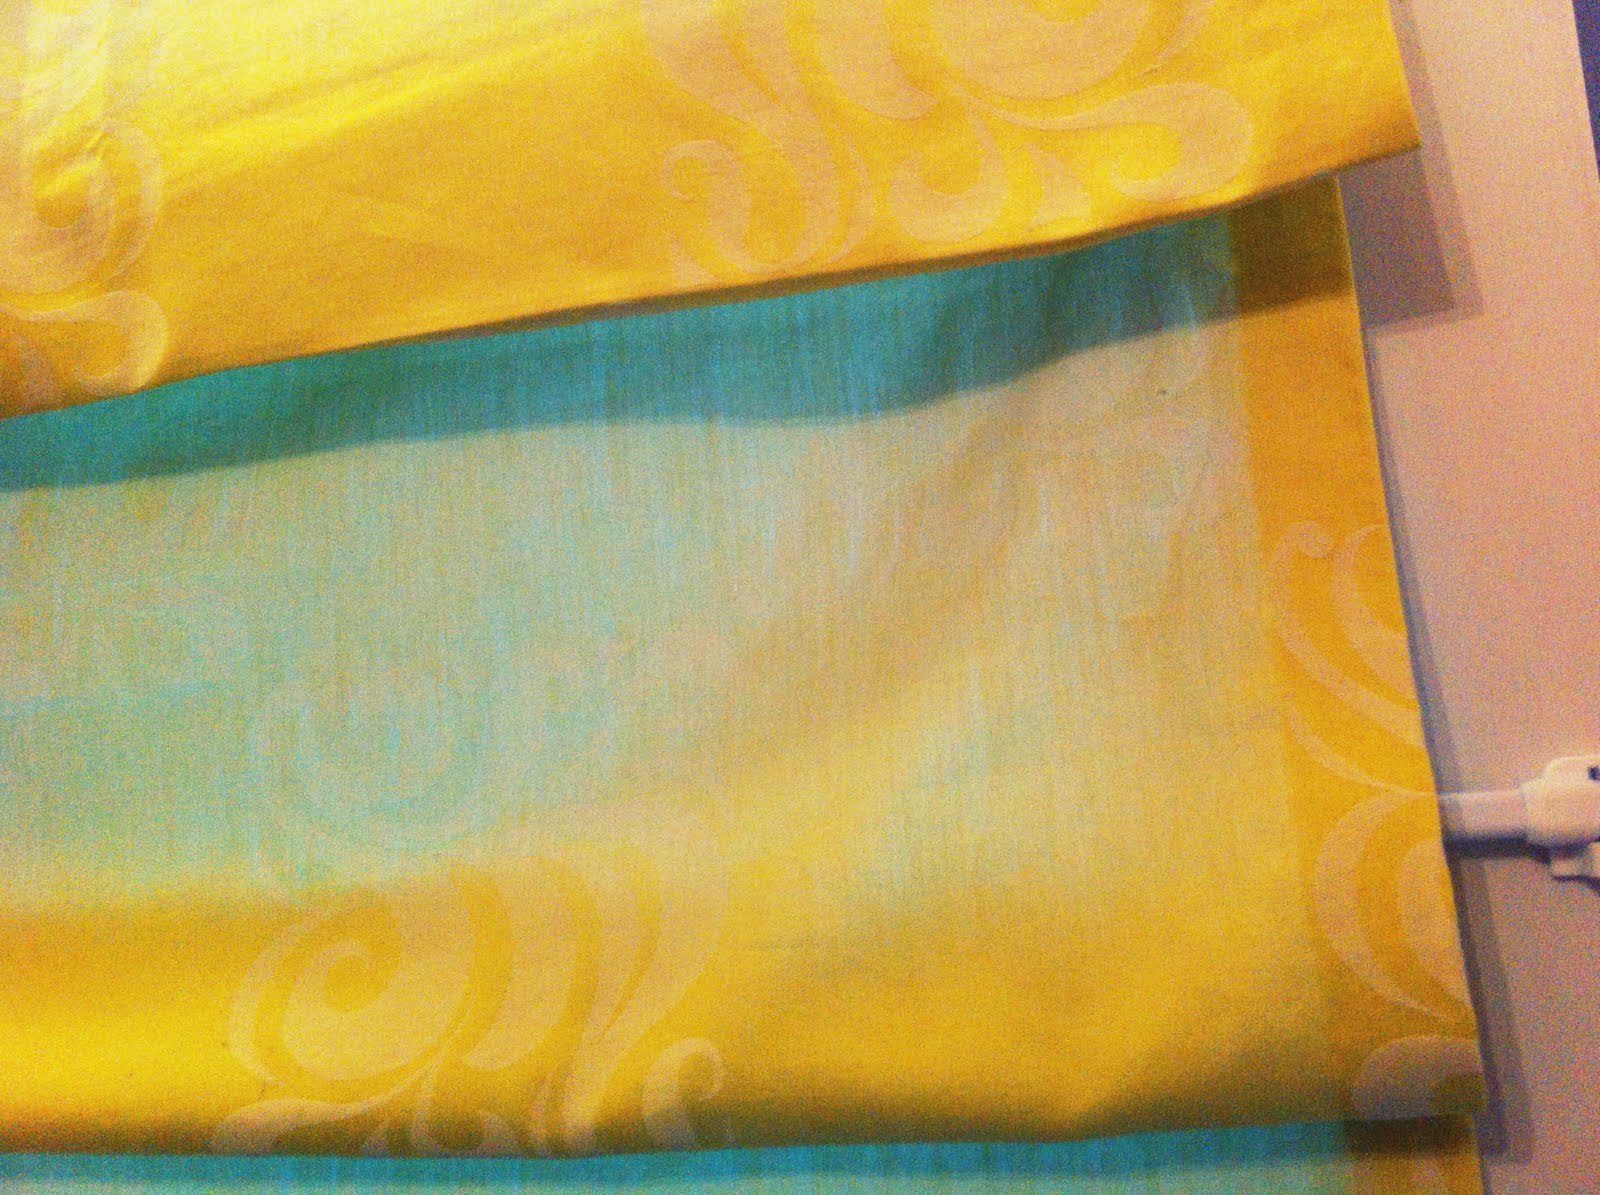
 I passed one tension rod through the top fold and hung it on the window. Several inches below that i hung another rod..On this second rod I drapped the fabric in a fold..like a roman blind would have.Its better to iron these creases for a sharp fold.
Use three or four tension rods to add folds. i only had two but i used a dowel in the middle fold for the time being.
 I could not take any better pictures because the weather is all dark and gloomy.

PS. Notice my fairy lights ? I pretend being Nigella in the kitchen!
I already had tension rods and some fabric.
So first i ironed, measured and cut my fabric.


Use three or four tension rods to add folds. i only had two but i used a dowel in the middle fold for the time being.
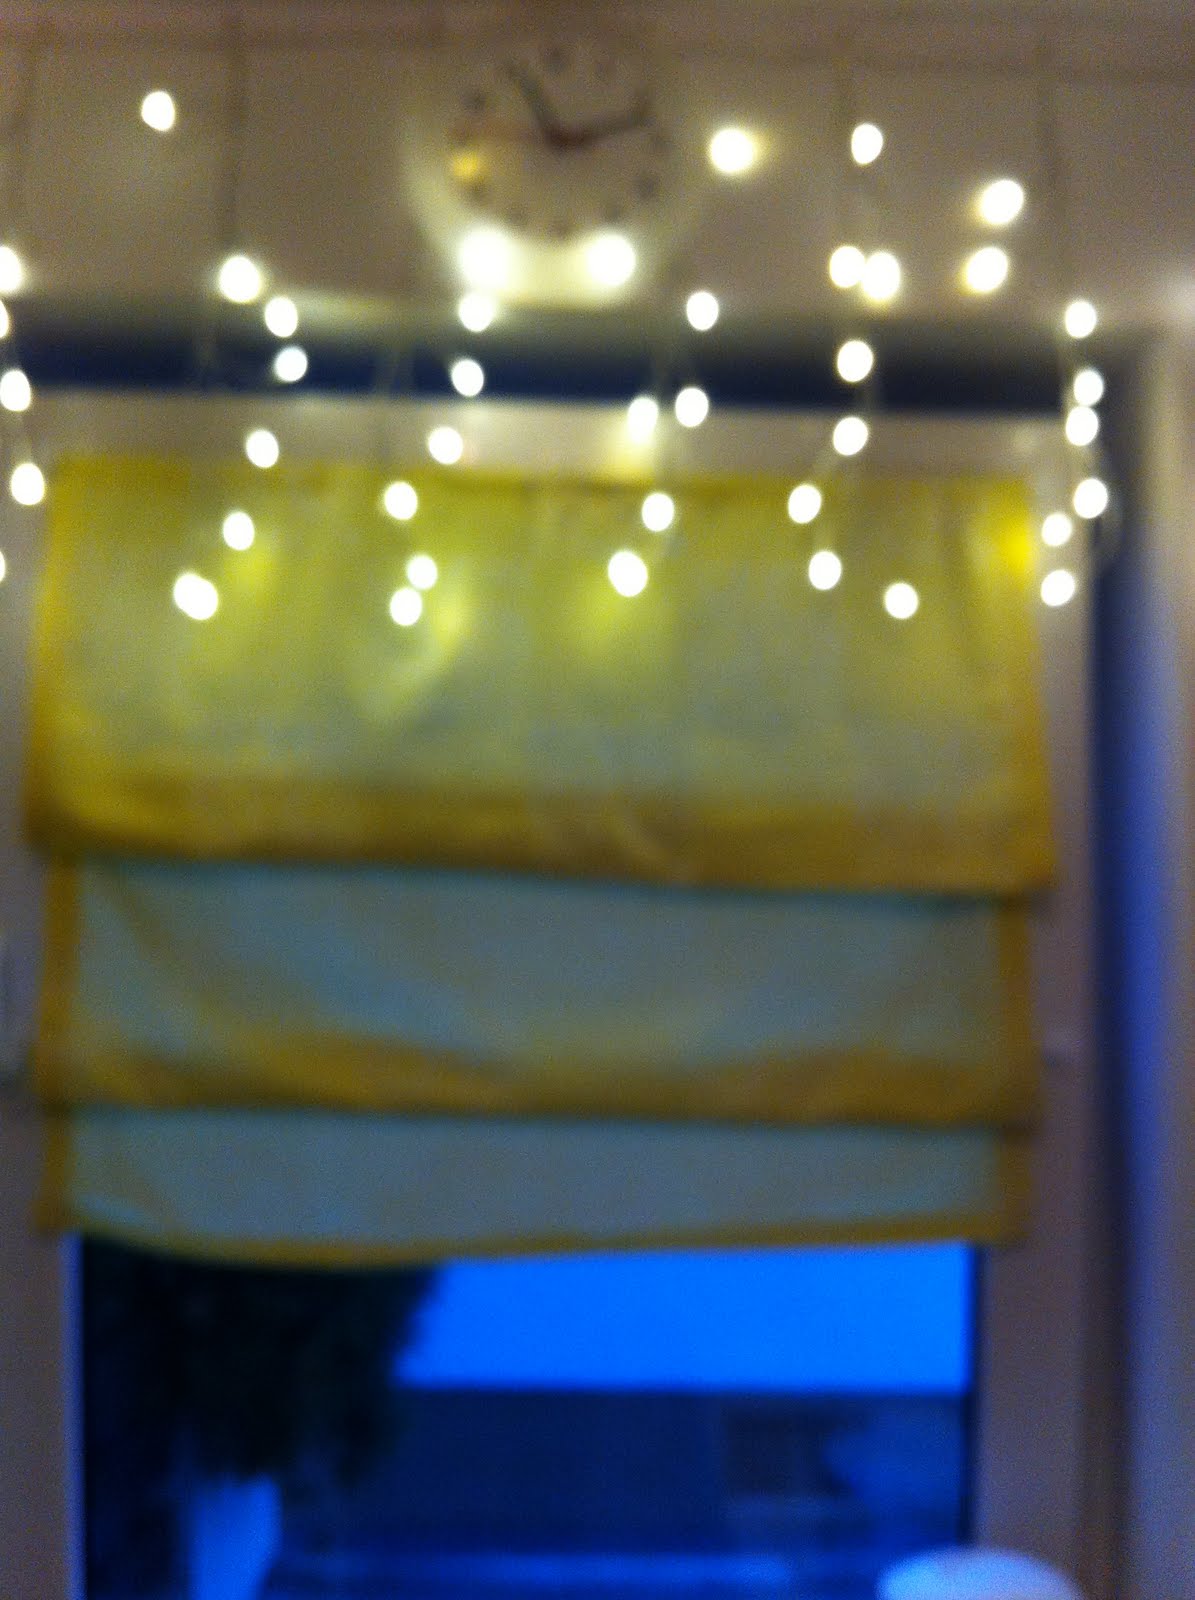
PS. Notice my fairy lights ? I pretend being Nigella in the kitchen!
Diaper Box Repurposing
Like I said before..I could feel the waves of 'Alles in Ordnung' coming my way. So here it is, and I hope its here to stay. You know you are a true crafter when you spy DIY everywhere!
I got my inspiration from this:
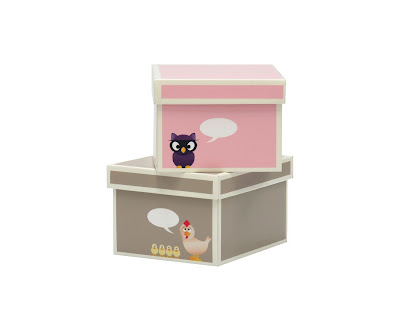
Westwing Home and Living
Mine turned out to be a cost-free project :)
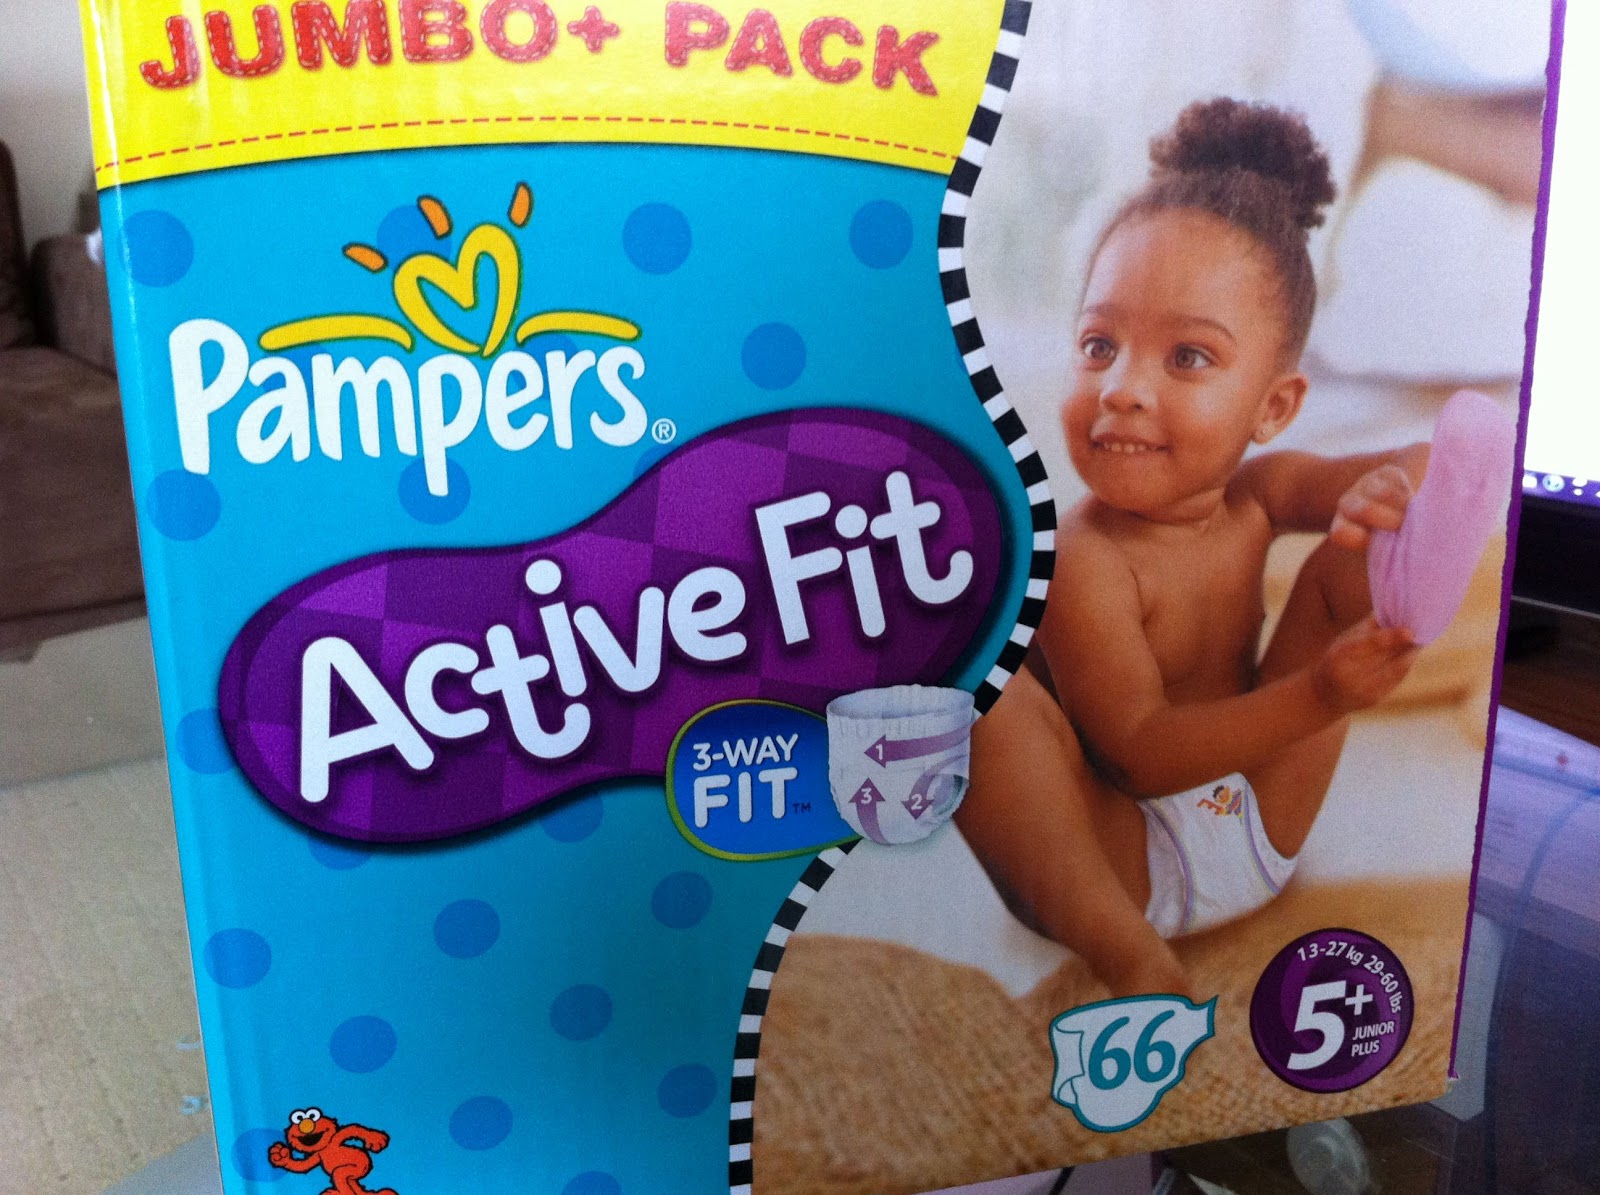
Diaper Box -Free
Fabric- Repurposed

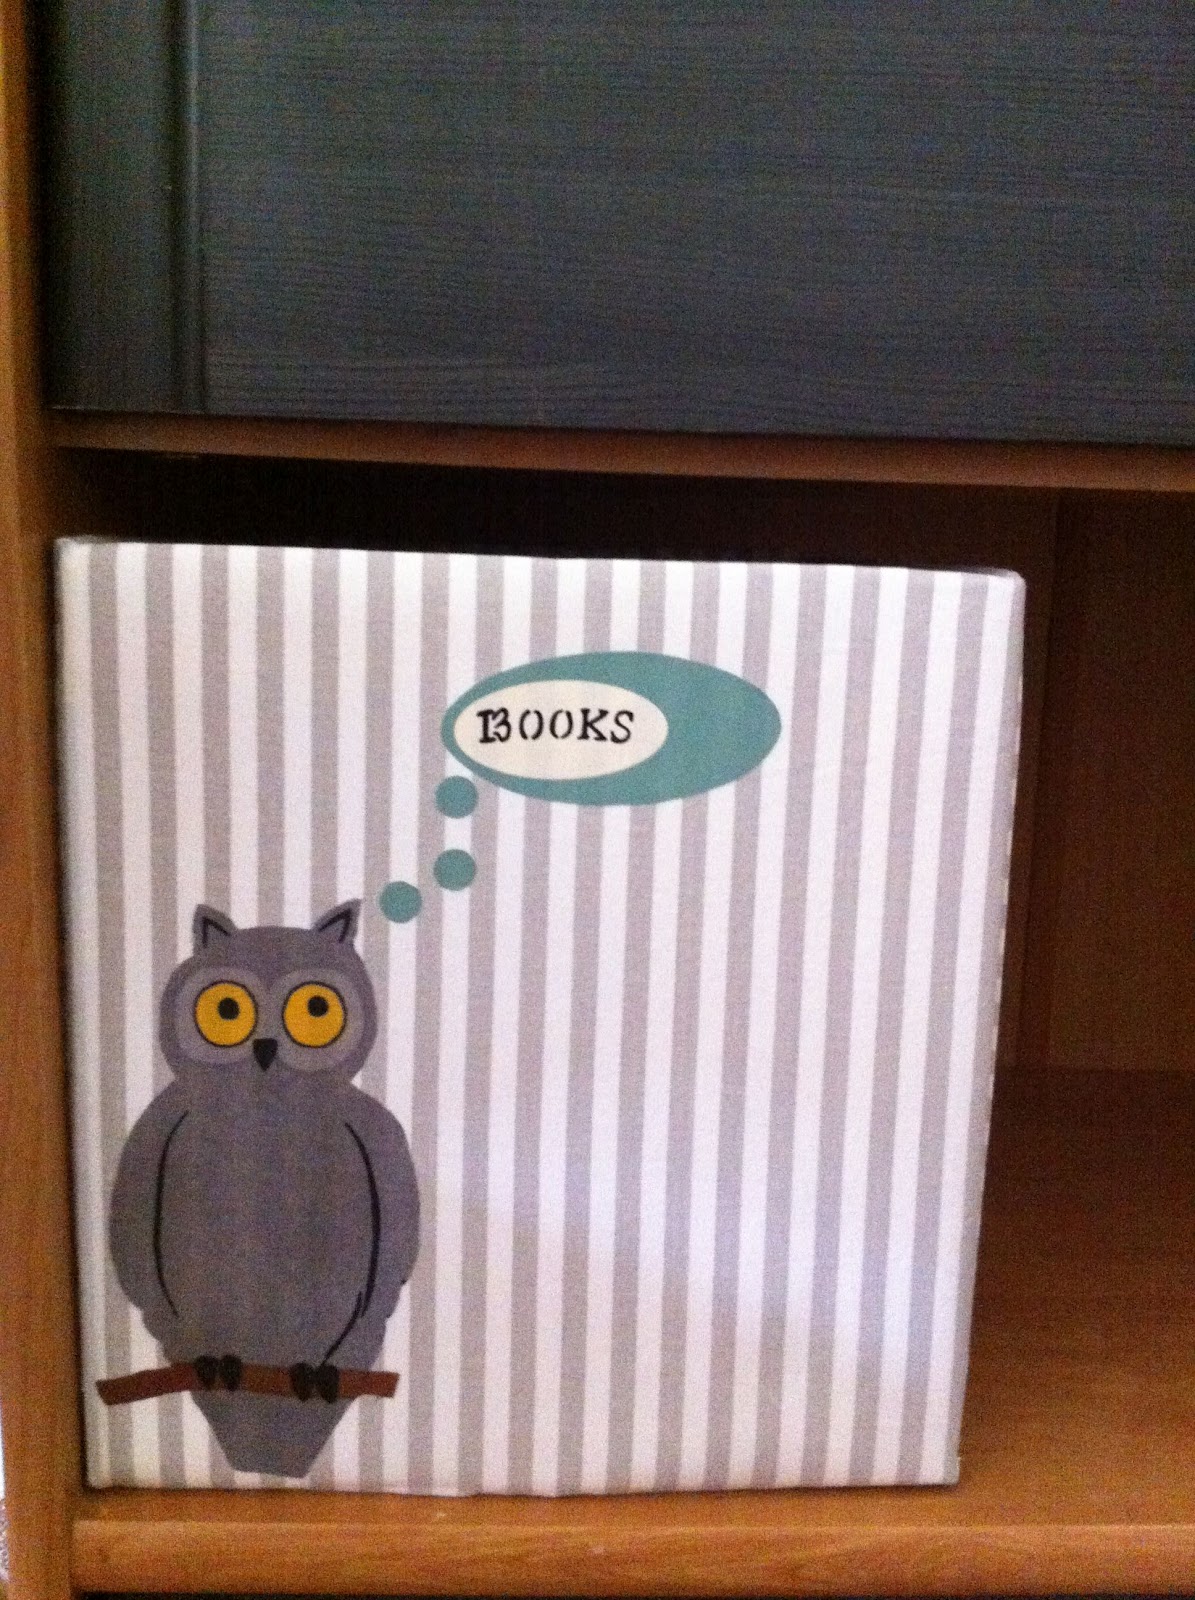
From this to this!
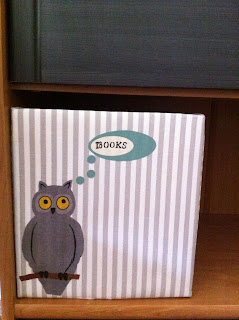
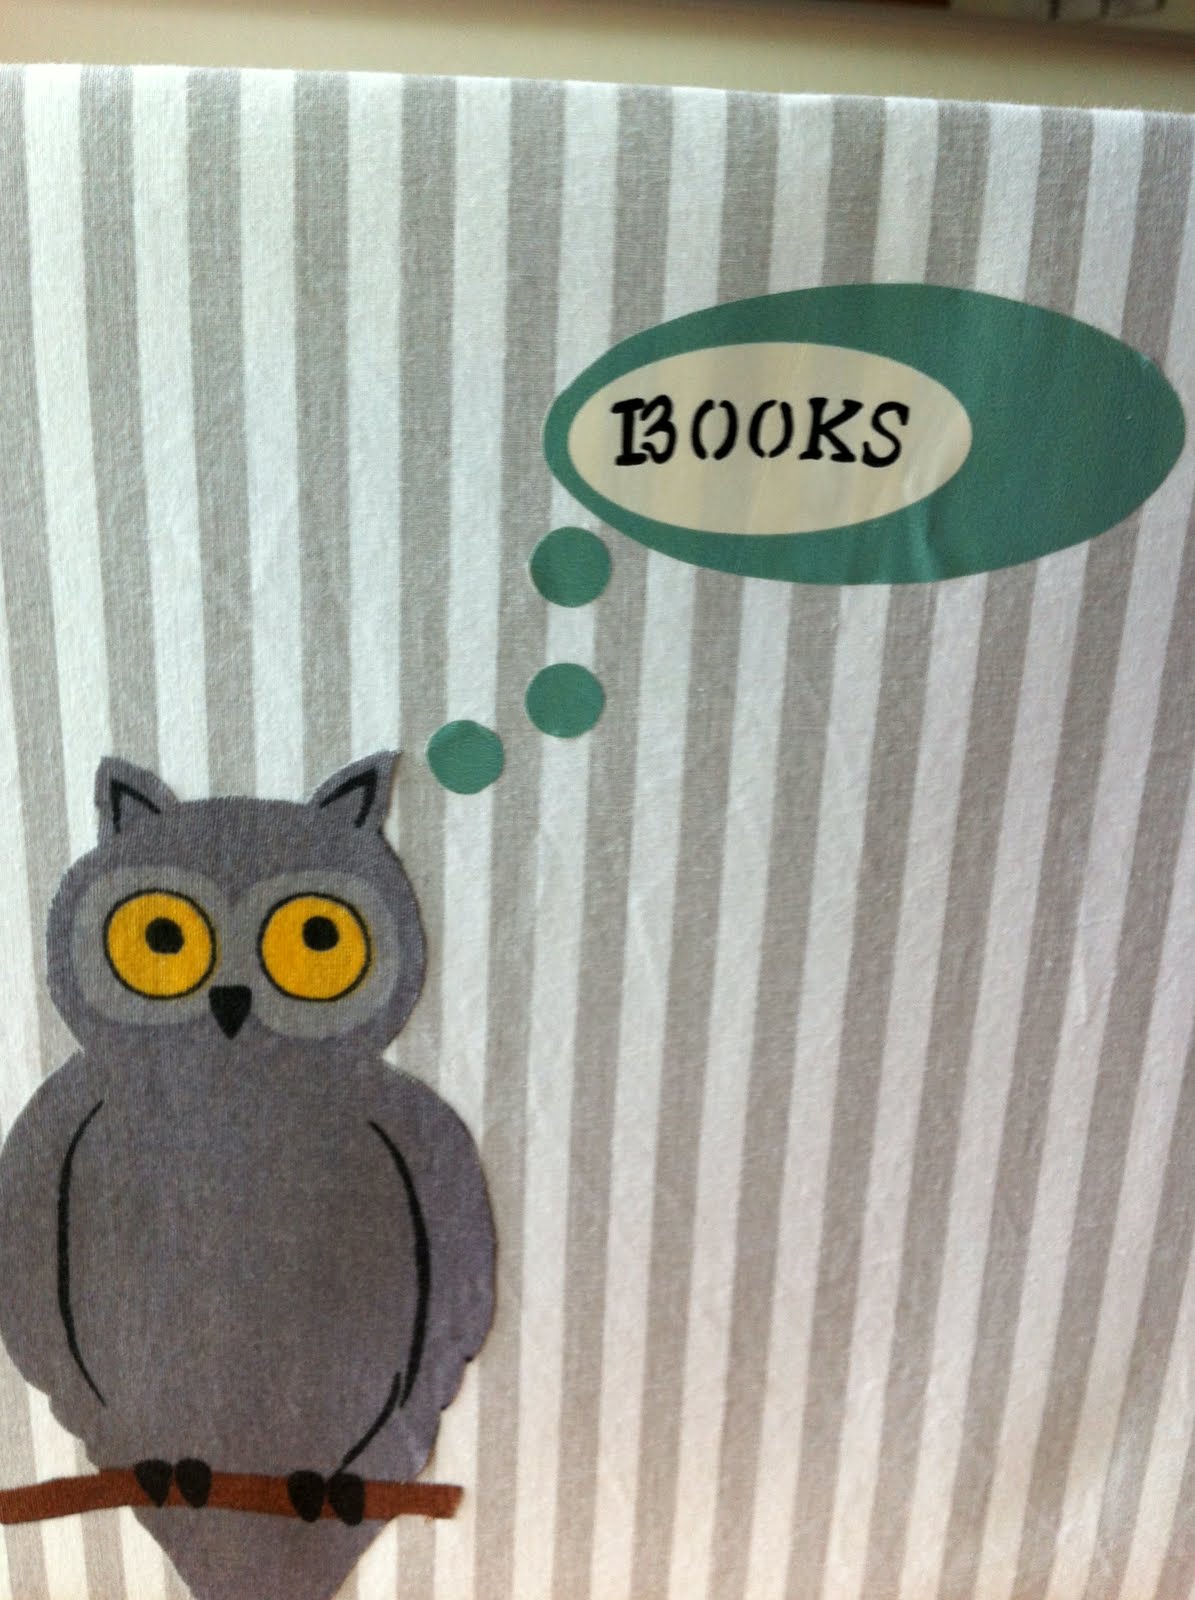
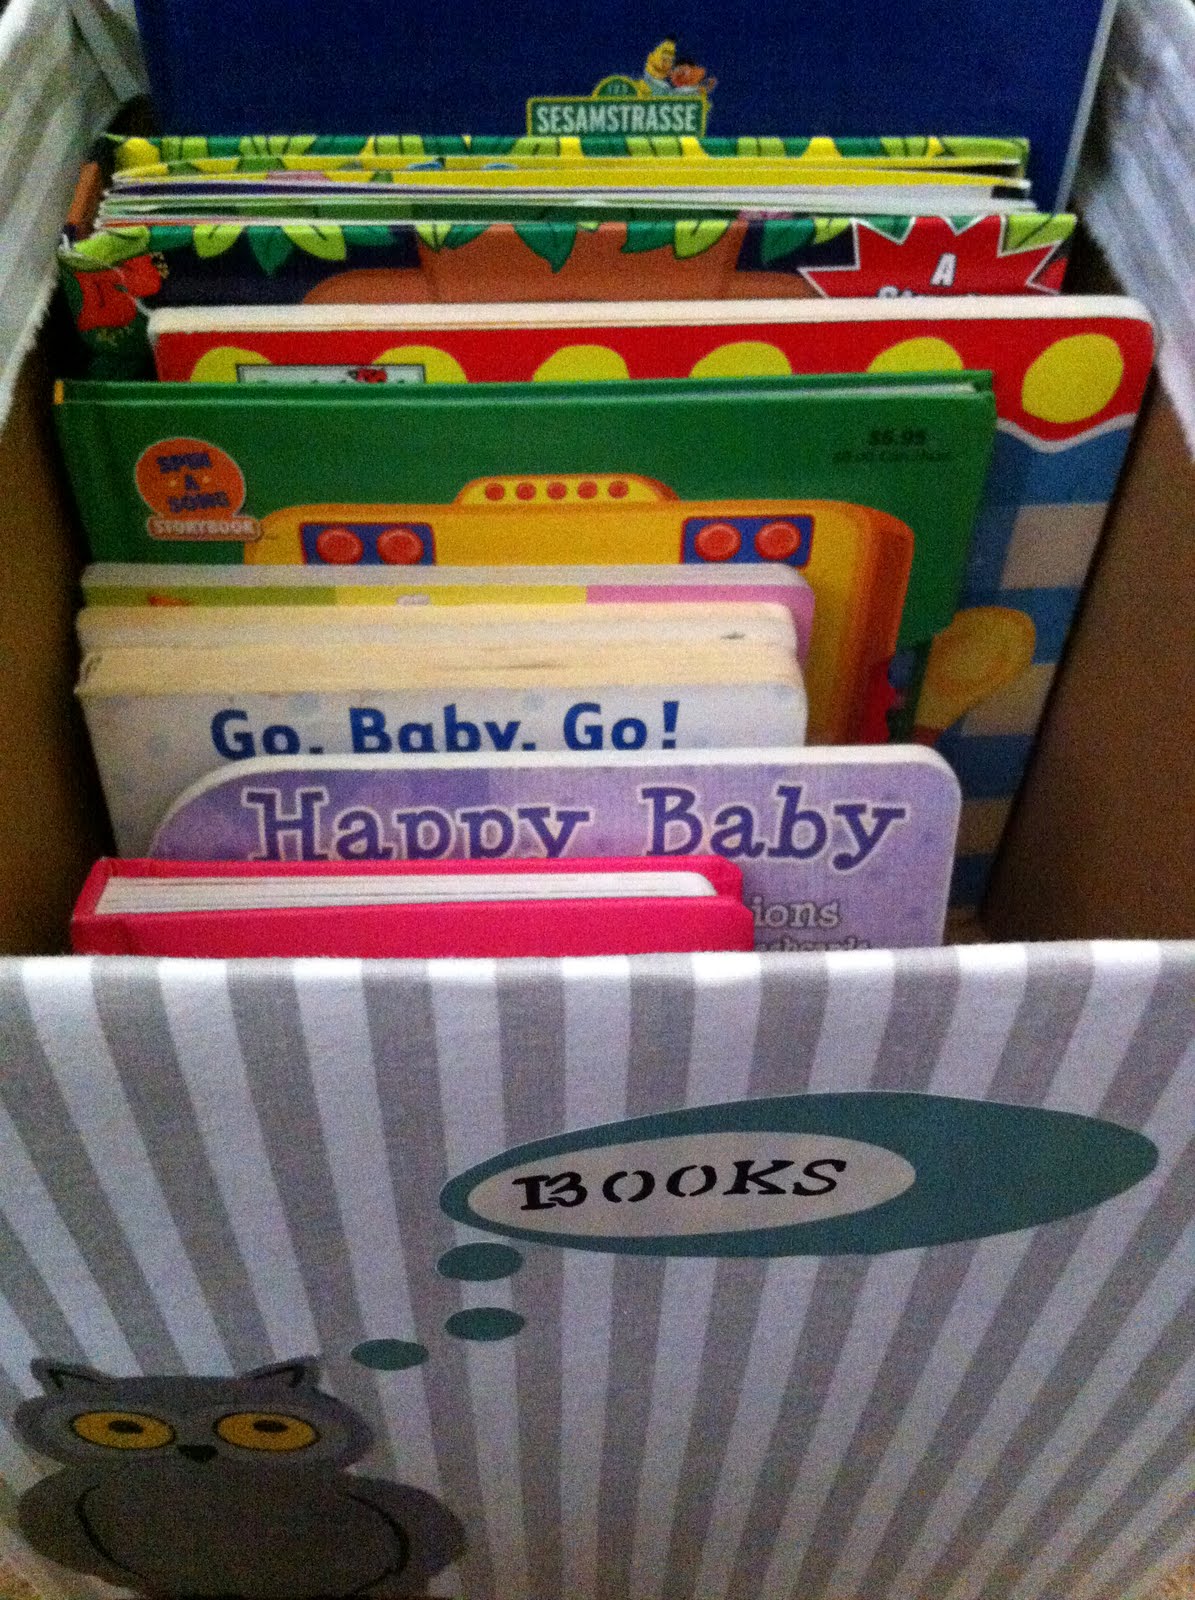
I simply covered the box using a fabric I have used in so many other projects too. I wanted a storage box for my 1 year old's books. After seeing the set of two boxes above..my brain went hmmm > owl > wise > books > pillow > diaper box!
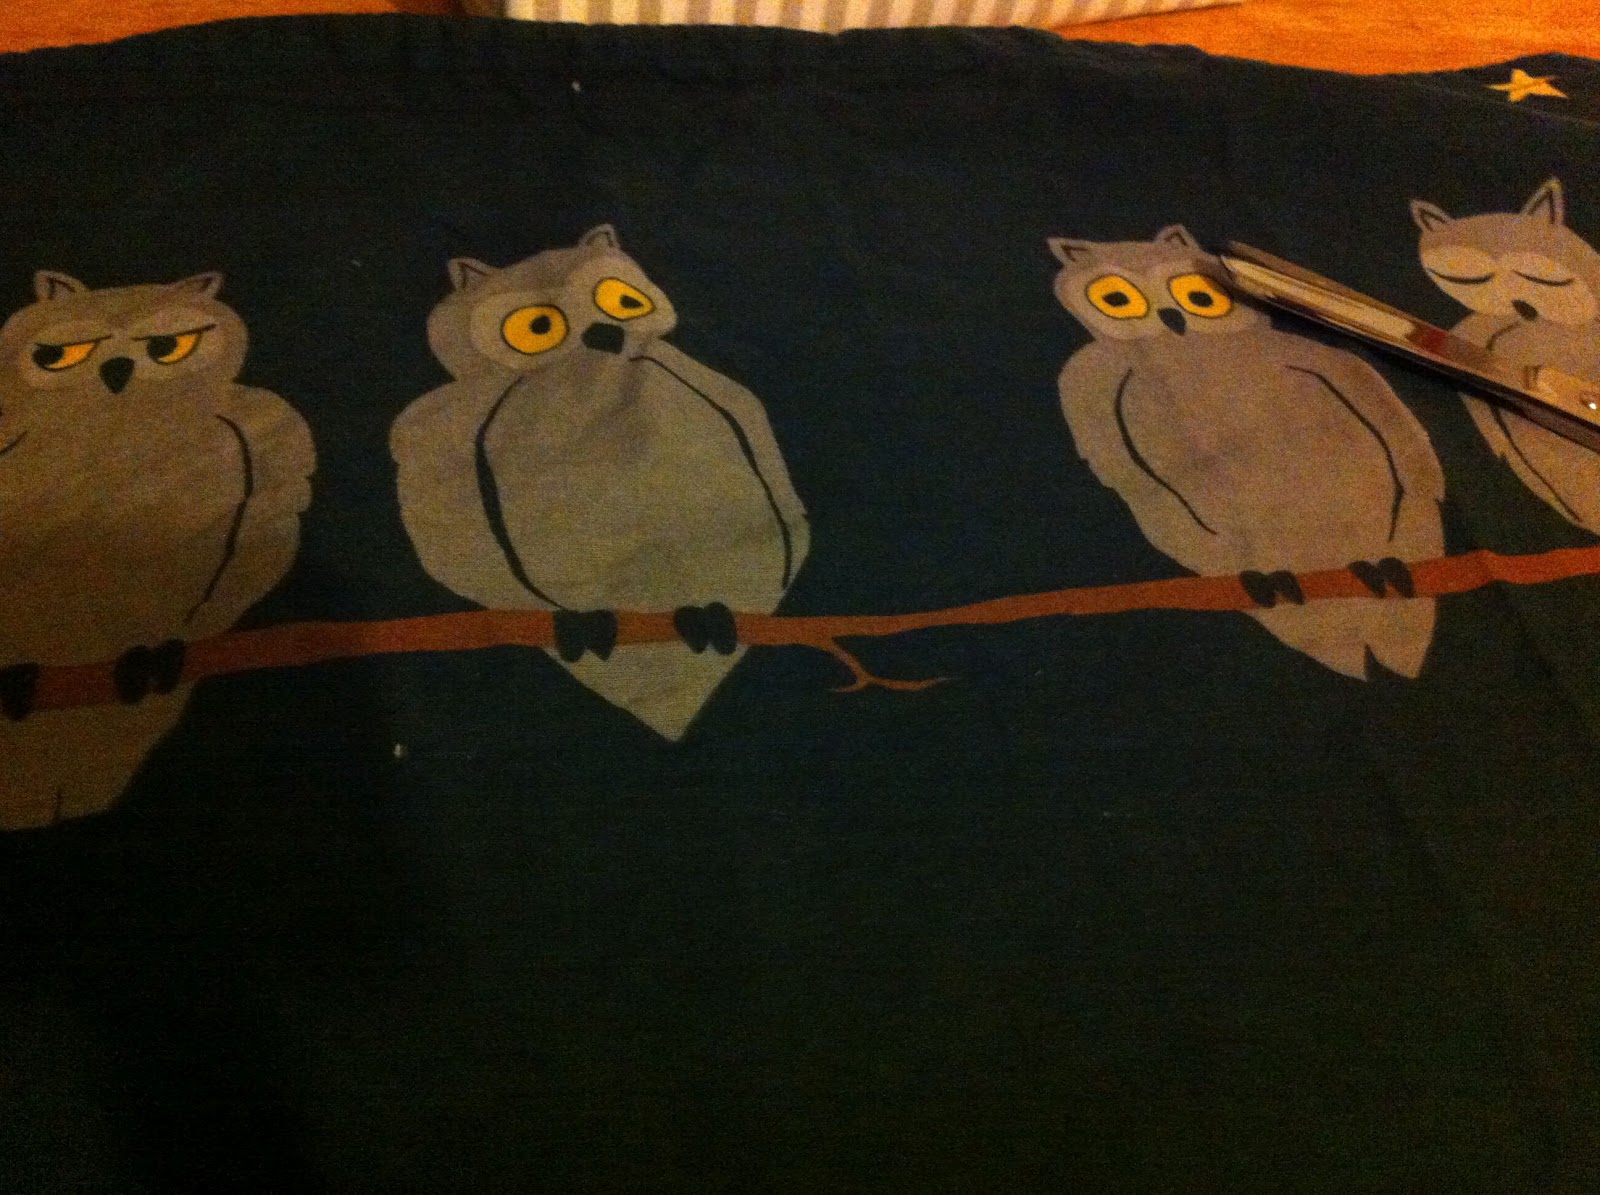
 I cut the owl out from this faded pillow case. It was my brother's and I grabbed it when I was staying at my mother's place few months back! I knew I was going to need some wise owls :)
For the label..my printer was out of ink and I don't have the luxury of a fancy silhouette machine so I just cut out a petal of a flower from a printed contact paper.


I got my inspiration from this:

Westwing Home and Living
Mine turned out to be a cost-free project :)
Diaper Box -Free
Fabric- Repurposed
From this to this!
I simply covered the box using a fabric I have used in so many other projects too. I wanted a storage box for my 1 year old's books. After seeing the set of two boxes above..my brain went hmmm > owl > wise > books > pillow > diaper box!
For the label..my printer was out of ink and I don't have the luxury of a fancy silhouette machine so I just cut out a petal of a flower from a printed contact paper.
Monday, July 9, 2012
Ramadan: Cover & Wrap for Quran
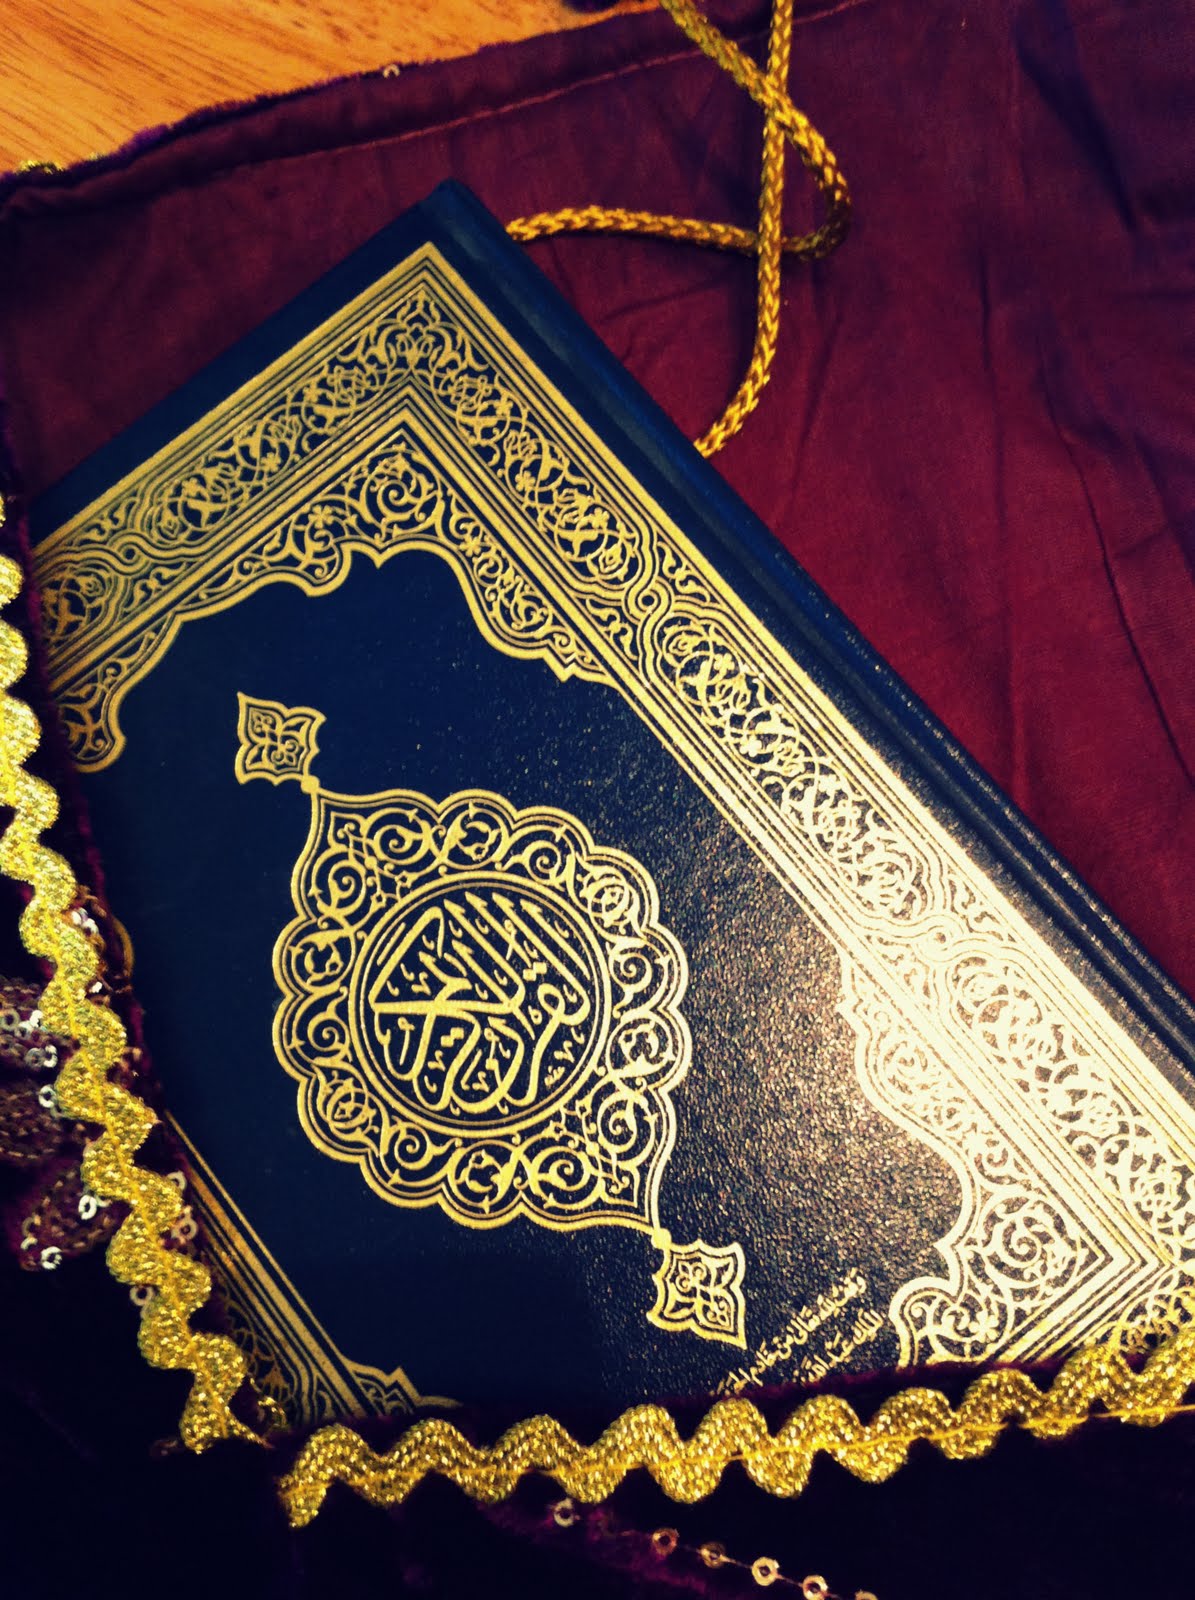
 Although this is not a Ramdan specific DIY, but still I thought a post about it would make a nice entry before the arrival of the Holy month. Customarily, there is a trend in Muslim communities to present the bride with a Quran at the time of her departure from her parent's home. I was given one too and my mother who likes to pay attention to the detail..made a personalized cover for the Quran for me.
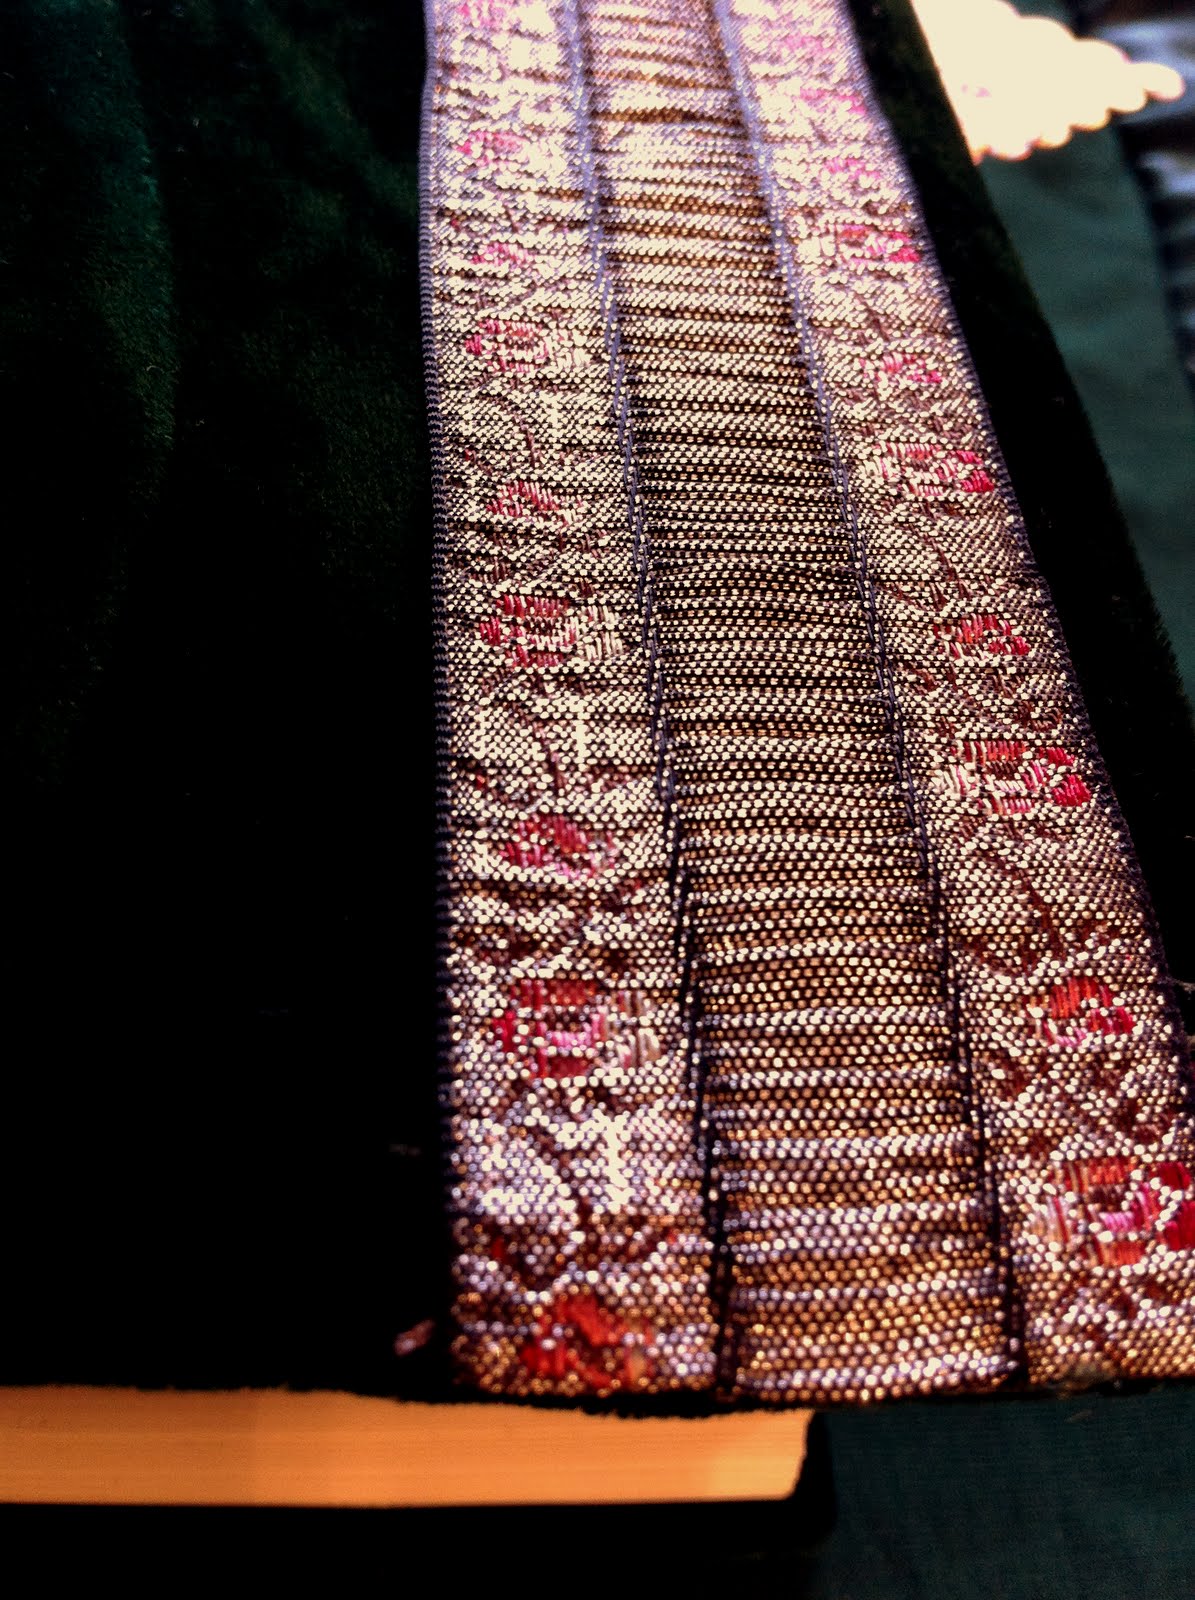
She used a rich emerald green velvet to cover the Book.
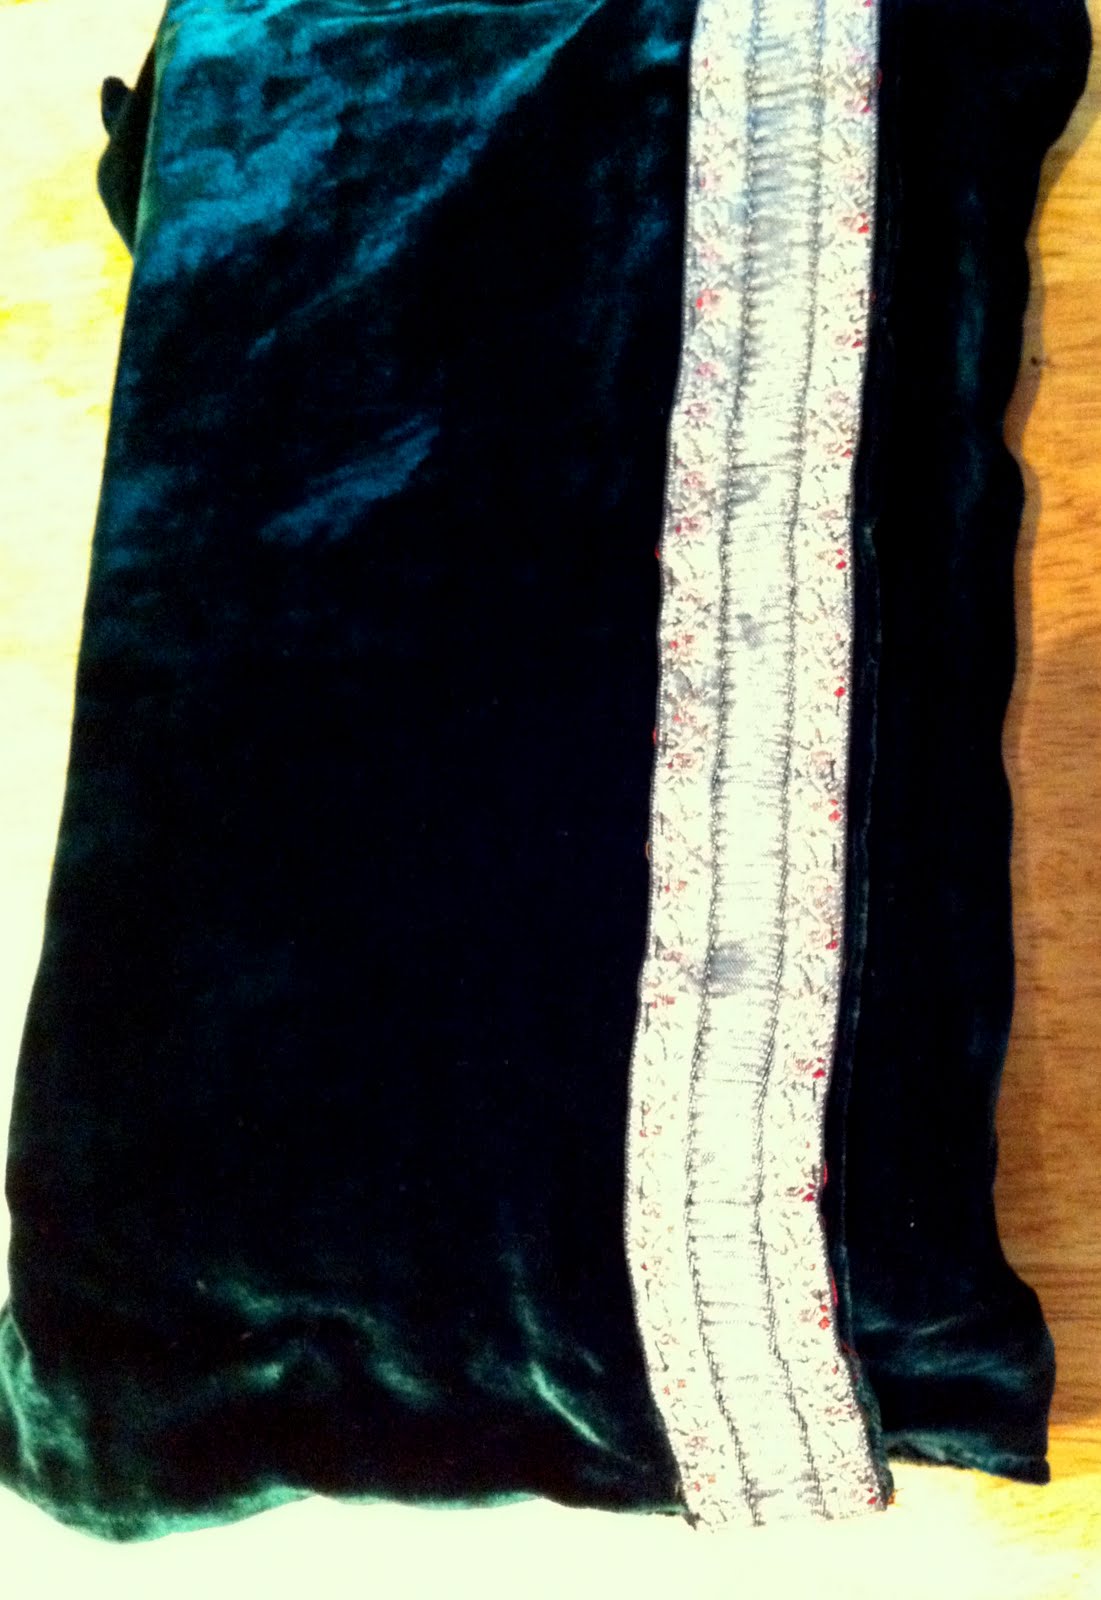
 For the case..she made a wrap using the same velvet and some silk hemmed inside. A satiny silver lace was used to add detail and memory..Memory of the dress she made for my last Eid at home. It was the same lace that she used on my dress..which she stitched herself too! Oh and she made a luxurious green velvet stole for me too..all hemmed by hand as a gift :) Thank you mama!!!
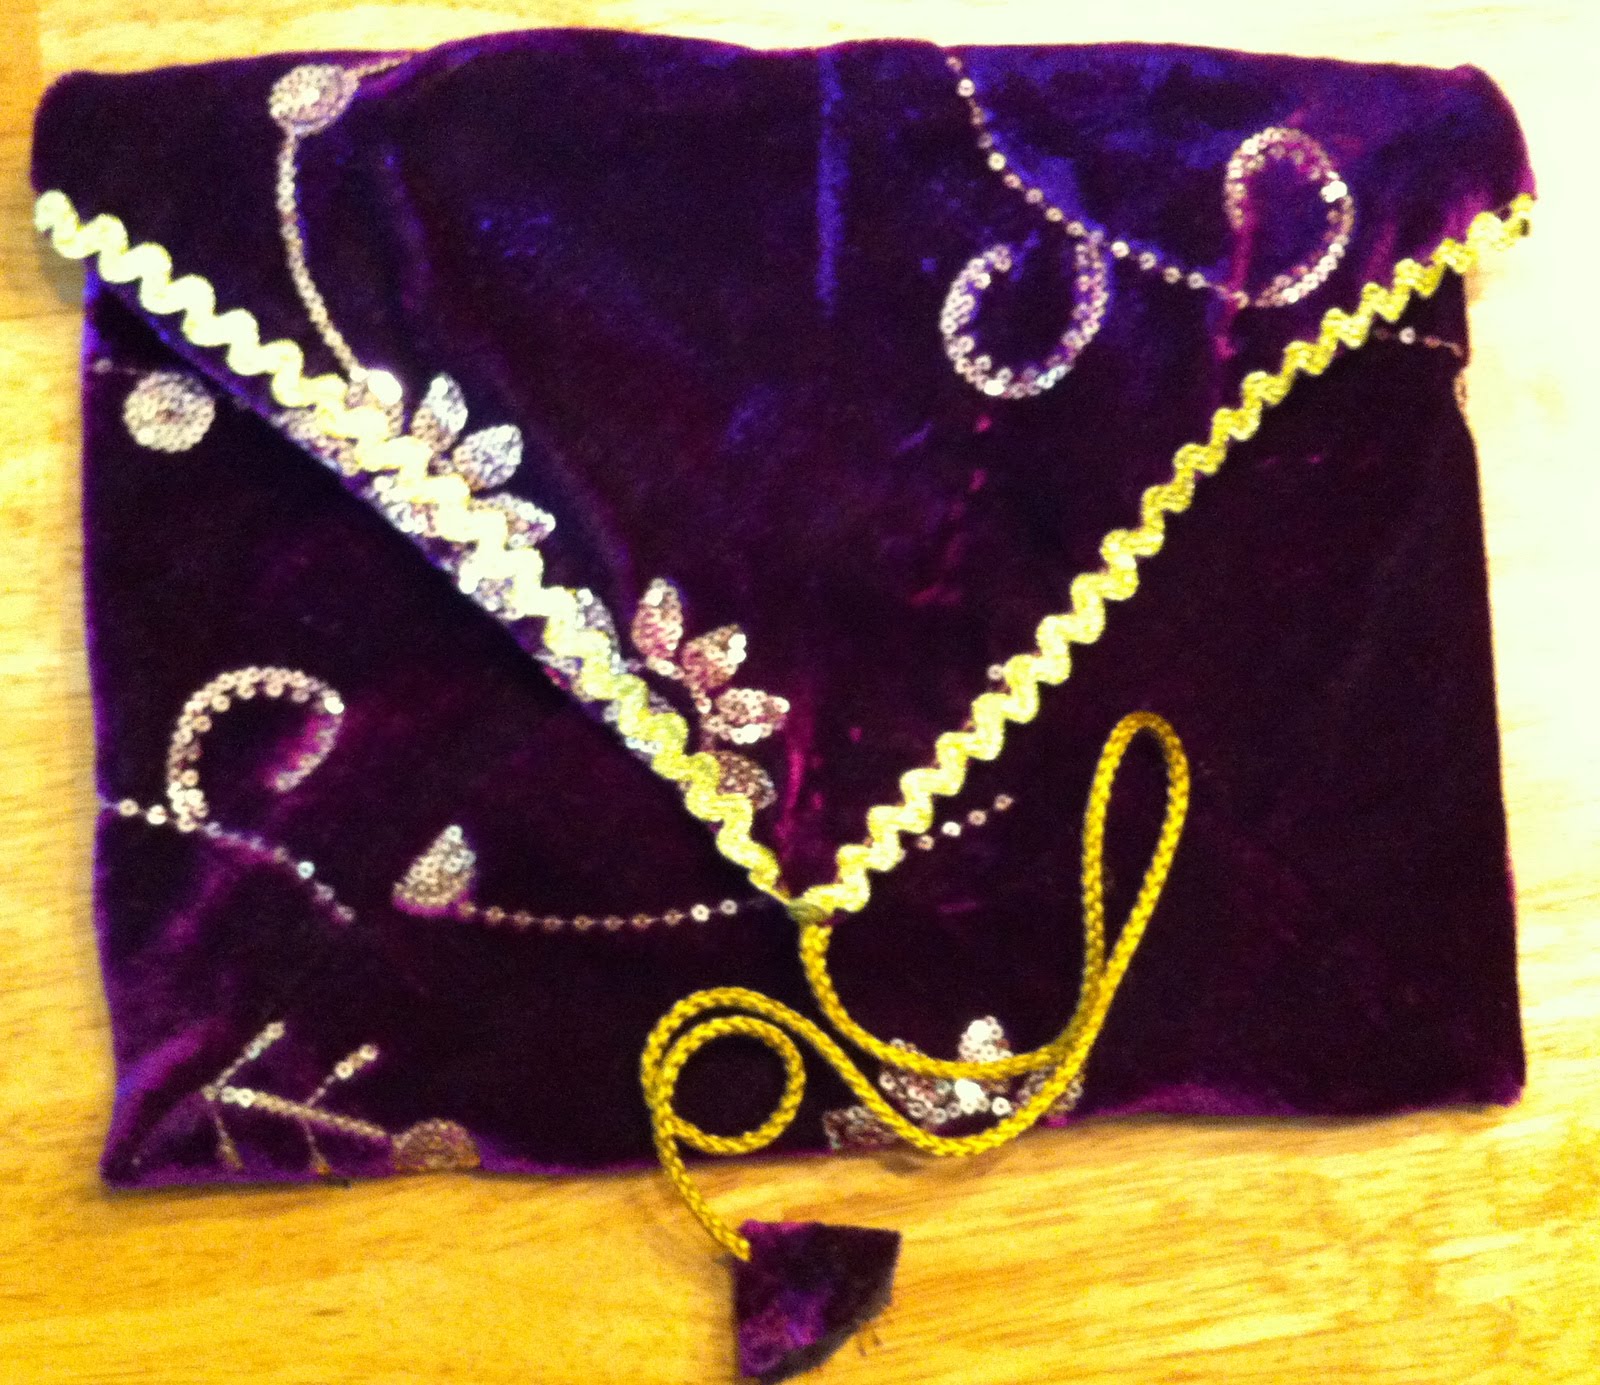
She also made one extra envelope case with ric-rac trim :)
Sunday, July 8, 2012
Ramadan: Bookmark for The Quran
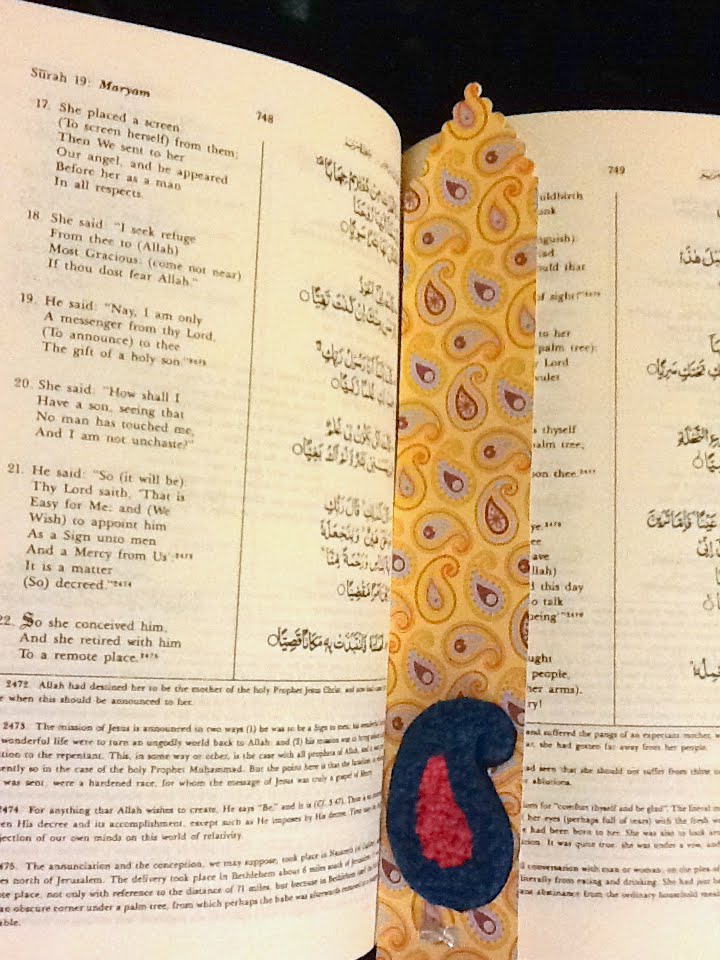
A handmade bookmark symbolizes great love for your books. Although for me sticky notes, dog-ears, the receipt of the book itself or an old credit card..all qualify as bookmarks. All other books aside The Quran is a special book..so I thought I'd make myself a beautiful bookmark to use just for The Quran.
 As quick as 123.
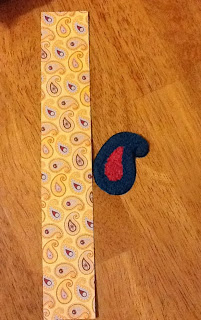 I took scrapbook paper and cut it to size.
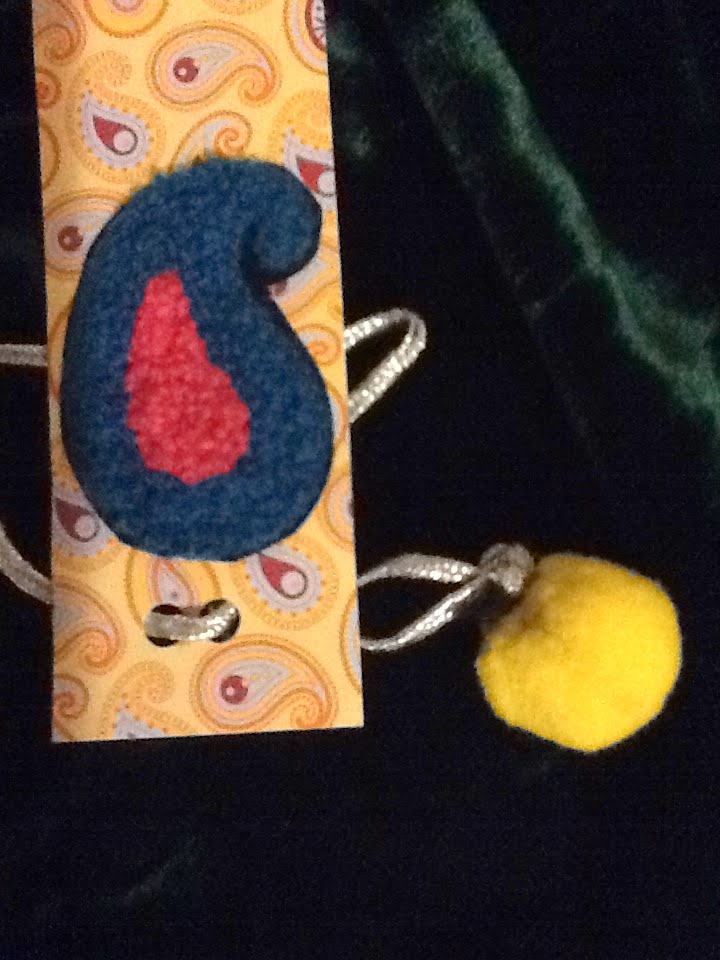
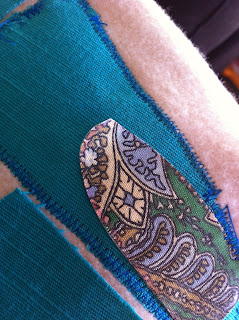
I added matching detail by using a woolen paisley at the end. On the top I did a scalloped edge.
For the thread of the bookmark I used a silver cord with a yellow pom-pom at the end.

EDIT: Read My Ramadan 2013 posts Here:
 I took scrapbook paper and cut it to size.
I added matching detail by using a woolen paisley at the end. On the top I did a scalloped edge.
For the thread of the bookmark I used a silver cord with a yellow pom-pom at the end.
EDIT: Read My Ramadan 2013 posts Here:
Friday, July 6, 2012
Ramadan: Child's Prayer Mat
Children are so good at copying things. My son has amazed us many times by reenacting our small actions or body language. He keeps on feeding them in his subconscious everyday. To see our son imitating the movements and actions of praying was the sweetest of all moments. Whenever his dad is praying he drags another praying mat and starts doing the same as he does..he mimics him in a rather funny way but it is soooo adorable to see a toddler do that.
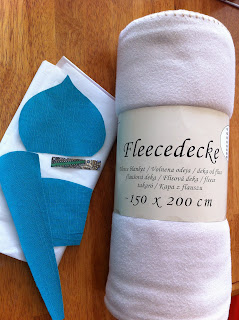
With Ramadan just around the corner I decided to make a small prayer mat for my son.

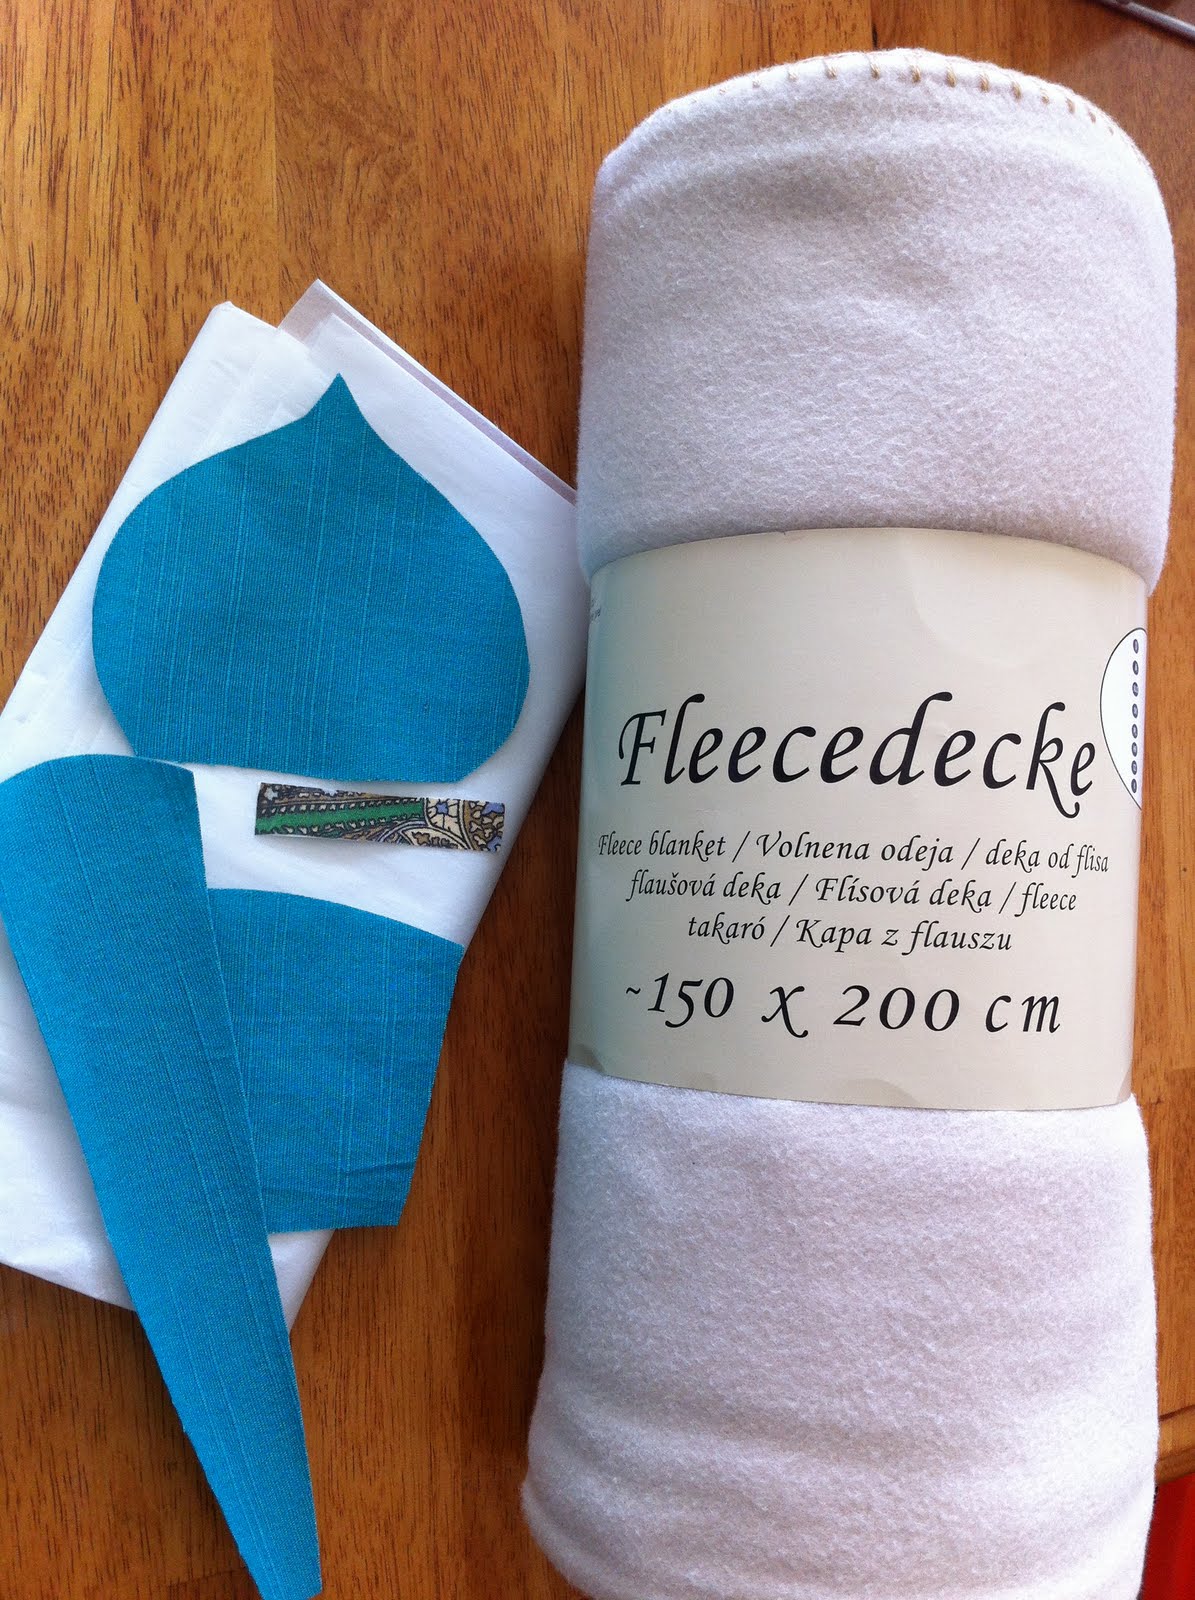
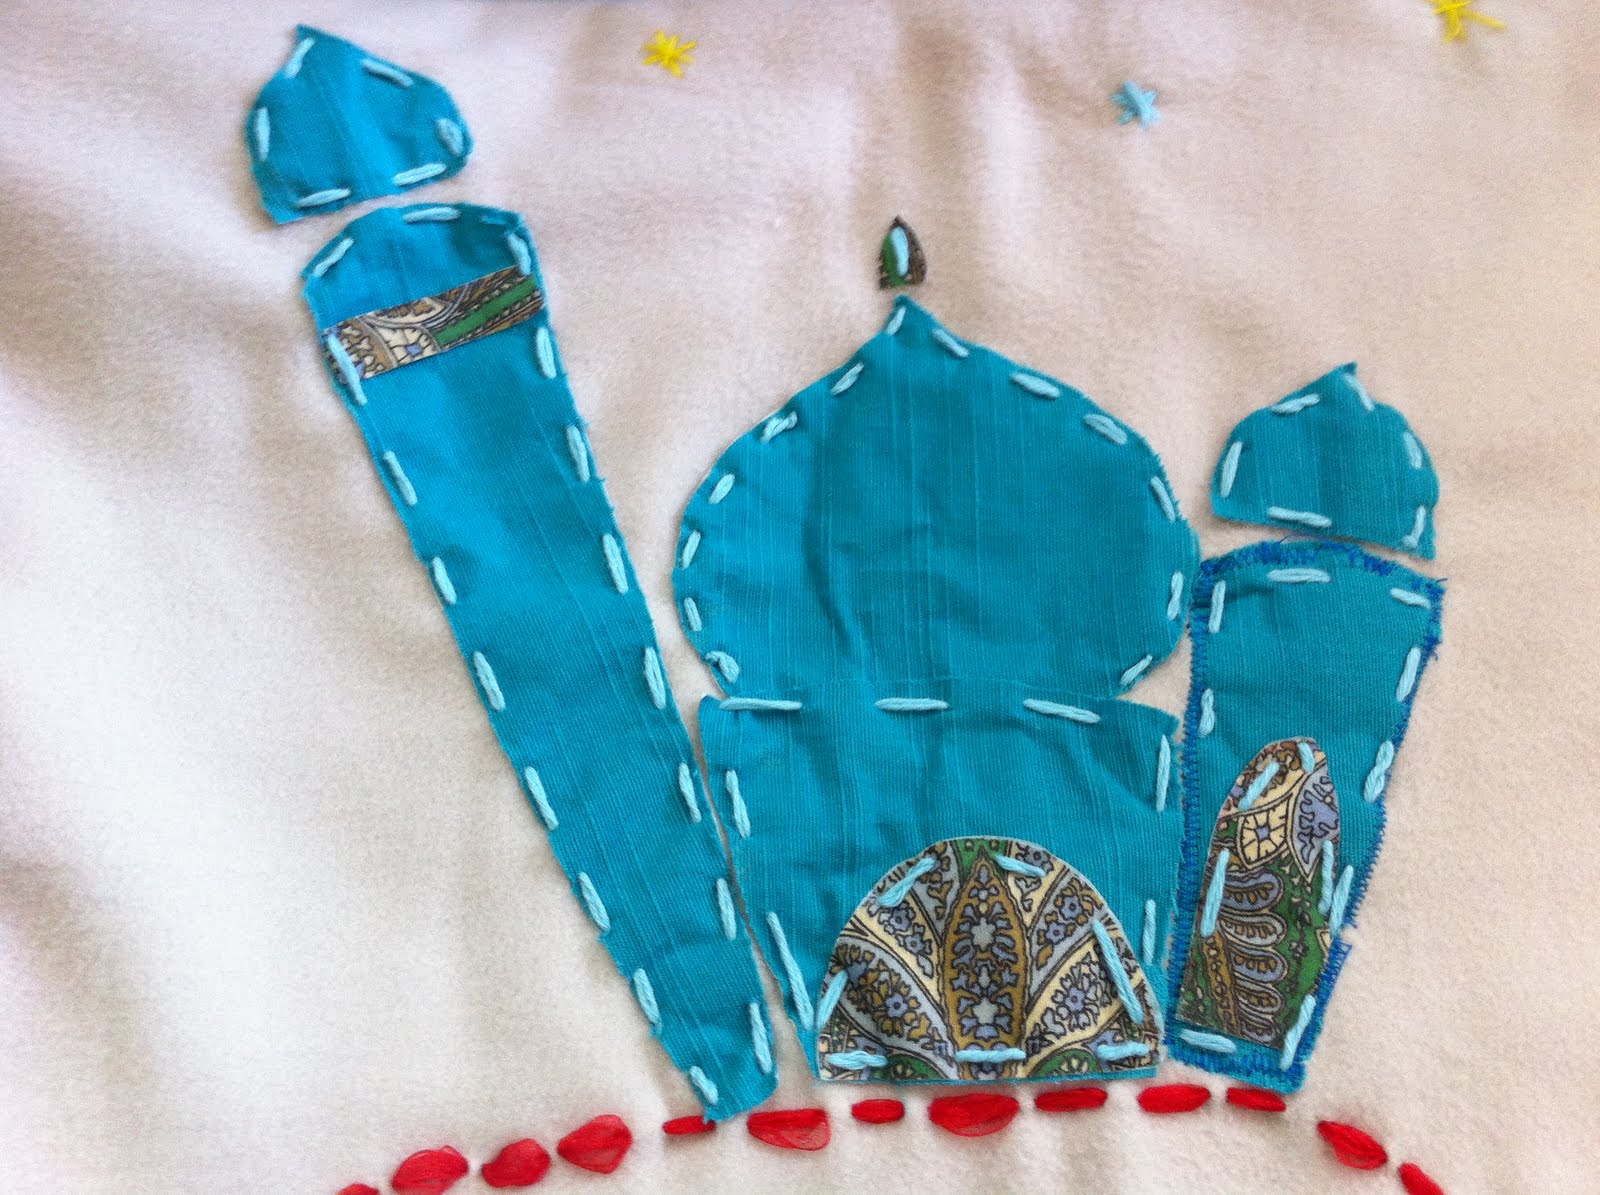
I wanted it to be really nice and soft so I used fleece for it. I also tried doing applique but it didn't work well for me..
 See the zig zag I tried..it was irregular an untidy so I had to scrape that idea and use fusible paper and adhesive spray instead.
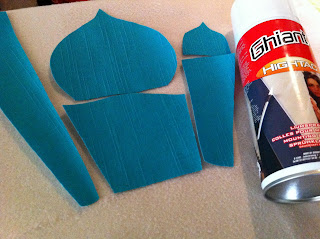
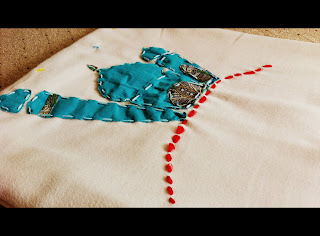
I ironed my fabric onto the iron on paper and cut out the shapes for a Mosque. Because I could not iron the shapes onto fleece (pssssst..i didn't know that..I tried to iron it on fleece and a pink gooey thing stuck onto my iron..oops have to clean that up as well ) So to tack it on I used yarn and a big needle to secure it onto the fleece.


Like 99.9 % of my projects this one was also a 'lets make tea and start a project'. So I did not have all the materials ideally required..but worry not I can always dig something out..like I did not have polyester or batting or anything to pad the mat so I used oven filters instead! Cheap and handy! They look just like batting don't they?
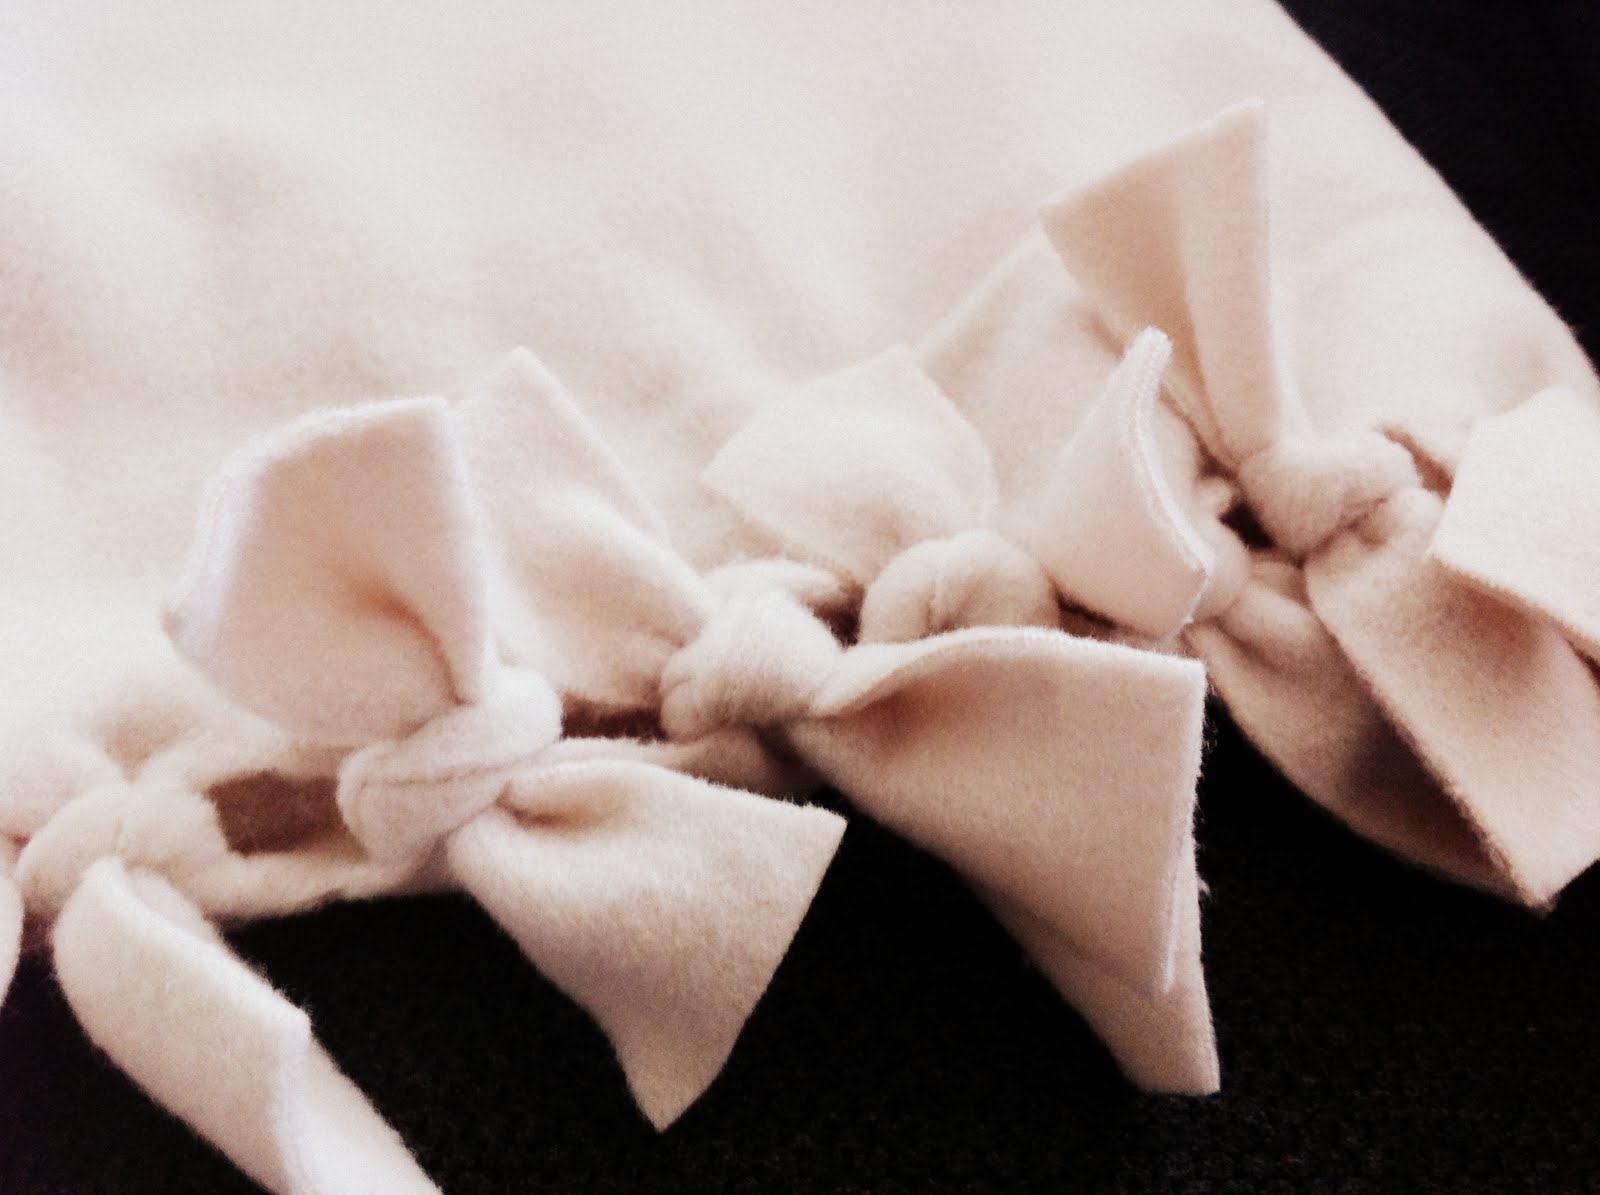
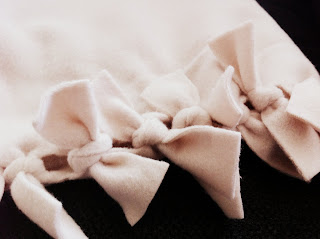 I stitched it along three sides. Right sides facing each other..and the oven filters sandwiched in between. Turned it over and then on the bottom side I made 2 inch long cuts. Tied them into knots to make a cute fringe.

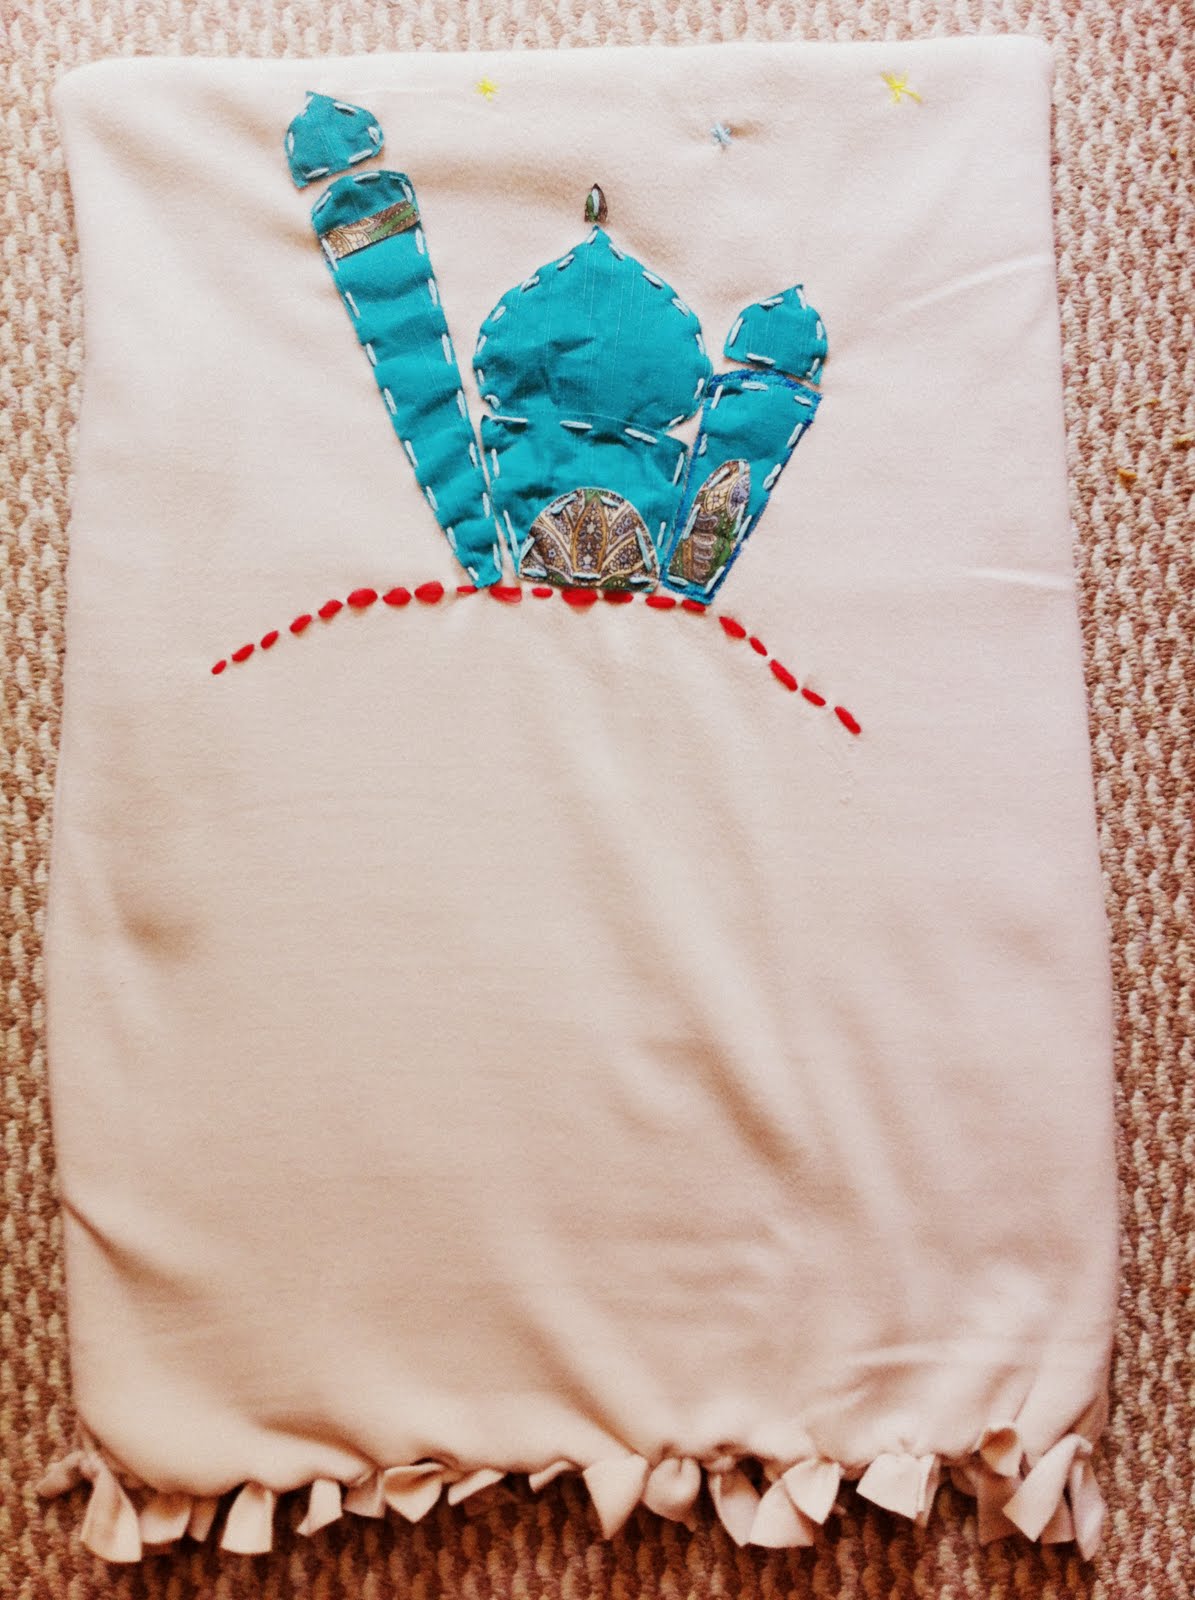
My son's own prayer mat. May Allah make him a practicing muslim and accept all his prayers :)
With Ramadan just around the corner I decided to make a small prayer mat for my son.
I wanted it to be really nice and soft so I used fleece for it. I also tried doing applique but it didn't work well for me..
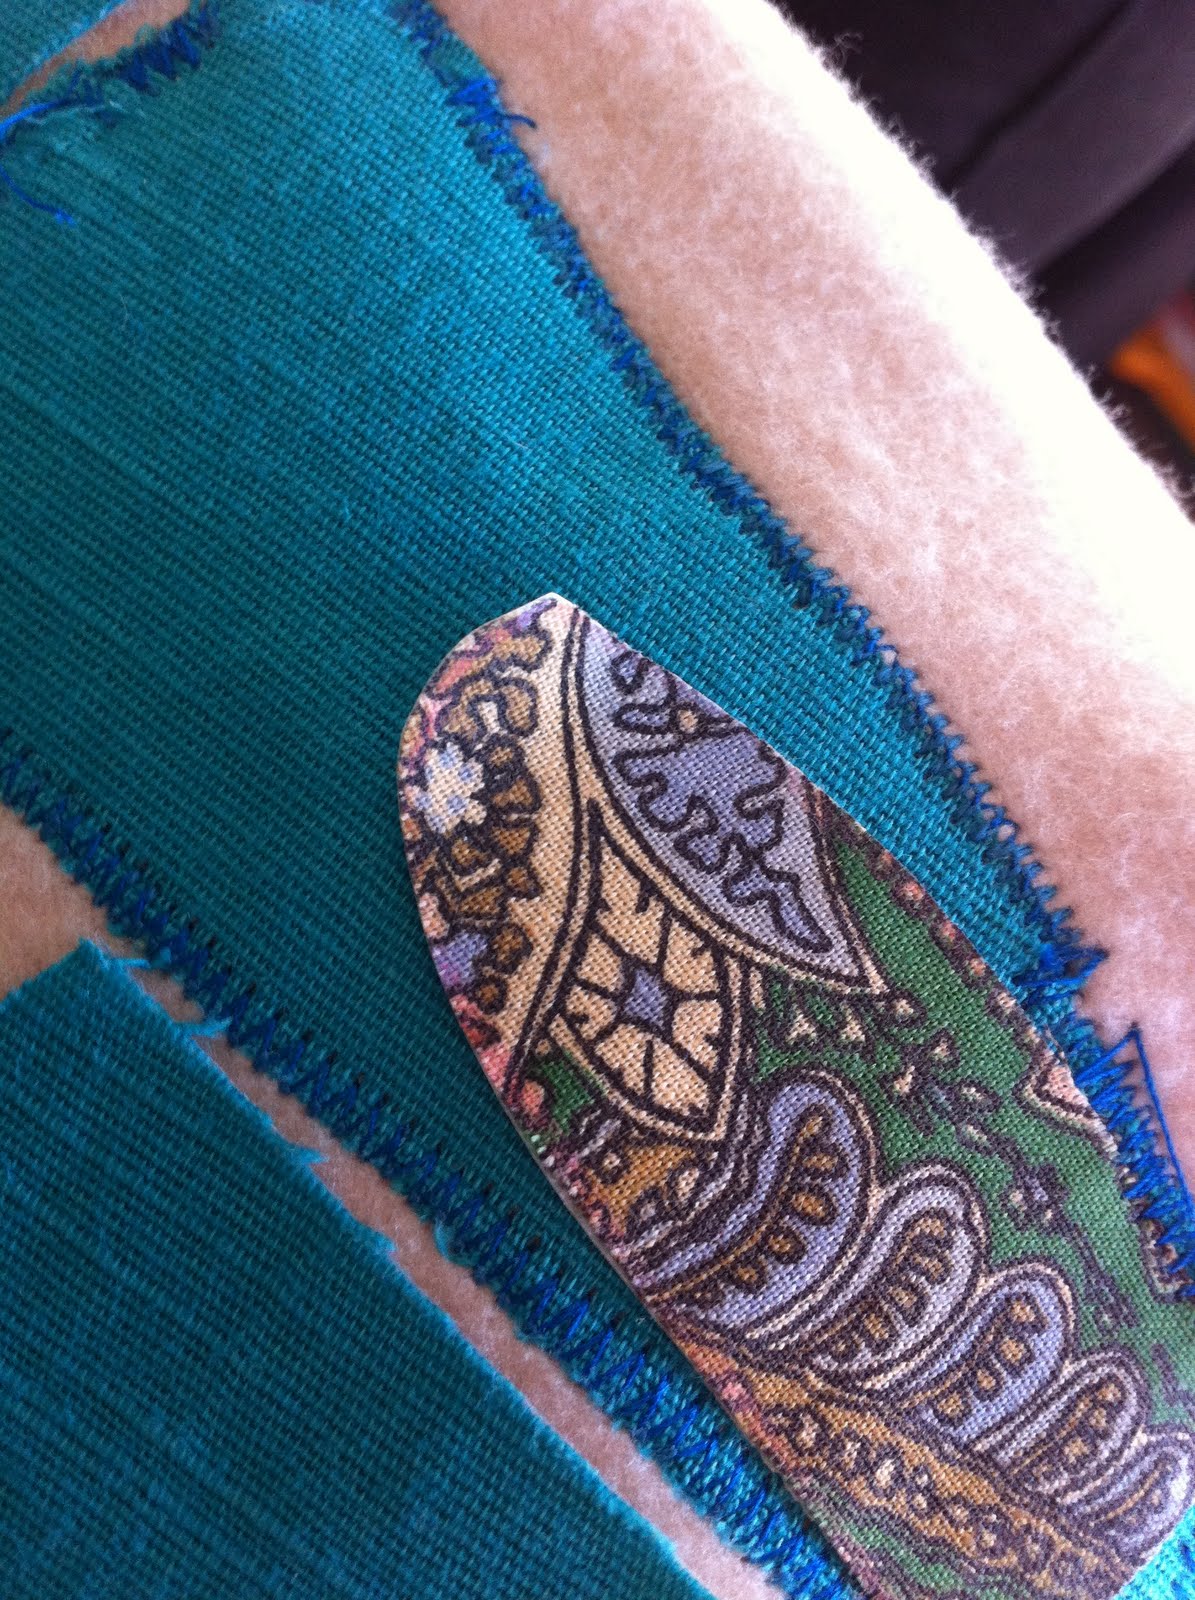

I ironed my fabric onto the iron on paper and cut out the shapes for a Mosque. Because I could not iron the shapes onto fleece (pssssst..i didn't know that..I tried to iron it on fleece and a pink gooey thing stuck onto my iron..oops have to clean that up as well ) So to tack it on I used yarn and a big needle to secure it onto the fleece.

Like 99.9 % of my projects this one was also a 'lets make tea and start a project'. So I did not have all the materials ideally required..but worry not I can always dig something out..like I did not have polyester or batting or anything to pad the mat so I used oven filters instead! Cheap and handy! They look just like batting don't they?
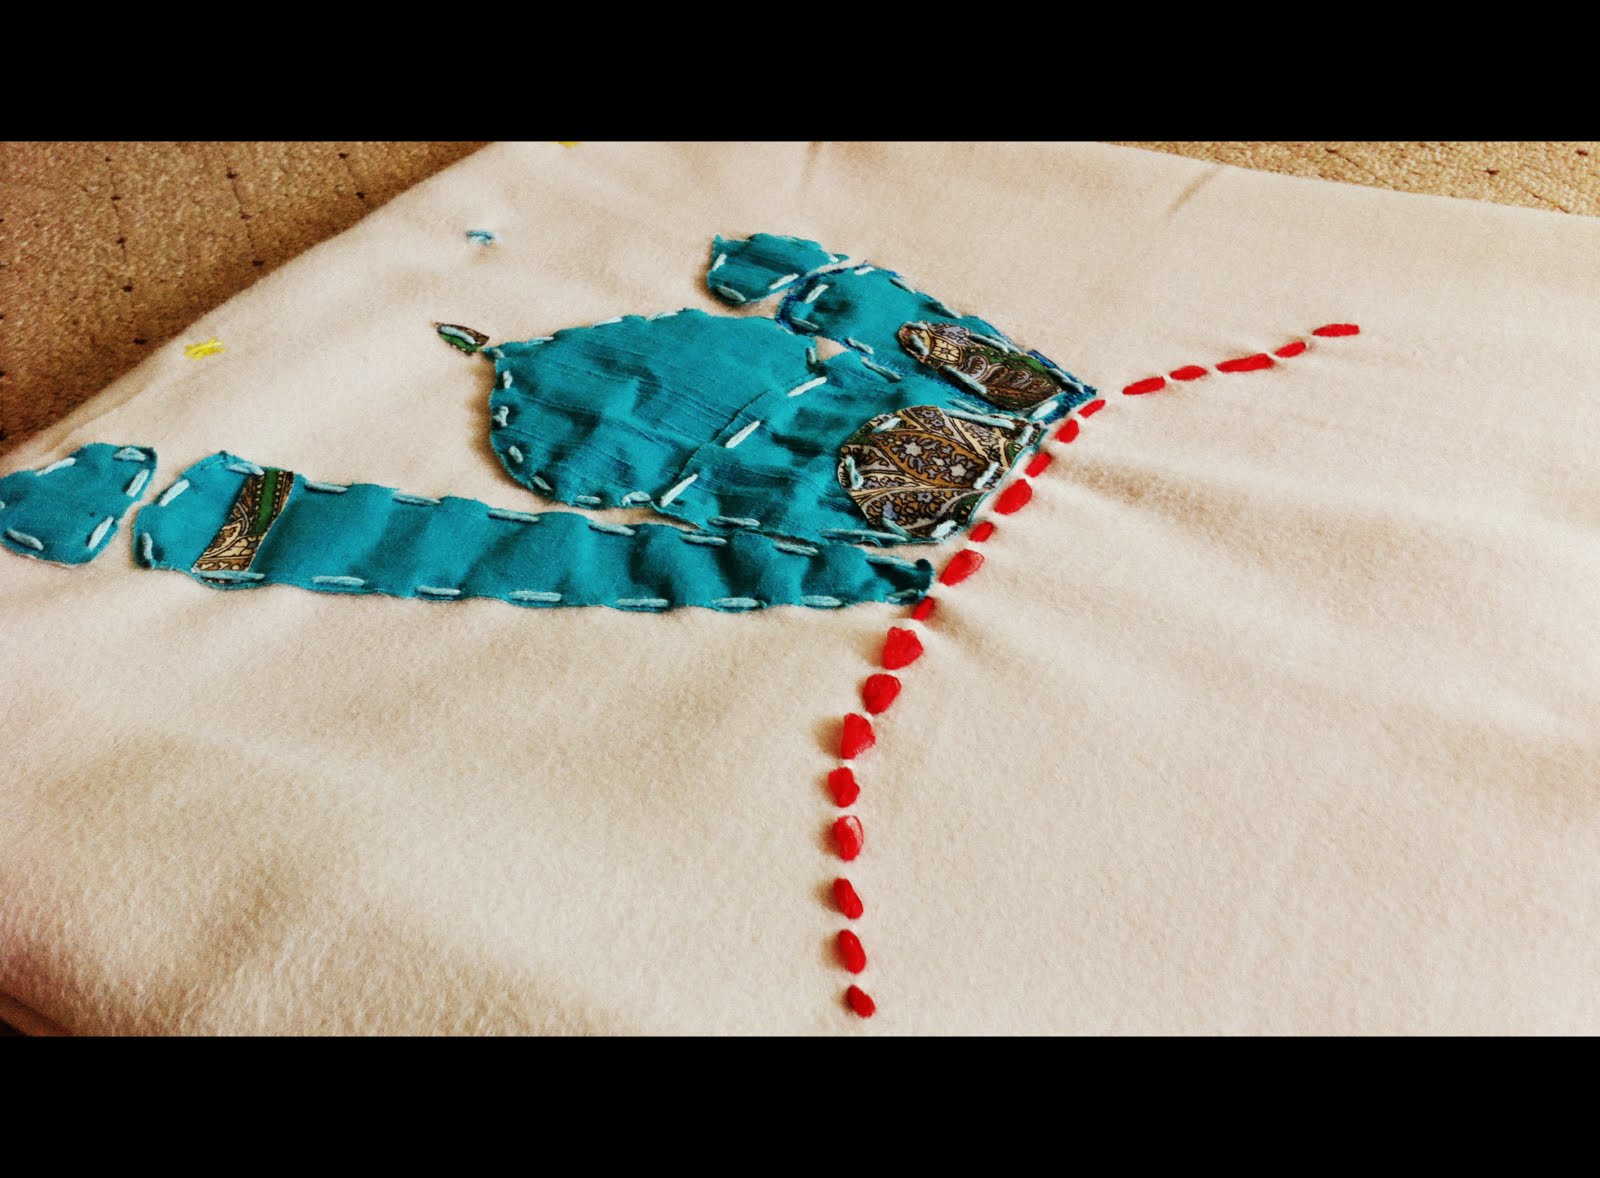

My son's own prayer mat. May Allah make him a practicing muslim and accept all his prayers :)
Subscribe to:
Posts (Atom)