My first 3D cake (almost :p)
'He popped out of my mind onto a drawing pad 20 years
ago on a train ride from Manhattan to Hollywood at a time when
business fortunes of my brother Roy and myself were at lowest
ebb and disaster seemed right around the corner.'..'Born of necessity, the little fellow literally freed
us of immediate worry.'
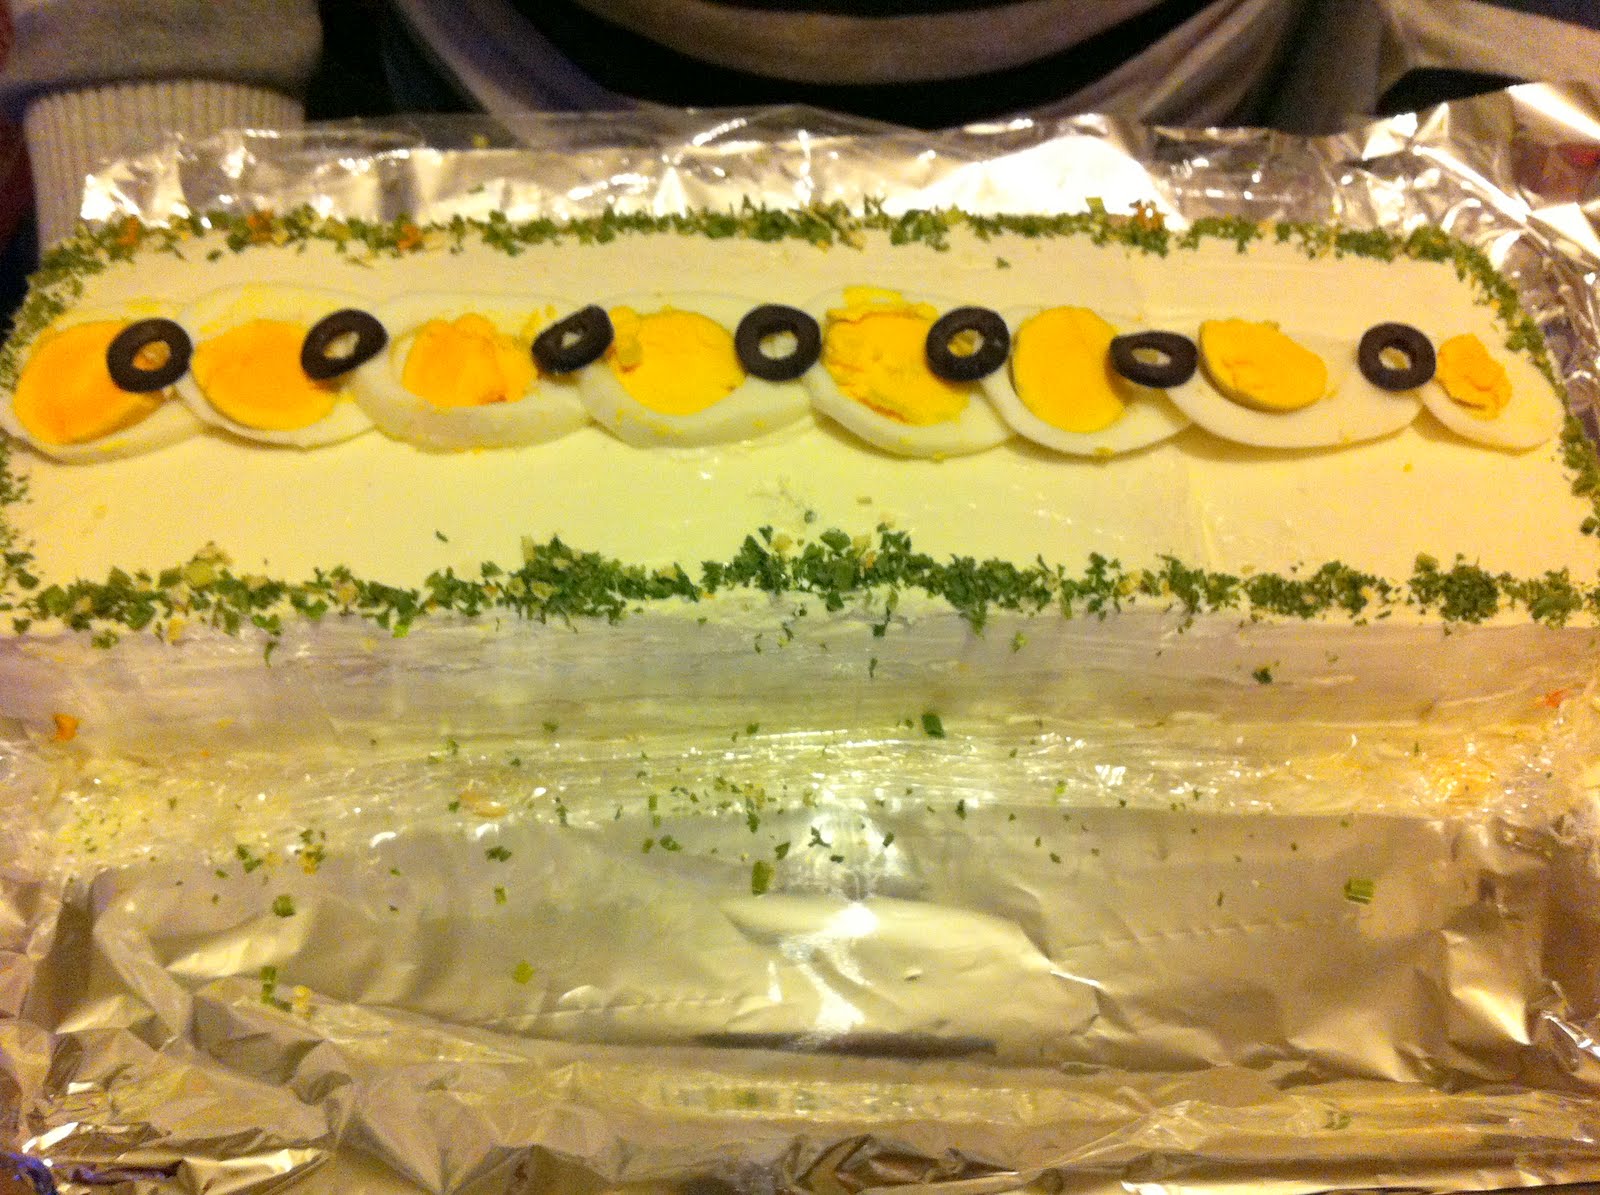
Umm..no those are not my words thats Walt Disney talking. His story started with a Mouse...hell when is my mouse moment going to come! I made this cake for a friend's son for his 2nd Birthday. I doubted myself to be trusted with the cake but that was only immediate worry!
Breaking it down:
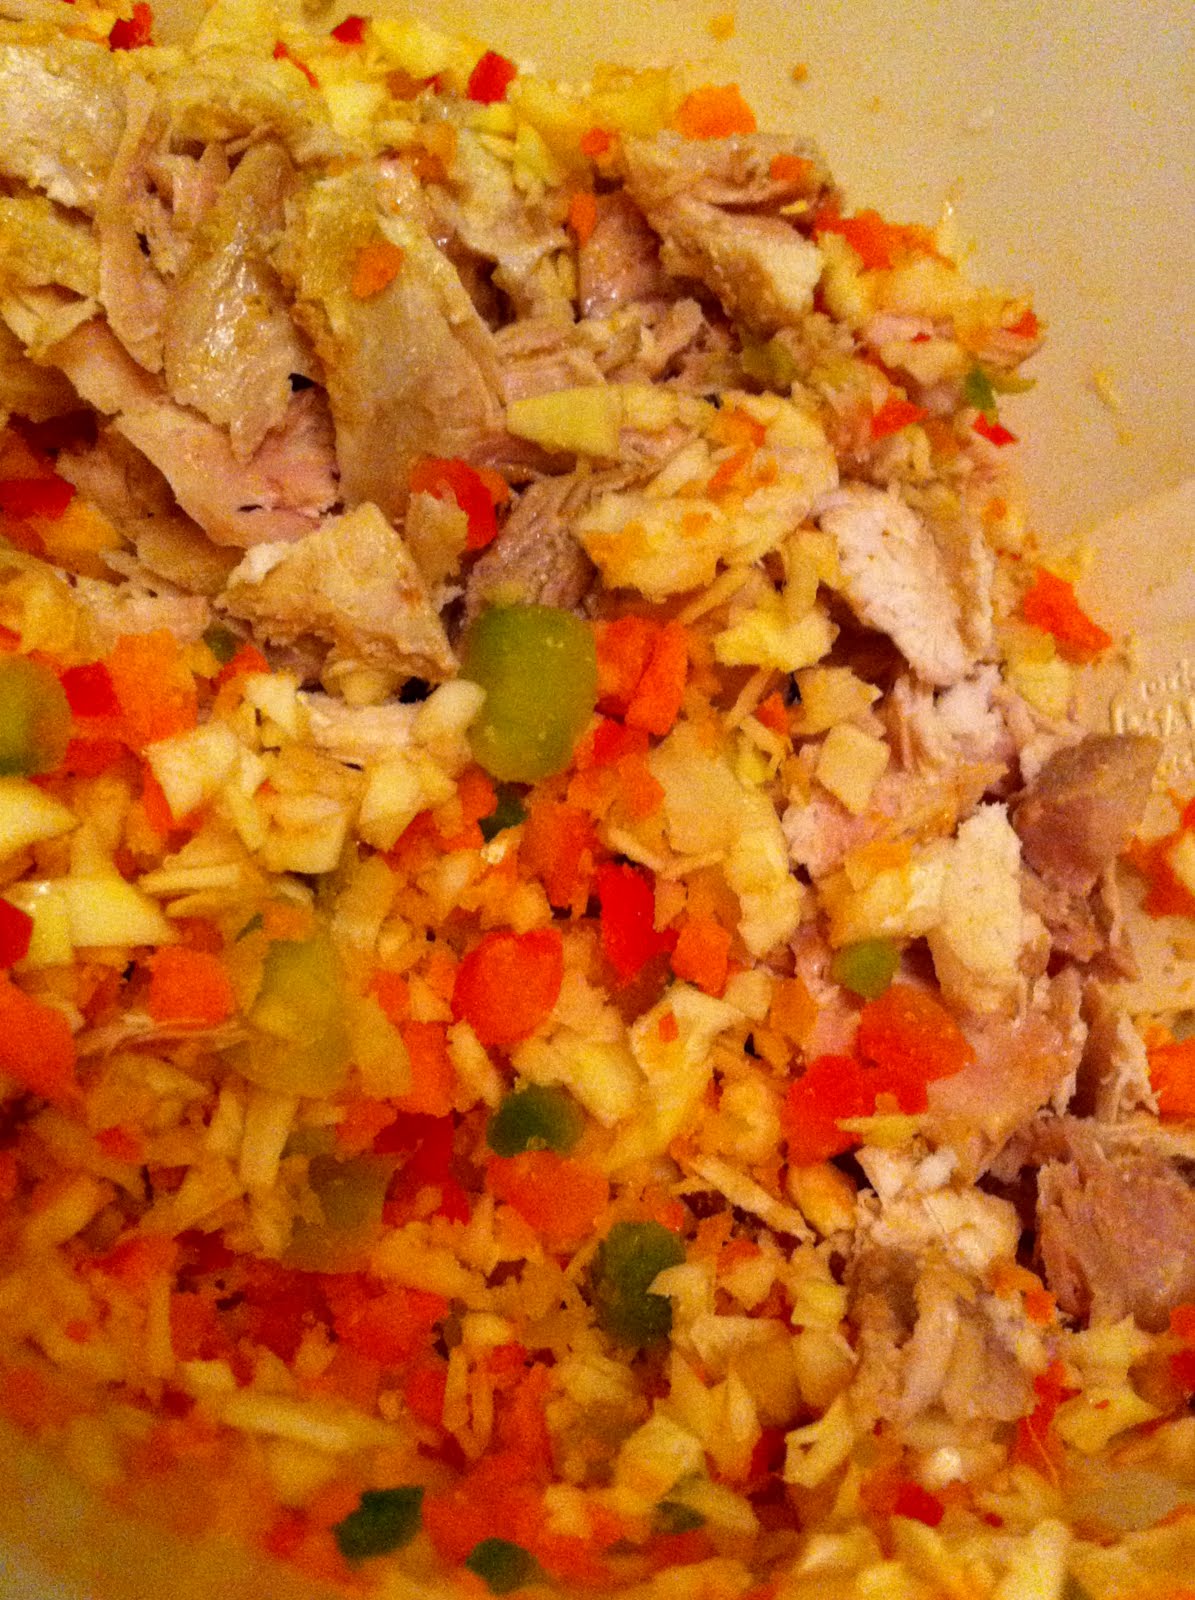
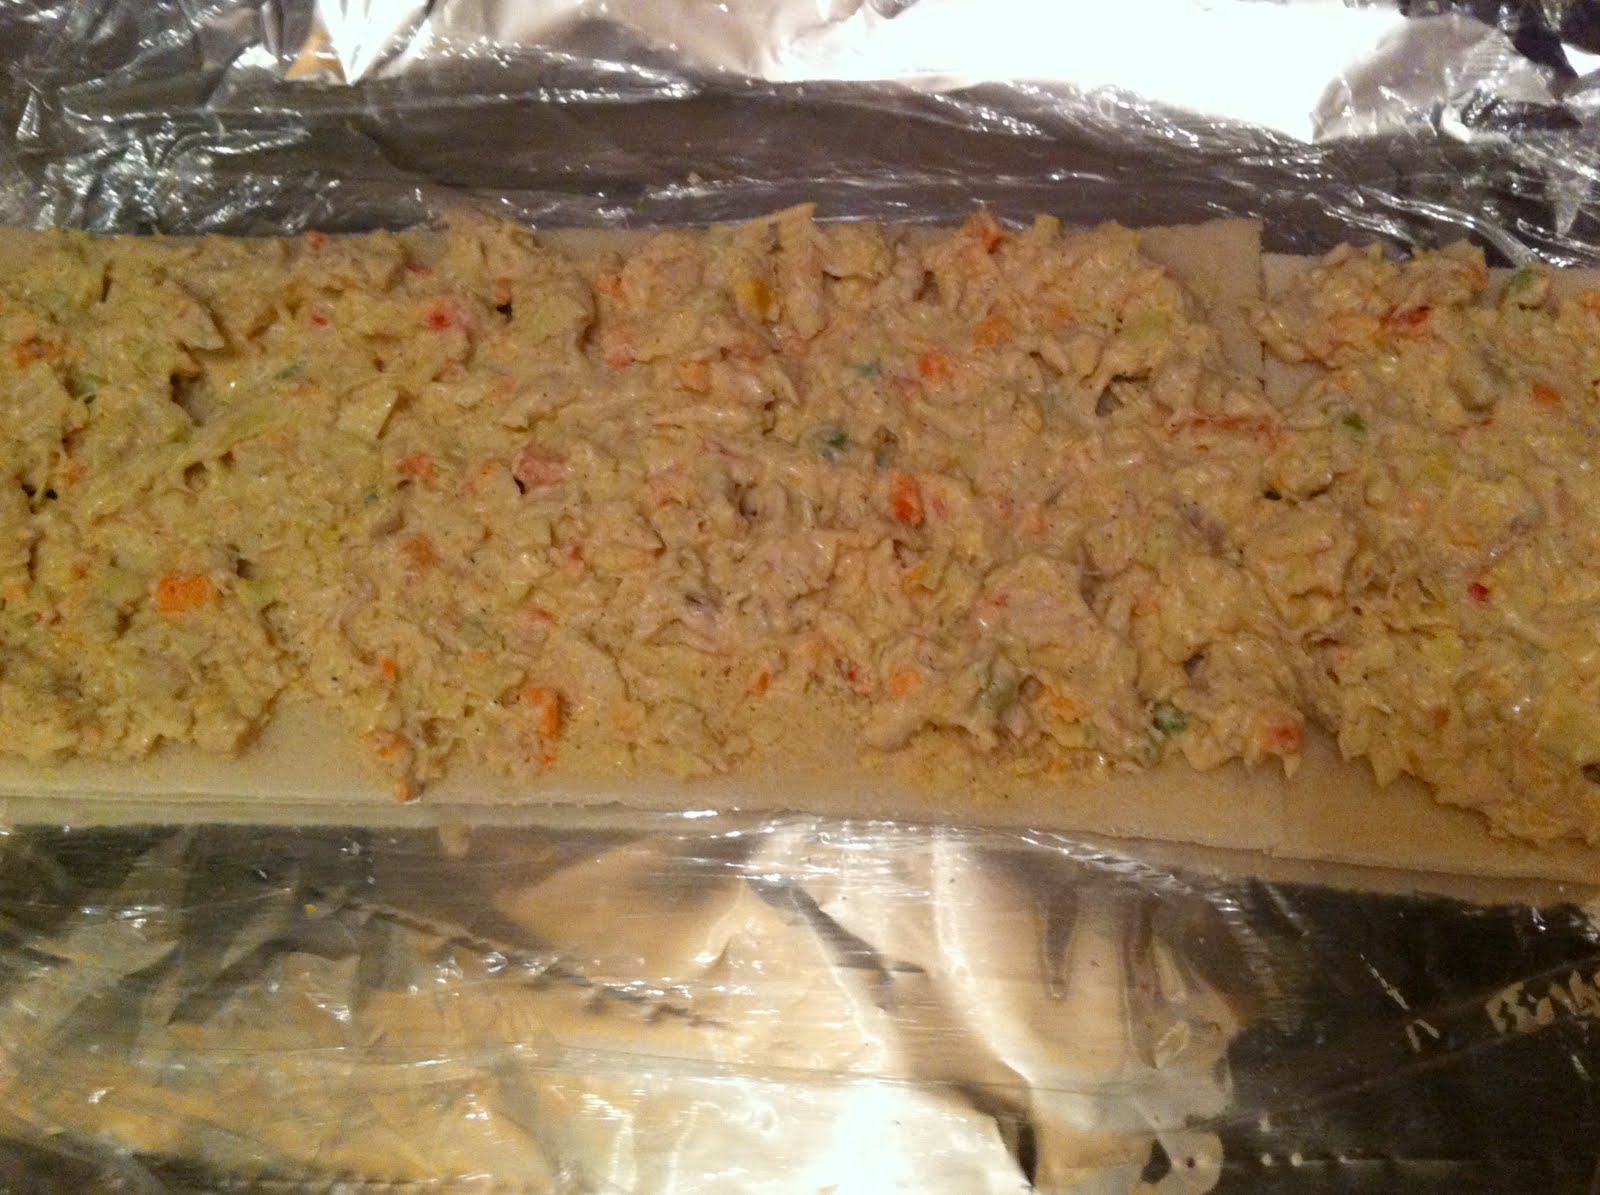
- 1 basic sheet cake
- 1 round cake baked in a bowl
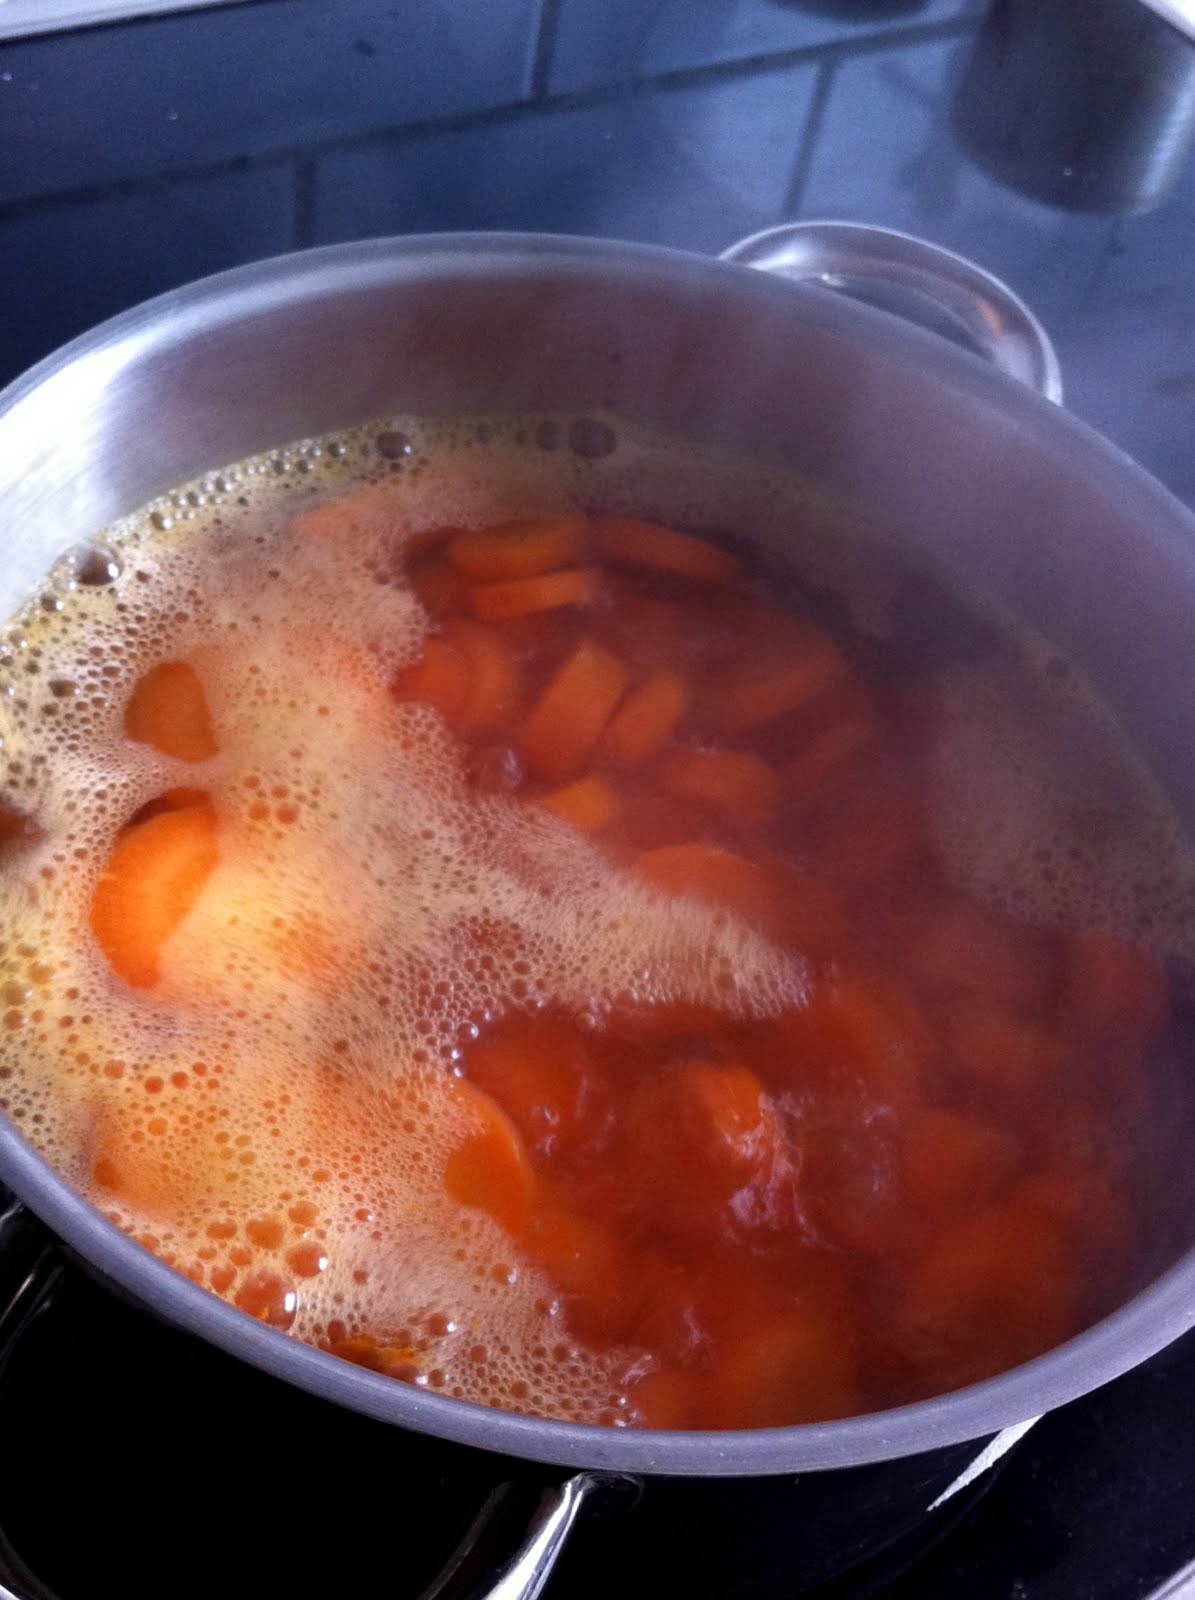
- 2 chocolate ears (made with cake scraps that came after levelling the sheet cake..I made them as I would make cake pops..but sadly they were too heavy to stand..so I poked a bamboo skewer in an apple and gave it support at the back of the ear..born out of necessity!)
- Cream-Cheese frosting for spreading
- Butter Cream Frosting for writing, Mickey face (unintentionally cross eyed:p) and border piping

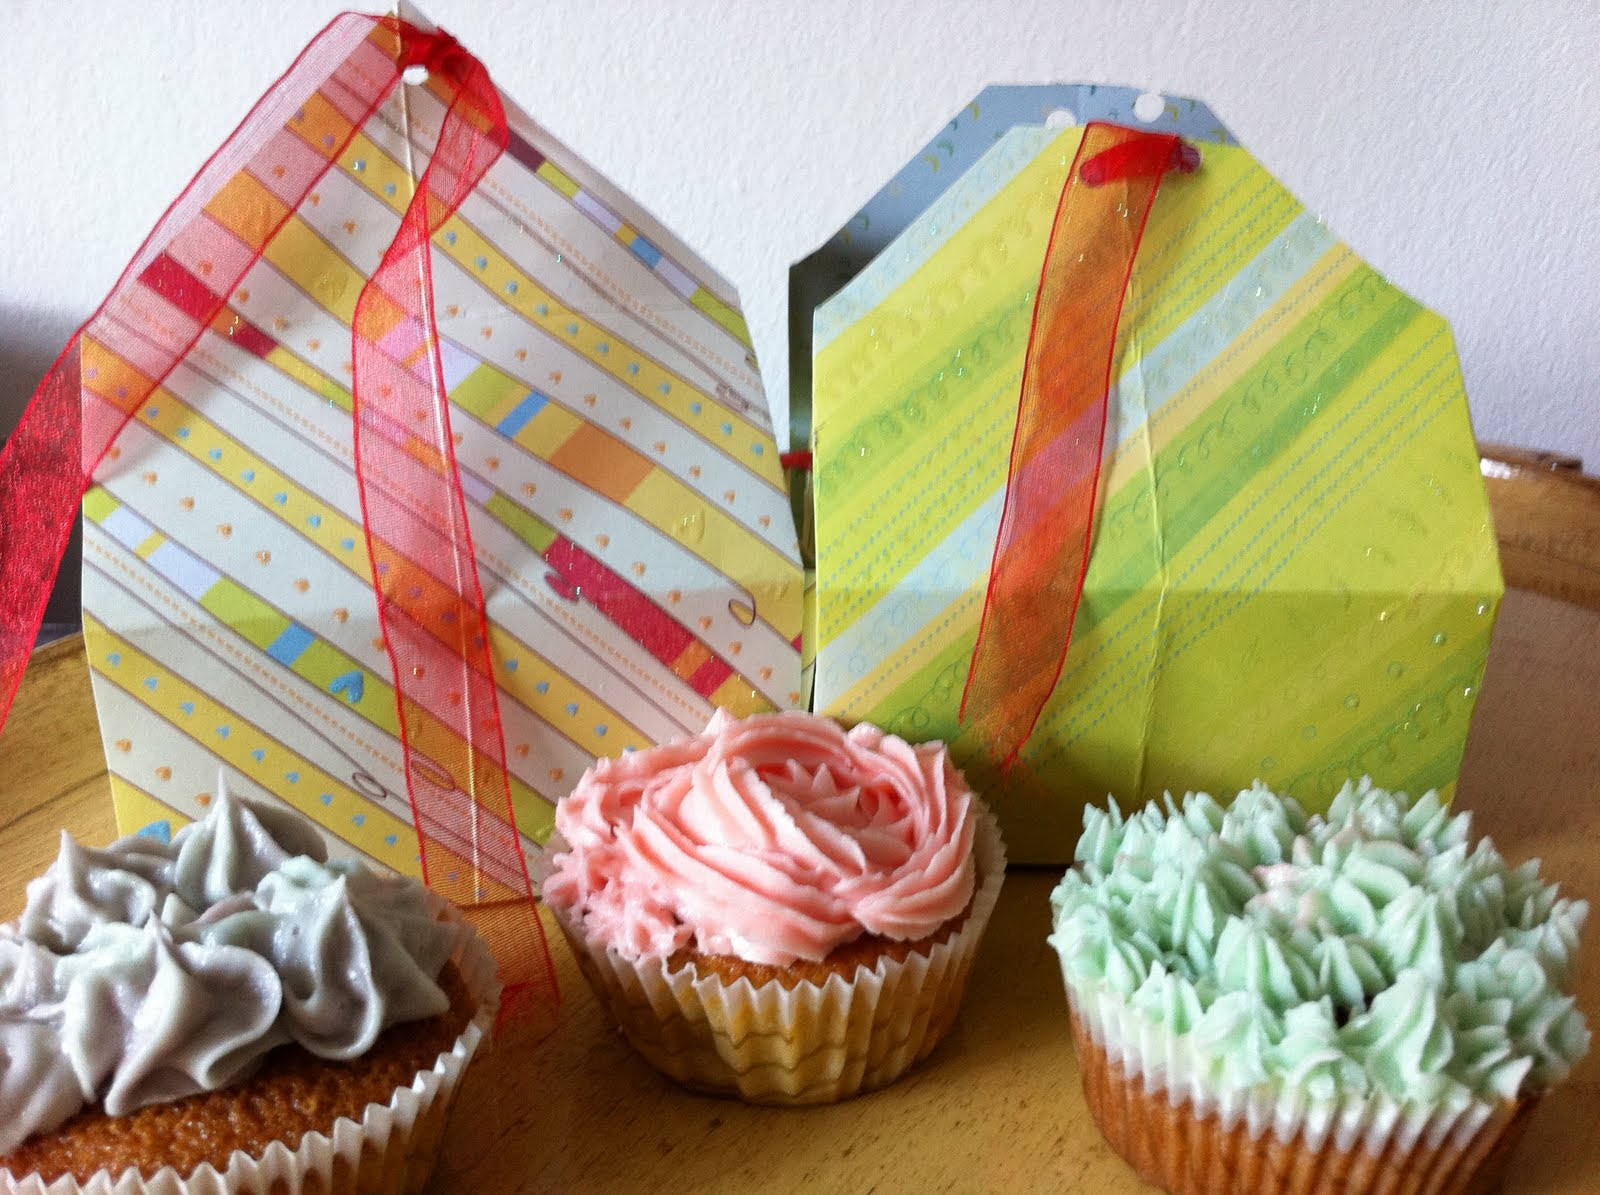
Mickey Theme Birthday Party